Mastering your sound in GarageBand hinges on utilizing vocal presets for streamlined high-quality production. Begin by selecting a superior XLR microphone and employing a sound shield to cut background noise. Harness essential plugins like the compressor and platen reverb to sculpt your sound, adjusting settings such as a -23 dB threshold and 3:1 ratio for dynamic enhancement. To preserve your crafted settings, navigate to the sound effects library to save presets under intuitive names. For ideal sound, regularly verify cable connections and consider acoustic treatments. Revealing these techniques could potentially transform your audio projects to professional standards.
Key Takeaways
- Use high-quality XLR microphones and sound shields for optimal vocal clarity in GarageBand.
- Customize compressor and platen reverb plugins for unique vocal depth and ambiance.
- Save vocal presets in the sound effects library for quick access and future projects.
- Regularly check cable connections and USB ports to ensure clean audio capture.
- Share vocal presets with your audience to foster community engagement and collaborative learning.
Achieving Top Vocal Quality
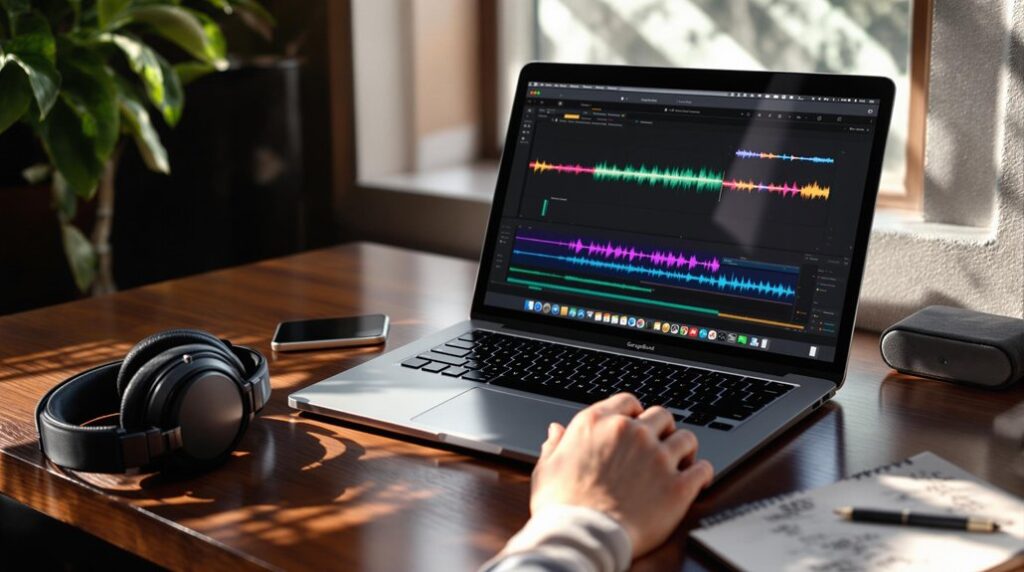
Achieving top vocal quality in GarageBand necessitates a meticulous approach, beginning with the selection of a high-quality XLR microphone and a sound shield to effectively curtail background noise and enhance vocal clarity. Make certain to implement a compressor plugin with a threshold set at -23 dB, a ratio of 3:1, and an attack time of 23 ms to optimize vocal dynamics. For an added layer of depth, customize the platen reverb plugin according to your unique sound preferences. Save these tailored settings as a preset, aptly named "best vocal sound on GarageBand," for seamless access in future projects. Regularly check and secure all cable connections and USB ports to guarantee clean audio, preventing any unwanted noise disruptions during recordings. Additionally, utilize GarageBand's pitch correction tool to ensure your vocals are perfectly in tune, enhancing the overall quality and professionalism of your tracks.
Must-Have Plugins for Vocals
When it comes to refining vocal tracks in GarageBand, a curated selection of essential plugins serves as the cornerstone of professional-quality audio production. These tools make it quick and easy to transform raw recordings into polished masterpieces. Here's a focused list of must-have plugins:
- Compressor: Optimize dynamics with settings like a -23 dB threshold and 3:1 ratio, ensuring your vocals stand out with clarity.
- Platen Reverb: Add depth and ambiance, customizing settings to suit your unique auditory vision.
- EQ: Tailor frequency balance to enhance vocal presence, working harmoniously with the Compressor and Reverb.
- Creative Exploration: Experiment with various combinations to achieve unique effects, thereby crafting your distinct sound.
Gain additional control over your sound by using Smart Controls to add and fine-tune effects, offering real-time feedback during playback. Integrating these plugins boosts your vocal recordings, making professional-quality production accessible at home.
How to Save Your Presets
Release the potential of your custom vocal settings in GarageBand by mastering the art of saving presets. To save your finely-tuned vocal settings, navigate to the sound effects library within your garageband project. Adjust your settings to perfection, then select the "Save" option. Employ a naming convention like "best vocal sound on GarageBand" for easy identification. This guarantees your presets are instantly accessible for future projects, streamlining your workflow and consistently maintaining vocal quality. Regularly updating these presets as you refine your mixing skills can greatly enhance your sound quality. Additionally, take advantage of GarageBand's user-friendly interface which ensures accessibility and efficiency for musicians of all skill levels, enhancing your overall music production experience.
| Action | Benefit |
|---|---|
| Save Preset | Quick recall for future garageband projects |
| Naming Convention | Easy identification and organization |
| Regular Updates | Maintains high sound quality and reflects skill growth |
Optimizing Equipment Setup
With your vocal presets ready to enhance your projects, it's time to guarantee your equipment setup is equally refined to capture every nuance of your performance.
To achieve pristine sound, you need to make strategic investments and checks:
- High-Quality XLR Microphone: Essential for capturing clear, professional vocals, providing a strong foundation for your recordings.
- Sound Shield: Implement around the microphone to notably reduce unwanted background noise, ensuring a cleaner sound.
- Secure Connections: Check all cable connections regularly; loose cables can introduce artifacts, degrading sound quality.
- USB Port Functionality: Regularly assess the port's functionality to avoid noise issues due to faulty connections.
Moreover, investing in acoustic treatment minimizes echo, heightening the clarity and richness of your recordings. For those starting out, selecting a USB microphone compatible with GarageBand can simplify the setup process, offering plug-and-play functionality for seamless integration.
Engaging With Your Audience
How do you cultivate a meaningful connection with your audience while advancing your creative projects? Engaging with your audience can be greatly enhanced by sharing your vocal presets, fostering a deeper Audience Interaction.
By providing your audience access to your sound palette, you invite them to replicate your sound, thereby integrating them into your creative journey. Encouraging feedback on vocal quality not only builds a sense of community but also offers vital insights for refining future projects.
Highlighting the process of saving and accessing vocal presets in GarageBand empowers your audience to achieve professional sound quality. Additionally, creating tutorials on essential GarageBand plugins facilitates understanding and experimentation.
Inviting your audience to share their vocal settings promotes collaborative learning and inspires sonic innovation.
Frequently Asked Questions
Can You Use Vocal Presets in Garageband?
Yes, GarageBand offers Preset Options for vocals, enabling consistent sound quality across recordings. By customizing and saving plugin configurations like compressors and reverb, users can efficiently streamline future sessions, ensuring clarity and uniformity in their audio projects.
How Do I Enhance Vocals in Garageband?
To enhance vocals in GarageBand, employ vocal layering techniques alongside compressor and reverb plugins. Utilize a high-quality XLR microphone and sound shield to minimize noise, and save custom settings as presets for consistency and streamlined workflow.
Does Garageband Have Vocal Pitch Correction?
Yes, GarageBand features a pitch adjustment tool aptly named "Pitch Correction." This tool allows for real-time pitch adjustments, customizable settings, and automation capabilities, ensuring precise vocal tuning for monophonic audio tracks, thereby enhancing overall vocal quality.
How Do I Make My Voice Sound Different on Garageband?
To alter your voice in GarageBand, utilize Vocal Effects by experimenting with EQ settings, applying compression, and incorporating reverb. Customize these effects to achieve a unique sound and save presets for consistent results in future projects.
Conclusion
In summary, mastering vocal quality in GarageBand necessitates a strategic approach involving essential plugins and the efficient use of vocal presets. Properly saving and organizing these presets is vital for streamlined workflow and consistent results. Additionally, optimizing the equipment setup enhances audio capture, ensuring clarity and fidelity. Engaging with the audience through tailored soundscapes fosters a compelling listening experience. Consequently, meticulous attention to these factors greatly contributes to the production of professional-grade vocal recordings.