To begin recording audio in GarageBand, launch the app and select “Empty Project”. Opt for the microphone icon track and “Narration Vocal” for vocal clarity. Use an external USB or XLR microphone to guarantee superior sound quality. Control recording levels using Smart Controls and maintain a quiet environment for the best results. Edit precisely by splitting and adjusting audio regions with the playhead, and enhance audio with Noise Gate, EQ, and Compressor. Finally, export the project in your desired format under “Share”. For those enthusiastic to optimize their audio recordings efficiently with GarageBand, greater insights await.
Key Takeaways
- Select “Empty Project” and choose the microphone icon track for vocal narration.
- Use an external USB microphone for improved sound quality over built-in options.
- Maintain a quiet environment and the proper distance from the microphone.
- Use Smart Controls to manage recording levels and prevent distortion.
- Save your project frequently using “File” + “Save As” to keep your original recordings.
Setting Up Your Project
Starting on your audio recording journey in GarageBand begins with the fundamental step of setting up your project. Upon launching GarageBand, you are presented with a gray window. To initiate a new audio project, select “Empty Project.” This choice lays the groundwork for meticulous project organization, ensuring a streamlined workflow.
Next, for vocal narration, choose the audio track featuring the microphone icon. Navigate to the Voice category in the Library and select “Narration Vocal.” This predefined setting optimizes your track for clear vocal recordings.
The Library is an important resource, offering a variety of sounds categorized under Voice, Acoustic Guitar, Effects, Electric Guitar, and Bass. Effective sound selection from these categories can greatly enhance your project’s auditory quality.
Project settings are accessible via the Details menu, allowing adjustments to tempo and key signature at any stage of your project. This flexibility is essential for maintaining the desired pace and harmony throughout your recording.
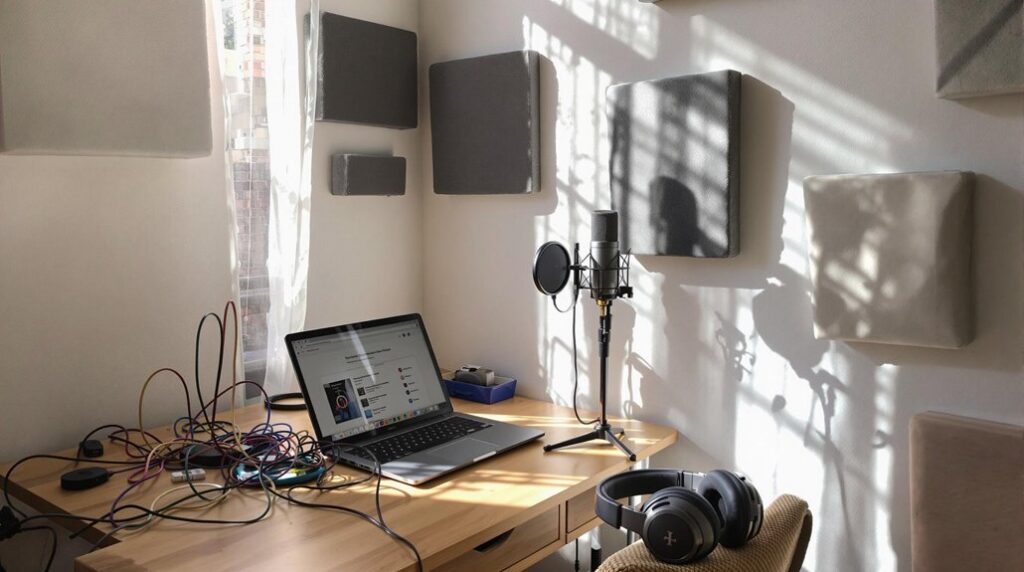
Ensure that any external USB microphones are connected during the initial setup phase for superior sound quality. Relying on built-in microphones is an option, but external devices typically offer enhanced clarity and detail, which is paramount for professional-grade recordings.
Choosing Your Microphone
When choosing a microphone for GarageBand, it is vital to understand the limitations of built-in microphones, which often compromise sound quality and are unsuitable for professional recordings.
USB microphones offer a balance of convenience and audio fidelity, while XLR microphones, when connected through an audio interface, deliver superior sound quality for professional-grade projects.
Ensuring compatibility with GarageBand is essential to maximize performance and achieve ideal recording results.
Built-In Microphone Limitations
Achieving high-quality audio recordings in GarageBand begins with selecting the right microphone, and understanding the limitations of the built-in microphone on a Mac is essential in this process. The built-in microphone offers convenience, but its inherent limitations in microphone sensitivity and adaptation to various audio environments often result in subpar audio quality. This is particularly evident when capturing detailed vocal narrations or other nuanced sound sources.
A key consideration is the microphone’s ability to pick up subtle audio details and reduce ambient noise. Built-in microphones tend to exhibit higher noise levels and reduced sensitivity compared to external options. Their placement within the laptop chassis also subjects them to mechanical noise and interference from the computer’s internal components.
| Microphone Type | Pros | Cons |
|---|---|---|
| Built-In Microphone | Convenient, No additional setup required | Lower audio quality, Higher noise levels |
| USB Microphone | Better sound quality, Easy to use | Varies with price/specifications, Limited flexibility |
| XLR Microphone | Superior sound fidelity, Professional quality | Requires audio interface, More complex setup |
While USB microphones offer an improved balance between ease of use and sound quality, they still cannot match the professional output of XLR microphones connected through an audio interface. Consequently, for those seeking to enhance their recordings, investing in an appropriate external microphone is highly recommended.
USB Vs. XLR
Selecting the appropriate microphone for your recording needs in GarageBand involves evaluating the differences between USB and XLR microphones.
USB microphones offer considerable advantages, particularly for beginners and those with casual recording setups. They connect directly to your computer via USB, eliminating the need for additional equipment. This makes them extremely user-friendly and convenient for quick, on-the-go recordings. However, the quality of USB microphones can vary, with higher-end models providing better audio clarity.
Conversely, XLR microphones are typically favored in professional recording environments due to their superior sound quality and flexibility. These microphones require an audio interface for connection, which can greatly enhance sound fidelity and provide more control over audio settings.
XLR microphones are also renowned for their durability and the ability to integrate with various audio interfaces, making them a robust choice for those serious about their recordings.
To summarize:
- USB advantages: Easy connection, suitable for beginners, no need for additional equipment.
- XLR benefits: Superior sound quality, professional-grade durability, enhanced audio control.
- Quality variation: USB microphones vary in quality; higher-end models perform better.
- Flexibility: XLR microphones offer greater flexibility with audio interfaces.
- Investment: XLR microphones and good audio interfaces are recommended for high-quality recordings.
Selecting between USB and XLR depends on your specific recording needs and goals in GarageBand.
Recording Your Audio
To initiate the process of recording audio in GarageBand, start by clicking on “Empty Project” and selecting the audio track indicated by the microphone icon, which is specifically designed for vocal narration. This step is essential for guaranteeing ideal settings tailored to vocal recordings.
Prioritize a quiet recording environment and maintain an appropriate distance from the microphone to achieve the best sound quality, as ambient noise can greatly affect your recording’s clarity.
Utilize audio recording tips such as preparing a script or outline beforehand to stay on track during your session, enhancing your vocal performance techniques by minimizing pauses and guaranteeing a smooth delivery. Engage the red record button to start and stop your recording.
To manage recording levels and prevent distortion, select the track before adjusting volume settings through Smart Controls. This precise adjustment guarantees that your audio levels remain consistent and clear.
After recording, save your project as version 1 to retain the original file, utilizing the File + Save As option for effective project management. This practice guarantees that your initial recording remains intact, allowing for future modifications without compromising the original audio quality.
Editing Your Tracks
To initiate the editing process in GarageBand, utilize the playhead to navigate your audio track with precision.
For detailed modifications, split audio regions by positioning the playhead and selecting “Split region at playhead.”
Adjust the ends of audio clips by dragging track edges, ensuring the cursor indicates the correct adjustment mode for accurate cuts.
Mastery of the playhead is essential for efficient editing in GarageBand, serving as an indispensable tool for precision guidance and manipulation of your audio tracks. The playhead functionality allows you to visually track your current position within the recording, facilitating precise navigation through various sections of your audio.
To utilize the playhead effectively, follow these detailed steps:
- Splitting Regions: Drag the playhead to the desired location and select “Split region at playhead” to break audio regions into manageable clips.
- Undo Actions: If a split is incorrect, quickly reverse it by heading to Edit > Undo Split Regions, restoring the track to its previous state.
- Adjusting Cuts: Fine-tune cuts by dragging the edges of the track. Confirm the cursor changes to the proper adjustment mode for accurate modifications.
- Bulk Actions: For moving or deleting multiple clips, hold the Shift key to select multiple regions efficiently. Use the playhead for precise guidance during these actions.
- Visual Indicator: The playhead serves as a visual marker, helping you to monitor and control your editing position within the audio timeline accurately.
Splitting and Adjusting Regions
Leveraging your understanding of the playhead, you can now proceed to the intricate process of splitting and adjusting regions within your audio tracks.
Begin by positioning the playhead at the precise point where you intend to split the region. Access the editing options and select “Split region at playhead.” This action will divide the audio into separate regions, facilitating more granular audio editing.
Should you need to undo a split, navigate to Edit > Undo Split Regions to seamlessly revert to the previous state. This feature is particularly useful when refining your edits.
Adjust the cuts by dragging the edges of the split regions. Guarantee that your cursor changes to indicate the adjustment mode, enabling precise trimming.
For bulk actions, such as dragging or deleting multiple clips, hold down the Shift key while selecting the clips. This method streamlines region management, enhancing efficiency in your workflow.
Utilize the playhead to navigate precisely through your track, allowing you to make detailed and effective edits.
Enhancing Audio Quality
Enhancing audio quality in GarageBand is a multifaceted process that requires a meticulous approach to various sound parameters. By leveraging noise reduction techniques and frequency balancing tips, you can notably improve the clarity and presence of your recordings.
Initially, utilize the Noise Gate feature in Smart Controls to minimize low-level background noise during silent pauses, enhancing overall audio clarity. This technique is vital for maintaining a clean sound profile.
In addition, employ the Channel EQ to adjust frequency levels, focusing on boosting mid-range frequencies to enhance vocal presence while reducing unwanted resonances. This guarantees that your audio remains balanced and resonant.
Moreover, implementing the Compressor can effectively balance the volume levels between quieter and louder segments of your narration, guaranteeing a consistent listening experience.
Additionally, you can add up to four plug-ins in the plug-in section to refine your audio quality even more. Effects such as reverb or delay should be used sparingly to maintain clarity.
To keep your audience engaged, consider these essential steps:
- Use the Noise Gate feature to minimize background noise.
- Adjust frequency levels with Channel EQ for better vocal presence.
- Implement a Compressor for consistent volume levels.
- Add up to four plug-ins for refined audio quality.
- Use effects like reverb and delay sparingly.
Managing Recording Levels
While enhancing audio quality is a key aspect of producing professional recordings in GarageBand, managing recording levels is equally important to guarantee clear and undistorted sound. Proper recording levels are vital to prevent clipping and distortion, ensuring the integrity of audio dynamics in your project. Begin by selecting the correct track to manage its specific volume settings effectively.
Access Smart Controls to adjust the track volume and utilize visual level monitoring for precision. This allows you to make accurate adjustments while observing real-time feedback. Consider enabling automatic level control to simplify the process, although manual adjustments often yield a more tailored sound. Regularly checking and adjusting recording levels during sessions is essential to maintaining peak sound quality and avoiding unwanted audio artifacts.
| Step | Description | Benefit |
|---|---|---|
| Select Track | Choose the specific track for volume adjustments | Targeted level control |
| Access Smart Controls | Use Smart Controls to modify track volume | Visual and precise adjustments |
| Enable Auto Level | Activate automatic level control | Simplified level management |
| Manual Adjustments | Fine-tune levels manually | Customized audio dynamics |
Exporting Your Project
Exporting your project in GarageBand is the final step to transforming your carefully crafted audio into a shareable format.
To begin, navigate to the “Share” menu in the top toolbar and select “Export Song to Disk.” This action allows you to save your audio file in various export formats such as MP3, AAC, or WAV.
Before proceeding, carefully choose the file format that best suits your needs and set the quality settings accordingly. Make certain that you designate a destination folder for easy access to the exported file.
Additionally, you have the option to adjust the export settings to include features such as “Offline” for faster processing and “Include Audio Tail” for a more complete sound.
Here are key steps and settings to take into account:
- Navigate to “Share” > “Export Song to Disk”
- Select the desired export formats (MP3, AAC, WAV)
- Adjust quality settings for the file
- Choose a destination folder for the exported file
- Modify export settings like “Offline” and “Include Audio Tail”
Once your project is exported, you can share your audio file directly via email or upload it to platforms like SoundCloud, further extending its reach and accessibility.
Frequently Asked Questions
How to Start a New Audio Recording in Garageband?
To start a new audio recording in GarageBand, open the software, select “Empty Project,” choose the microphone icon for an audio track, and configure your audio setup in Preferences. Key recording tips include preparing a script and saving your project.
Is Garageband a Good Beginner Daw?
GarageBand is an excellent beginner DAW, supported by positive user reviews and favorable features comparison. Its intuitive interface, extensive sound library, and compatibility with various input devices make it accessible and versatile for novice audio producers.
Is Garageband Easy to Learn?
GarageBand is exceptionally easy to learn due to its intuitive user interface and clearly labeled icons. The inclusion of built-in audio effects and extensive editing tools further simplifies the process, making it accessible for beginners with minimal technical expertise.
Is Garageband Good for Recording Audio?
GarageBand is highly effective for recording audio, offering robust audio quality and extensive software features. Its user-friendly interface, multiple track types, and built-in effects make it suitable for both novice and experienced users.
Conclusion
In summary, mastering the foundational skills of recording audio in GarageBand necessitates a thorough understanding of project setup, microphone selection, and the recording process. Proficiency in editing tracks and enhancing audio quality further contributes to the overall production value. Effective management of recording levels guarantees clarity, while proper exporting techniques finalize the project for distribution. These elements collectively form the essential framework for producing high-quality audio recordings in a professional manner.


