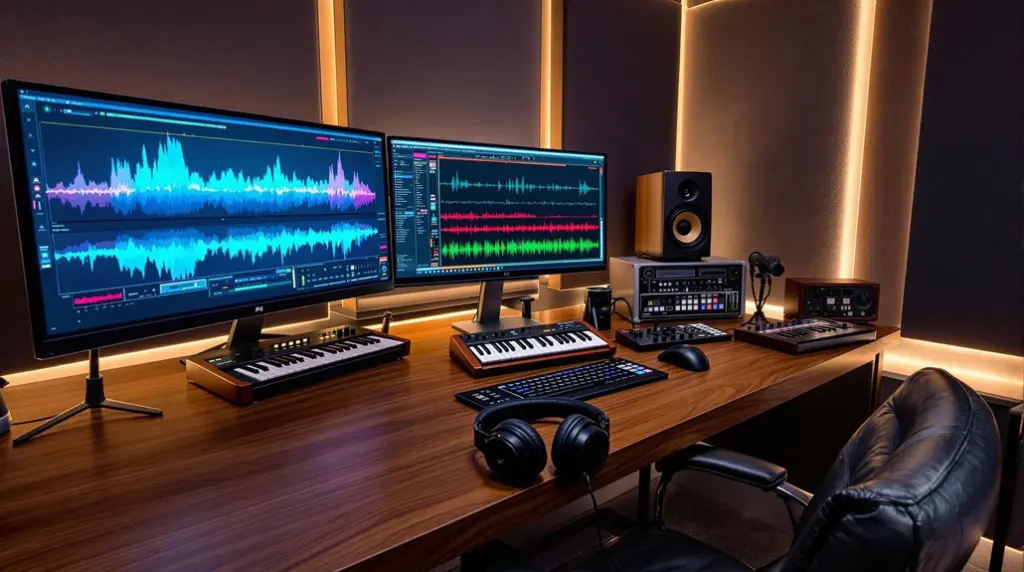
Integrating hardware synthesizers with your DAW involves meticulous preparation and setup. Start by acquiring essential equipment: a quality audio interface like the Vault 276 with MIDI capabilities, and necessary cables for audio and MIDI connections. Connect the synthesizer’s audio output to the interface’s input using a stereo cable, and sync MIDI signals through a MIDI cable. Power on your devices in sequence, confirming correct connections, and configure the DAW’s audio and MIDI settings. Fine-tune latency settings for ideal performance and create a new audio track to arm for recording. Following these steps guarantees your workflow integrates seamlessly with your hardware synth. Voilà, you’re on the pathway to further enhancing your setup.
Key Takeaways
- Ensure all necessary drivers for your synthesizer and audio interface are installed on your computer.
- Connect your synthesizer’s audio output to the audio interface input using a stereo audio cable.
- Use a MIDI cable to link the MIDI output of the audio interface to the synthesizer’s MIDI input.
- Configure your DAW’s audio and MIDI settings to recognize and utilize the connected hardware synthesizer.
- Test the setup by playing notes on the synthesizer and monitoring the sound through your DAW.
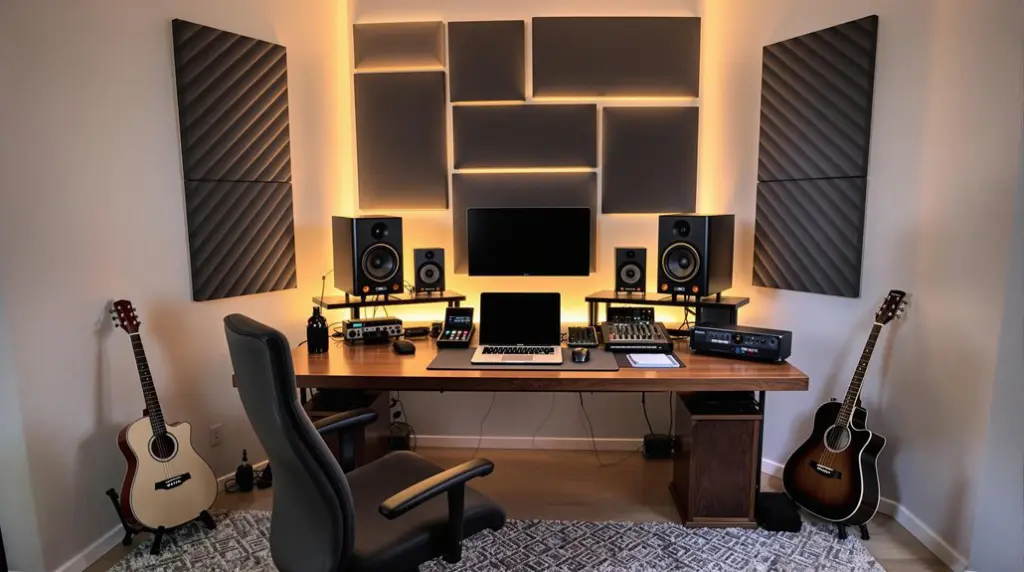
Required Equipment
When integrating hardware synthesizers with your DAW, having the right equipment is paramount to achieving seamless functionality and excellent sound quality. The first essential component is the synthesizer itself. Different synthesizer types, such as the Volker FM2, offer unique sound generation capabilities that can greatly enhance your music production.
Whether you’re seeking rich analog tones or precise digital sounds, the choice of synthesizer greatly impacts the final output. For peak recording quality and minimal latency, consider using an audio interface with high-quality preamps, such as the Vault 276.
Next, an audio interface, such as the Vault 276, is critical for managing the audio input and output between your synthesizer and computer. This device guarantees high-fidelity sound capture and playback, providing the necessary connectivity for audio signals.
To synchronize the MIDI signals, you will need a MIDI cable to connect the MIDI output of the audio interface to the MIDI input of your synthesizer. Furthermore, a stereo audio cable is required to connect the audio output of the synthesizer to the audio interface’s input, enabling you to capture the synthesizer’s sound.
Connecting Components
Connecting the various components of your hardware synthesizer setup to your DAW is an imperative step that requires meticulous attention to detail. Begin by linking your synthesizer’s audio output to the audio interface’s input using a stereo cable. This guarantees that the audio signals are accurately transmitted for recording and playback.
Next, establish clock synchronization by connecting the MIDI output of the audio interface to the MIDI input of the synthesizer with a MIDI cable. Proper synchronization is essential for maintaining timing and coherence between your hardware and DAW. Confirm all MIDI settings on both the synthesizer and audio interface are correctly configured for seamless communication.
Effective cable management is critical to prevent confusion and maintain a clean workspace. Utilize cable ties and labels to keep your setup organized, thereby enhancing workflow efficiency and reducing the risk of accidental disconnections.
| Component | Connection Type | Purpose |
|---|---|---|
| Synthesizer | Stereo Cable | Transmit audio signals |
| Audio Interface | MIDI Cable | Establish clock synchronization |
| MIDI Settings | Configuration | Confirm proper communication |
| Workspace | Cable Management | Maintain organization and clarity |
Powering On
Before powering on your hardware synthesizer, verify all audio and MIDI connections are securely established to prevent electrical issues.
Confirm that the synthesizer’s power supply matches its voltage and amperage requirements to avoid damage.
Once powered on, check for LED indicators or display screens to verify proper initialization and functionality, and perform an initial sound check to confirm everything is operating correctly.
Ensure Proper Connections
Establishing a seamless connection between your hardware synthesizer and DAW is essential for peak performance and sound quality. To achieve this, begin by verifying the correct signal flow. Connect the audio output of your synthesizer to the audio interface input using a stereo cable. This guarantees a clean transmission of sound. Before powering on, also link the MIDI output of your audio interface to the MIDI input of the synthesizer for proper clock synchronization.
Double-check that all MIDI settings are configured correctly within your DAW to verify smooth communication between your devices. Improper settings can disrupt the flow of data, leading to synchronization issues.
Here’s a quick reference table for proper connection types:
| Connection Type | Action |
|---|---|
| Audio Output | Connect to audio interface input (stereo cable) |
| MIDI Output | Link to synthesizer’s MIDI input |
| Signal Flow | Verify clean and uninterrupted |
| MIDI Settings | Configure in DAW before powering on |
To avoid potential damage, always power on the synthesizer only after these connections are securely established. Upon powering on, listen for any unusual sounds that may indicate incorrect connections or settings. If issues arise, troubleshoot immediately to maintain peak functionality and sound quality.
Verify Power Supply
Why is verifying your power supply so essential when integrating a hardware synthesizer with your DAW? Confirming the correct power requirements and voltage compatibility is critical to safeguarding your equipment. Using an incorrect voltage can lead to irreversible damage to your synthesizer, resulting in costly repairs or replacements.
Begin by confirming that the synthesizer is connected to a suitable power supply. Prior to making any connections, make sure the power switch on the synthesizer is in the ‘off’ position to avoid electrical surges. This precaution helps to protect the internal circuitry of your device.
Once all necessary cables are connected, the recommended sequence is to power on your audio interface first. This step confirms that the interface is fully initialized, reducing the risk of potential issues when the synthesizer is powered on. Following this, turn on the synthesizer and check for the power indicator light. An illuminated light signifies that the unit is receiving power correctly.
If the synthesizer does not turn on, proceed to troubleshoot by verifying all power connections and confirming the functionality of the outlet. Taking these careful steps confirms a smooth and safe integration of your hardware synthesizer with your DAW.
Initial Sound Check
With all power connections verified and secure, proceeding to the initial sound check is the next essential step in integrating your hardware synthesizer with your DAW. Begin by confirming that the synthesizer’s audio output is connected to the audio interface input using a stereo cable. Power on the synthesizer only after verifying these connections to prevent any electrical issues.
Next, confirm that your audio interface is powered on and properly connected to your computer, facilitating seamless sound playback from the synthesizer. As you power on the synthesizer, listen attentively for any initial sounds or tones, which indicate that the device is functioning correctly and producing audio output.
If no sound is heard, engage in sound troubleshooting by checking the audio levels on both the synthesizer and the audio interface. Additionally, verify the audio settings within your DAW to confirm proper configuration.
| Step | Action |
|---|---|
| 1 | Verify connections and power on synthesizer |
| 2 | Confirm audio interface is powered and connected |
| 3 | Listen for initial sounds, troubleshoot if necessary |
Confirming these steps are meticulously followed will help avoid issues related to audio feedback and confirm a smooth integration of your hardware synthesizer with your DAW.
Setting Up MIDI
To establish a robust communication link between your DAW and hardware synthesizer, start by connecting the MIDI output of your audio interface to the MIDI input of the synthesizer using a reliable MIDI cable.
Confirm your DAW’s MIDI settings are configured to recognize the connected devices, enabling seamless data transfer and synchronization. For instance, controllers like Novation Launchpad Pro MK3 are celebrated for their robust integration, enhancing workflow considerably.
Additionally, verify that the MIDI clock settings are aligned to maintain timing accuracy during both playback and recording.
MIDI Cable Connections
Establishing a robust MIDI connection between your hardware synthesizer and Digital Audio Workstation (DAW) is vital for seamless integration and efficient workflow. Properly configuring MIDI cable connections guarantees that MIDI signal flow is accurate and reliable.
Start by connecting the MIDI output of your audio interface to the MIDI input of your synthesizer. This setup facilitates communication between the two devices, allowing your DAW to send MIDI data directly to the synthesizer.
To achieve effective data transmission, make sure that the MIDI settings on both your audio interface and synthesizer are configured to match the same MIDI channel. This alignment is essential for avoiding miscommunication or data loss.
If your synthesizer supports MIDI clock synchronization, connecting the MIDI output from your audio interface can help maintain precise timing with your DAW.
For enhanced real-time performance and composition, consider using a MIDI controller connected via USB to your computer. This controller can send MIDI signals to your synthesizer, providing a more dynamic and interactive workflow.
Lastly, keep your MIDI cables organized and labeled. This practice simplifies MIDI troubleshooting and guarantees that your setup remains efficient and easy to manage.
Proper cable management is a small step that can save significant time and frustration.
Synchronizing Clock Settings
Achieving precise synchronization between your hardware synthesizer and DAW is critical for maintaining cohesive timing and rhythm in your music production. Begin by confirming your MIDI interface is properly connected to both your computer and synthesizer. This facilitates efficient communication, minimizing MIDI latency.
In your DAW’s preferences, enable the MIDI clock option to send tempo sync information directly to your hardware synthesizer. This step is essential to prevent clock drift, which can disrupt the timing accuracy of your sequences.
Next, use a MIDI cable to connect the MIDI output of your audio interface to the MIDI input of your synthesizer. This direct connection confirms timing synchronization is maintained accurately.
Verify that the MIDI channel settings on both your synthesizer and DAW match; mismatched channels can lead to communication errors and contribute to latency issues.
Regularly test the synchronization by playing a MIDI sequence in your DAW and observing if the synthesizer remains in time with the recorded MIDI notes. Consistent testing helps identify and rectify any synchronization problems early, confirming the smooth integration of your hardware synthesizer with your DAW.
This meticulous approach guarantees that your musical compositions maintain their intended rhythmic precision.
Configuring Audio
Configuring audio effectively is the cornerstone of integrating hardware synthesizers with your DAW, guaranteeing seamless communication between your analog and digital components.
Begin by accessing the preferences in your DAW—such as Ableton Live—to select your audio interface as the primary input and output device for sound processing. This step guarantees that the audio signals from your synthesizer are correctly routed into your DAW environment. Proper signal routing is essential for directing audio from inputs to outputs effectively.
Next, create an audio channel within your DAW and configure its input settings to receive signals from the specific input on your audio interface where the synthesizer is connected. This step is vital for capturing the audio output from your synth accurately.
Arm the audio track to enable real-time monitoring and recording of the synthesizer’s sounds during playback, allowing you to hear and adjust the output as needed.
To further streamline the integration, use an external instrument device within your DAW to facilitate MIDI input from your MIDI controller. This allows you to control the synthesizer directly from your DAW, enhancing workflow efficiency.
Regularly check and adjust the audio buffer settings to minimize latency, guaranteeing smooth performance and a responsive playing experience while working with your hardware synth.
Track Setup
Proper track setup is a crucial step in integrating hardware synthesizers with your DAW, ensuring both efficient workflow and high-quality sound capture. Begin by connecting your synthesizer to your audio interface using the appropriate audio and MIDI cables, facilitating both sound and clock synchronization. In Ableton Live, access the preferences menu to select your audio interface as the audio input and output device for seamless integration.
Next, create a new audio track in Ableton and set its input to receive the audio signal from your synthesizer. This setup allows you to record the synth sounds directly into your DAW. Arm the audio track to enable monitoring and recording, ensuring you can hear and capture the synthesizer’s output in real-time.
For enhanced track management, use the external instrument device in Ableton. This device establishes a MIDI connection from your MIDI controller to the synthesizer, enabling you to play and control sounds directly from the DAW, streamlining your audio routing and workflow.
Here is a summary table for quick reference:
| Step | Action | Purpose |
|---|---|---|
| 1. Connect Cables | Connect synth to audio interface with audio and MIDI cables | Sound and clock synchronization |
| 2. Preferences | Select audio interface as input/output in Ableton preferences | Seamless integration |
| 3. New Audio Track | Create and set input to receive synth signal | Record synth sounds into DAW |
| 4. Arm Track | Enable monitoring and recording | Hear and capture real-time output |
| 5. External Device | Use external instrument device for MIDI connection | Play/control synth from DAW, efficient routing |
Recording and Playback
Having established a robust track setup, the next step is to focus on recording and playback to fully capture and utilize the rich sounds from your hardware synthesizer. Proper recording techniques guarantee that the audio quality is pristine, while effective playback options allow you to monitor and fine-tune your recordings.
For those looking to enhance their skills, reading comprehensive tutorials can provide insights into more advanced recording methods.
To begin, follow these essential steps:
- Connect Synthesizer to Audio Interface: Confirm the audio output of your synthesizer is connected to an audio interface input using a stereo cable. This is vital for capturing the full frequency range and stereo imaging of your synth.
- Create and Configure Audio Track: In your DAW, create a new audio track and set its input to the corresponding channel receiving the synthesizer’s signal from the audio interface. This step is fundamental for routing the audio correctly.
- Arm Track for Recording: Click the record-enable button on the audio track. This prepares the DAW to capture the synthesizer’s sound when you play, ensuring no part of your performance is missed.
- Playback and Monitoring: After recording, simply hit the play button in your DAW to listen back. Confirm the track is unmuted to hear the synthesized audio.
Utilize the external instrument device in your DAW for real-time performance and MIDI recording.
Frequently Asked Questions
How to Connect Synth to Daw?
To connect a synth to your DAW, establish a MIDI setup by linking the MIDI output of your interface to the synth’s input. Verify proper audio routing by connecting the synth’s audio output to the interface’s input.
Can You Connect a Synth to an Audio Interface?
Yes, connecting a synthesizer to an audio interface is feasible through various connection methods, including audio and MIDI cables. Different synth types may require specific configurations, but ensuring compatibility with your DAW and computer is essential.
What Is the Best Hardware Synth to Start With?
For beginners, the Korg Minilogue is recommended due to its balance of analog synthesis and powerful sequencer. It provides a practical introduction to analog vs digital soundscapes, offering both technical depth and creative flexibility.
Do Hardware Synths Sound Better Than Software?
Hardware synthesizers often deliver superior sound quality due to their analog warmth and unique harmonic characteristics, enhancing sound design capabilities. While software synths offer flexibility, the tactile experience and reliability of hardware synths are frequently preferred by professionals.
Conclusion
In conclusion, the integration of hardware synthesizers with digital audio workstations requires careful consideration of necessary equipment, precise connection of components, proper power management, meticulous MIDI setup, accurate audio configuration, and strategic track setup. This process, though intricate, enables the seamless fusion of analog warmth with digital precision, thereby expanding creative possibilities and enhancing the overall music production experience. Mastery of these steps guarantees a robust and efficient workflow, ultimately contributing to high-quality sonic outcomes.