To effectively use EQ in Audacity, start by importing your audio file via “File” > “Import” > “Audio”. Access the Filter Curve EQ under the Effect menu. Familiarize yourself with the interface; it’s essential for precise adjustments. Roll off bass below 100Hz for clarity. Enhance mid-range frequencies for vocal warmth, and boost treble above 6,100Hz for vibrancy. Use the Preview function to listen to your adjustments in real-time. Once satisfied, apply the changes and export your audio in WAV or MP3 format. You’re just scratching the surface; there’s more to effectively mastering these techniques.
Key Takeaways
- Access the Equalizer by navigating to Effect > Filter Curve EQ in Audacity for frequency adjustments.
- Import audio files using File > Import > Audio, or drag and drop directly into the workspace.
- Adjust bass frequencies by rolling off below 100Hz for better clarity and less noise.
- Use the Preview function to listen to changes in real-time and make informed adjustments.
- Export your final audio in WAV or MP3 formats after verifying sound balance across different playback systems.
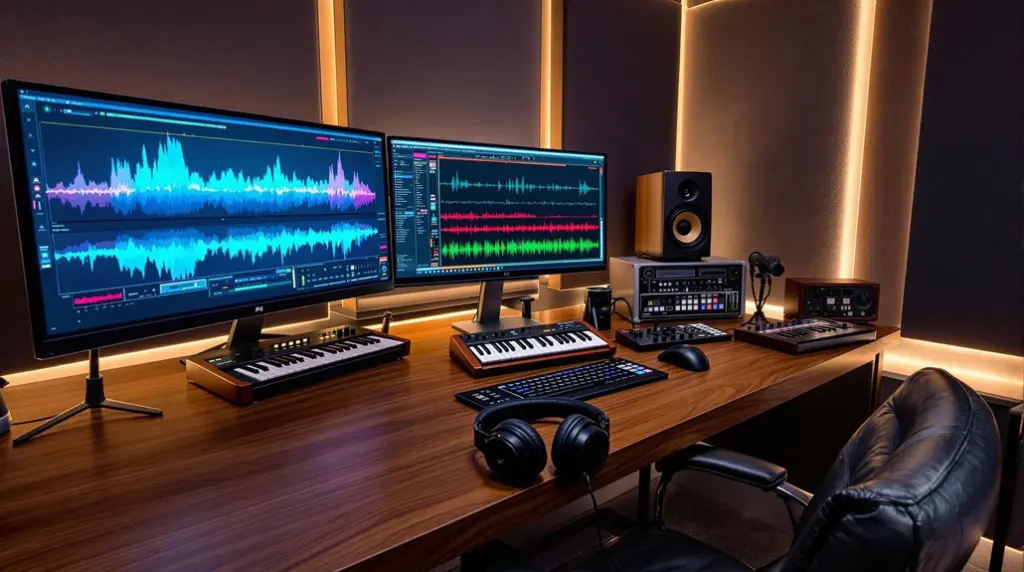
Overview of Audacity Equalizer
The Audacity Equalizer is a powerful tool that fundamentally alters how your audio sounds by manipulating specific sound frequencies.
Central to this tool is the Filter Curve EQ interface, which starts with a default flat line, allowing you to customize frequency responses by adding and adjusting points. You can boost certain frequencies while attenuating others, enhancing the clarity and overall quality of your audio.
For instance, rolling off bass frequencies below 100Hz can greatly improve clarity, while enhancing treble frequencies above 6,100Hz adds brightness. Utilizing a spectrum analyzer can further aid in identifying problematic frequencies, ensuring optimal EQ adjustments.
Mastering the Audacity Equalizer is essential for both beginners and experienced audio editors, enabling you to achieve professional-sounding results in your projects and ensuring your audio stands out.
Importing Your Audio File
Importing an audio file into Audacity is a straightforward process that sets the foundation for your editing tasks.
To begin, open the software, click on “File” in the menu bar, and select “Import,” then “Audio.” This allows you to browse your device for the desired file. Alternatively, you can expedite the process by dragging and dropping the audio file directly into the Audacity window.
Confirm your audio file is in a supported format, such as WAV, MP3, or AIFF, to successfully import it. Once imported, the audio will appear as a waveform in the main editing window, enabling you to visualize its amplitude.
Use the playback controls to listen and assess any necessary adjustments before proceeding with effects like EQ.
Accessing Filter Curve EQ
To access the Filter Curve EQ in Audacity, open your audio file and go to Effect > Filter Curve EQ in the top menu.
You’ll see a flat line by default, representing unaltered audio frequencies. Understanding this interface is vital for making precise adjustments to enhance your sound quality, particularly when aiming to boost vocal presence and clarity for improved intelligibility in your recordings.
Accessing the Filter Curve EQ in Audacity is a straightforward process that enhances your audio editing experience.
First, open Audacity and load your desired audio file. Navigate to the Effect menu at the top of the screen. Click on “Effect” to reveal a dropdown menu, where you’ll find the option labeled “Filter Curve EQ.”
Selecting this option brings up the Filter Curve EQ interface, which displays a flat line representing the default EQ settings. If you’ve made prior adjustments, you can use the Flatten button to reset the curve for a fresh start.
Familiarize yourself with the points on the curve to effectively manipulate specific frequency ranges, allowing for precise audio modifications tailored to your project’s needs.
Understanding EQ Interface Basics
The Filter Curve EQ interface in Audacity serves as a powerful tool for audio manipulation, allowing you to fine-tune your sound with precision.
To access it, open Audacity, load your audio file, and select Effect > Filter Curve EQ. Initially, you’ll see a flat line representing equal levels across all frequencies. You can modify this by adding points to the curve, enabling you to adjust specific frequency ranges.
Dragging these points up or down increases or decreases the volume of those frequencies. If you need a clean slate, use the Flatten button to reset the settings.
Understanding EQ interface basics will enhance your ability to make precise adjustments, greatly improving your audio quality.
Rolling Off Bass Frequencies
Rolling off bass frequencies is essential for achieving a clean sound in your audio projects.
You’ll want to understand how bass frequencies interact with your recordings, as well as the steps involved in the roll-off process.
This adjustment not only enhances clarity but also eliminates unwanted low-end sounds that can muddy your mix. Additionally, adjusting the Threshold during the compression process can help further refine your audio quality by managing dynamic range effectively.
Understanding Bass Frequencies
Understanding bass frequencies is essential for achieving clarity in voice recordings. Frequencies below 100Hz often introduce unwanted noise, muddying your audio and obscuring vocal elements.
By applying a high pass filter, you can roll off these bass frequencies, enhancing overall sound quality. Start by setting a point above the 100Hz mark, which minimizes low-end sounds that typically don’t contribute to voice clarity.
To further refine your audio, add a second point slightly to the left and drag it downward. This technique effectively clears up muddiness, allowing the listener to focus on the vocals.
Adjusting bass levels in this way not only improves clarity but also guarantees the voice remains prominent in the mix.
Steps to Roll Off
To effectively roll off bass frequencies in Audacity, begin by accessing the Filter Curve EQ from the Effect menu after loading your audio file.
Follow these steps to achieve ideal results:
- Create a control point above the 100Hz mark on the EQ curve.
- Add a second control point slightly to the left of the first.
- Drag the second control point downward to reduce low-end frequencies.
- Preview the audio to evaluate the clarity and balance.
- Finalize the changes by clicking OK once satisfied.
Rolling off bass helps minimize unwanted sounds, enhancing the overall quality.
Always verify the adjustments align with your desired audio outcome before committing to the changes.
Benefits of Bass Reduction
When you reduce bass frequencies below 100Hz, you considerably enhance the clarity of your audio recordings. This bass reduction minimizes muddiness, especially beneficial for voice recordings where clarity is essential. Frequencies in this range are typically inaudible in human speech, so rolling them off helps prevent unwanted noise from overshadowing vocal detail.
By applying a high-pass filter, you create a cleaner sound profile that allows vocals and higher frequencies to stand out prominently. Additionally, reducing low-end frequencies improves the effectiveness of compression and other effects during mixing, resulting in a polished final product.
Ultimately, proper bass reduction enhances the listening experience and achieves better sonic balance in multi-track recordings, ensuring bass doesn’t overpower other elements.
Enhancing Treble Frequencies
Enhancing treble frequencies in Audacity can greatly improve the brightness and clarity of your audio recordings.
Start by adding a dot above the 6,100Hz mark on the Filter Curve EQ to effectively target the treble range. Then, create a second dot slightly to the right for fine-tuning. Drag this second dot upward by up to 6dB to amplify your audio.
This adjustment will help you:
- Highlight crisp sounds
- Make voice recordings more vibrant
- Increase overall audio engagement
- Enhance instrument clarity
- Create a more professional sound
Additionally, be mindful of critical listening to ensure your adjustments complement the overall mix. Always use the preview function to listen to your changes in real-time. This guarantees the enhancement meets your desired audio quality before you apply the effects.
Adjusting Mid-Range Frequencies
Adjusting mid-range frequencies in Audacity considerably impacts the clarity and presence of your audio.
To start, use the Filter Curve EQ to manipulate the 250Hz to 2kHz range, vital for achieving that nice crisp treble in vocal recordings. You can apply notching to address specific problematic frequencies without compromising the overall sound, resulting in cleaner audio.
A subtle boost of 1-3dB in the mid-range enhances vocal warmth and detail, engaging your listeners more effectively. Experiment by dragging points, especially between 500Hz and 1kHz, to hear how different adjustments affect the sound.
Always keep in mind that the goal is to enhance clarity, ensuring your mid-range tweaks don’t muddy the audio quality. Additionally, make wide cuts and boosts for subtle tonal balance enhancement, focusing on EQ precision for fine-tuning rather than drastic changes.
Using the Preview Function
The Preview function in Audacity lets you listen to your EQ adjustments in real-time, providing immediate feedback on your changes.
By clicking the “Preview” button, you can compare different settings effectively, ensuring that you achieve the desired audio quality. This capability not only streamlines your editing process but also enhances your overall decision-making, allowing you to make better choices regarding reverb levels for a cohesive mix.
Real-time Audio Listening
How can you guarantee your equalization adjustments are effective before finalizing them? By using the Preview function in Audacity, you can listen to your EQ changes in real-time, assuring peak sound quality.
Here’s how the Preview feature enhances your workflow:
- Adjust the Filter Curve EQ settings.
- Click the “Preview” button for a quick 10-second playback.
- Toggle between the original audio and the modified version.
- Evaluate frequency adjustments with immediate feedback.
- Make informed decisions before committing to changes.
This capability allows for fine-tuning, helping you achieve the desired audio quality.
Utilize the Preview function to make certain your adjustments enhance your project, not detract from it. It’s a vital step in the audio editing process.
Compare Adjustments Effectively
When considering any audio adjustments, can you truly appreciate the impact of your equalization changes without direct comparison?
The Preview function in Audacity is essential for this task. It allows you to listen to your adjustments in real-time, making it easier to compare adjustments effectively. By toggling the Preview button on and off, you can directly contrast the adjusted audio with the original sound, helping you grasp the differences more clearly.
It’s advisable to make small adjustments and frequently preview them to avoid drastic changes that could degrade audio quality.
Utilizing this feature not only aids in identifying the most effective frequency adjustments for clarity and balance but also accelerates your learning curve in developing an ear for sound quality.
Applying EQ Settings
After importing your audio file into Audacity, applying EQ settings requires maneuvering to Effect > Filter Curve EQ.
- Start with the default flat line view.
- Click the Flatten button to remove previous adjustments.
- Roll off bass frequencies below 100Hz by adding points and dragging them downward for clarity.
- Enhance treble frequencies above 6,100Hz by adding points and adjusting them upward by up to 6dB for brightness.
- Use the preview option to listen to real-time changes.
These steps guarantee precise control over your audio’s tonal balance, ensuring proper frequency management to prevent muddiness and enhance clarity.
Finalizing Your Audio
Once you’ve fine-tuned your EQ settings in Audacity, it’s time to finalize your audio. Start by using the Preview option to listen to your adjustments in real-time. If you’re satisfied with the sound quality, click the OK button to apply the changes permanently. Don’t forget to save your project frequently to avoid losing any work after finalizing your audio. Managing dynamic range effectively is crucial to ensure your track sounds good across all playback systems.
Consider exporting your finalized audio in formats like WAV or MP3 for compatibility across platforms. To guarantee your EQ adjustments are effective, review the overall sound balance by listening on various speakers or headphones. Here’s a quick overview of the finalizing process:
| Step | Action | Purpose |
|---|---|---|
| Preview | Listen to adjustments | Verify audio quality |
| Apply Changes | Click OK | Save EQ settings |
| Save Project | Frequent saves | Prevent data loss |
| Export | Choose format (WAV/MP3) | Guarantee compatibility |
Additional Resources and Tips
To enhance your audio editing skills in Audacity, consider exploring the built-in EQ presets that cater to specific audio needs, such as podcasts or music production. Utilizing these presets can streamline your workflow and yield impressive results.
Here are some additional tips:
- Use the preview function in Filter Curve EQ for real-time feedback.
- Check online tutorials and forums for advanced EQ techniques.
- Reference tracks in a similar genre to guide your EQ settings.
- Regularly experiment with various EQ settings to discover unique sounds.
- Document your presets to build a personalized library for future projects.
- Understanding frequency clashes is crucial in achieving a clearer mix and preventing muddiness.
Frequently Asked Questions
How to Apply EQ in Audacity?
To apply EQ techniques in Audacity, open your audio file, access Filter Curve EQ, adjust frequency bands by adding and moving dots, preview your changes, and click OK to finalize your adjustments for improved sound quality.
How Do You Use an Equalizer for Beginners?
To use an equalizer as a beginner, focus on frequency control. Identify problematic frequencies, adjust them by boosting or cutting specific ranges, and always listen to the changes to make certain they enhance your audio quality effectively.
How to Equalize Audio Levels in Audacity?
To equalize audio levels in Audacity, focus on enhancing audio clarity. Adjust bass frequencies below 100Hz and treble above 6,100Hz. Use the preview feature to verify your adjustments improve sound quality before applying changes.
How Do I Set My EQ to the Best Sound?
To set your EQ for the best sound, consider your sound preferences. Roll off bass below 100Hz, boost treble above 6,100Hz, and fine-tune mid-range frequencies while previewing changes for ideal clarity and brightness.
Conclusion
To summarize, using the equalizer in Audacity effectively enhances your audio quality. By following the outlined steps—importing your file, adjusting frequencies, and applying settings—you can achieve a polished sound tailored to your needs. Don’t forget to utilize the preview function to guarantee satisfaction with your changes before finalizing. With practice, you’ll develop a keen ear for EQ adjustments, making your audio projects sound professional and engaging. Keep experimenting to refine your skills further.