Recording drums in three easy steps for beginners starts with setting up your equipment. Use a DAW on a computer with an audio interface featuring at least 8 inputs. Select appropriate microphones: a dynamic mic for kick, a Shure SM57 for snare, and condensers for overheads. Position the kick mic inside the shell pointing at the beater and angle the snare mic over a tension rod. Place condenser mics equidistant from the snare as overheads. Finally, connect the mics to the audio interface, adjust input gains to peak at -12dB to -6dB, and conduct sound checks. For more advanced tips, explore further.
Key Takeaways
- Select appropriate microphones (dynamic for kick, Shure SM57 for snare, condenser for overheads) and position them correctly for optimal sound capture.
- Connect microphones to an audio interface via high-quality XLR cables and ensure secure routing to avoid interference.
- Adjust input gain levels on the audio interface to peak between -12dB to -6dB to prevent distortion.
- Create and label separate audio tracks in the DAW for each microphone to allow detailed mixing and editing.
Set Up Your Equipment
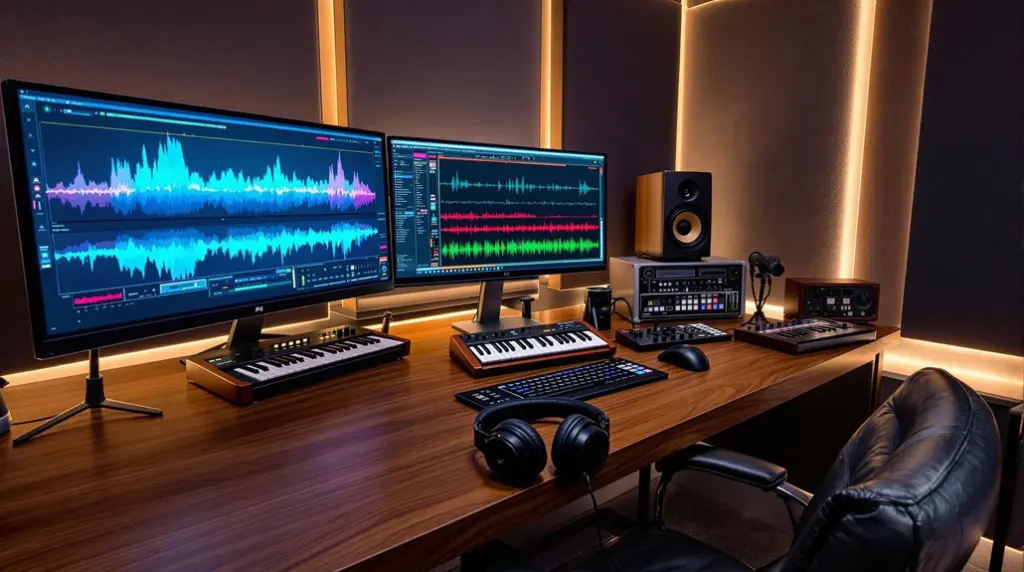
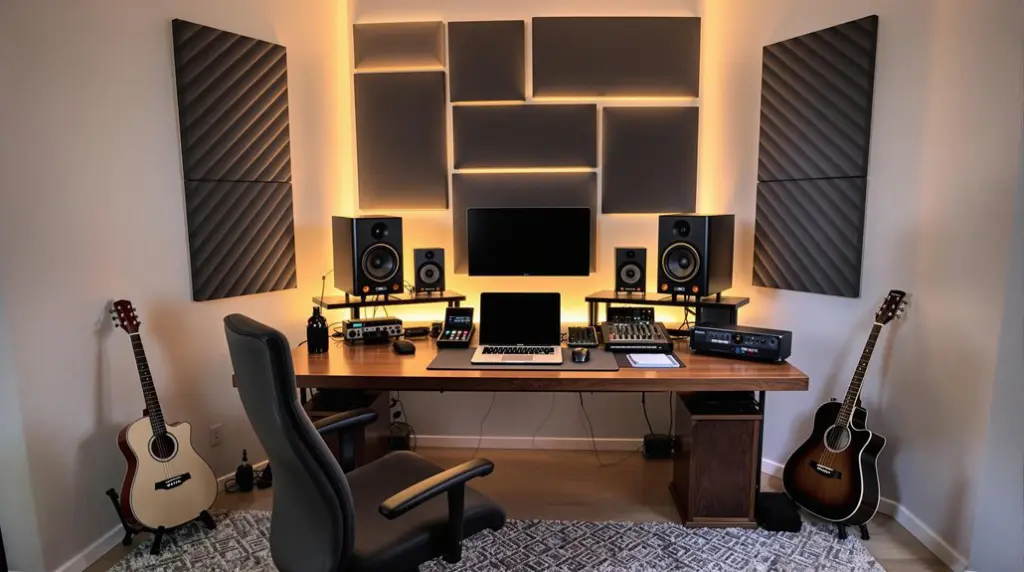
To begin setting up your equipment, verify you have a computer with a Digital Audio Workstation (DAW) like Logic or Pro Tools for recording and editing your drum tracks.
Next, integrate an audio interface with at least 8 microphone inputs, making sure it connects to your computer via USB or Thunderbolt for maximum data transfer and performance.
Select and organize your microphones according to the specific requirements of each drum element. Utilize a dynamic microphone for the kick drum to handle high SPLs (Sound Pressure Levels).
For the snare, a dynamic microphone such as the Shure SM57 is highly recommended due to its robust build and frequency response. Employ condenser microphones for overheads to capture the full spectrum and ambience of the drum kit.
Connect each microphone to the audio interface using high-quality XLR cables of at least 15 feet in length. Ensure that these cables are securely connected and routed to avoid interference or noise from contact with other equipment.
In your DAW, create separate audio tracks for each microphone input, and label them clearly (e.g., Kick, Snare, Overhead Left, Overhead Right) to facilitate an organized and efficient recording process.
Position the Microphones
Once your equipment is set up and properly connected, carefully position the microphones to capture the nuanced sound of each drum component accurately.
Begin by placing the kick drum mic inside the shell, aiming it at the beater strike point. This mic placement technique guarantees ideal punch and depth. Use a port hole for easy access and adjustment.
Next, position the snare mic over a tension rod, angling it towards the drum’s center. This setup enhances the snare’s crack and provides a clear, detailed sound.
For overhead mics, set up two condenser microphones above the kit. Confirm they are equidistant from the snare to avoid phasing issues. This technique captures the overall sound of the drum kit effectively.
For toms, dynamic microphones positioned close to each tom are perfect for clarity. Adjust the placement based on the drummer’s height and kit configuration.
Common mistakes include unstable microphone stands and mics touching each other, which can introduce unwanted noise during recording. Confirming all stands are stable and separated will help capture a clean signal.
Record and Adjust Levels
Connecting all microphones to the audio interface is the initial step in guaranteeing a seamless recording process, allowing for precise input gain adjustments and ideal sound capture. Proper labeling in your recording software is vital for easy identification during mixing. This organization aids in efficiently managing each mic’s output.
Next, adjust the input gain levels on the audio interface settings. Aim for a peak level around -12dB to -6dB. This range is best for preventing distortion while capturing the dynamic range of the performance. Set up separate audio tracks for each microphone in your DAW (Digital Audio Workstation). This configuration allows for granular control and flexibility during the mixing phase.
Conduct a thorough sound check using sound check techniques by playing a typical groove. Monitor and adjust the levels of each microphone to achieve a balanced mix. Confirm no single element overpowers the others.
Real-time monitoring during recording is essential. Keep an eye on the levels and make adjustments as necessary to maintain consistency and clarity throughout the session. By following these steps, you guarantee a professional and high-quality drum recording, setting a solid foundation for the mixing and production stages.
Frequently Asked Questions
How Do You Record Drums Step by Step?
To record drums step by step, start with precise drum tuning for ideal sound. Next, focus on accurate microphone placement: position mics on the bass drum, snare, and overheads. Finally, connect to an audio interface and monitor levels.
What Is the 3 to 1 Rule Drums?
The 3 to 1 rule in drum recording emphasizes microphone placement for ideal sound isolation. It dictates that the distance between microphones should be at least three times the distance from each microphone to its sound source, minimizing phase cancellation.
Do You Record Drums First or Last?
The recording order—whether to record drums first or last—depends on drum tracking techniques, the song’s arrangement, and desired sound. Recording drums first establishes a rhythmic foundation, while recording last allows for integration with other developed elements.
How Hard Is It to Record Drums?
Recording drums can be challenging due to complex drum recording techniques and beginner challenges. Proper mic placement, tuning, and understanding acoustics are critical for achieving a balanced mix, making it essential to master these technical aspects.
Conclusion
Successful drum recording requires meticulous planning and execution.
By setting up the equipment properly, positioning the microphones accurately, and recording while adjusting levels meticulously, high-quality drum tracks can be achieved.
Each step involves precise actions that greatly affect the final sound output.
Mastery of these techniques guarantees a professional-grade recording suitable for various musical productions.
Consistent practice and refinement of these processes will lead to improved results and a deeper understanding of drum recording intricacies.


