To record computer audio with Audacity, follow these five steps. First, install the software from the official Audacity website and set it up. Next, configure audio settings by accessing “Edit” and selecting “Preferences”; set the audio host to “Windows WASAPI” for Windows users. Then, choose your recording device like “Stereo Mix” or Soundflower for macOS. Start recording by clicking the red “Record” button, monitoring levels to prevent clipping. Finally, edit the audio using various tools, and export it in your desired format. For additional guidance on optimizing your audio recordings, explore further.
Key Takeaways
- Install Audacity from the official website, ensuring compatibility with your operating system (Windows, macOS, or Linux).
- Configure audio settings in Preferences, selecting “Windows WASAPI” or Soundflower for system audio capture.
- Choose the appropriate recording device in Preferences and adjust volume levels to avoid distortion.
- Start recording by clicking the red “Record” button and monitor audio levels to prevent clipping.
- Edit audio segments using tools available in Audacity, then export in your desired format (WAV, MP3, OGG).
Install Audacity Software
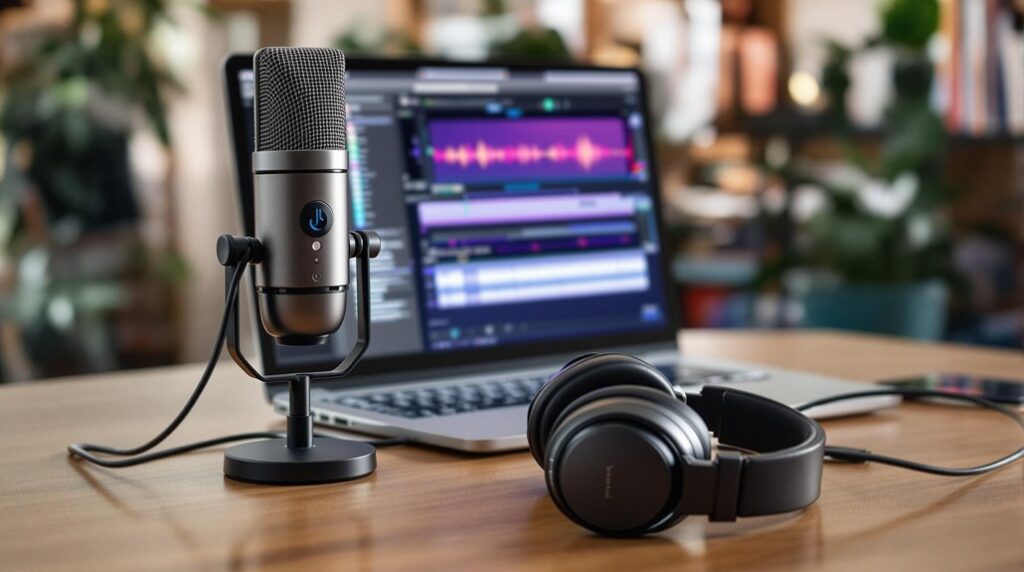
To initiate your audio recording journey, the first step is to install Audacity software on your computer.
Begin by visiting the official Audacity website to download and install the latest version compatible with your operating system, whether Windows, macOS, or Linux.
After downloading, locate the installer file in your downloads folder and double-click it to start the installation process.
Follow the on-screen instructions, making sure to select any necessary options such as language preferences.
Once the installation is complete, launch Audacity from your desktop or applications list.
Familiarize yourself with the user interface, including the toolbars and timeline, to effectively navigate and utilize Audacity for capturing computer sound and enhancing your audio projects with this powerful recording software. Additionally, ensure that you have the FFmpeg library installed for seamless audio import from video files.
Configure Audio Settings
Configuring the audio settings in Audacity is essential for capturing high-quality recordings of computer audio. Proper configuration guarantees peak recording capabilities and sound quality.
Follow these steps to set your audio settings effectively:
- Navigate to the “Edit” menu and select “Preferences” to access audio settings.
- Set the “Audio Host” to “Windows WASAPI” for capturing system audio using the loopback feature.
- Choose the appropriate input device, such as “Stereo Mix” or a specific microphone, from the drop-down menu in the Devices section.
- Adjust the sample rate and channels (mono or stereo) in the Quality section to enhance recording quality based on your project’s requirements. Additionally, ensure that you are aware of audio processing tools like EQ, which can further refine your recordings during post-production.
Select Recording Device
How can you guarantee that Audacity captures the desired audio source effectively? To accomplish this, navigate to the “Devices” menu within Preferences and select the appropriate recording device from the dropdown list.
For Windows users, it is advisable to choose “Windows WASAPI” as the Audio Host and opt for the loopback option of your playback device to capture system audio.
macOS users should install Soundflower or a similar virtual audio device to route system audio, selecting it as the input source.
Ascertain that your microphone input or audio interface is connected and recognized by the operating system.
Finally, adjust the volume sliders to confirm that the recording level is ideal, preventing distortion or clipping, especially when capturing background music. Additionally, be mindful of using a high-pass filter to eliminate unwanted low-frequency noise during the recording process.
Start Recording Process
With the recording device properly selected in Audacity, the next step is to initiate the recording process. Follow these steps to effectively begin capturing audio:
- Adjust Preferences: Confirm your input device is set in the preferences menu, selecting either a microphone or system audio.
- Select Input Source: For Windows, use “Windows WASAPI” and choose the loopback input. On macOS, install Soundflower to route system audio.
- Press Record Button: Click the red “Record” button in Audacity to start recording and use Volume Control to monitor levels, preventing clipping.
- Stop and Save: Once finished, click the “Stop” button and remember to save your project or export the audio in your desired format for future use. Additionally, ensure that both microphones are recognized by the operating system for optimal dual mic capture during your recording session.
Edit and Export Audio
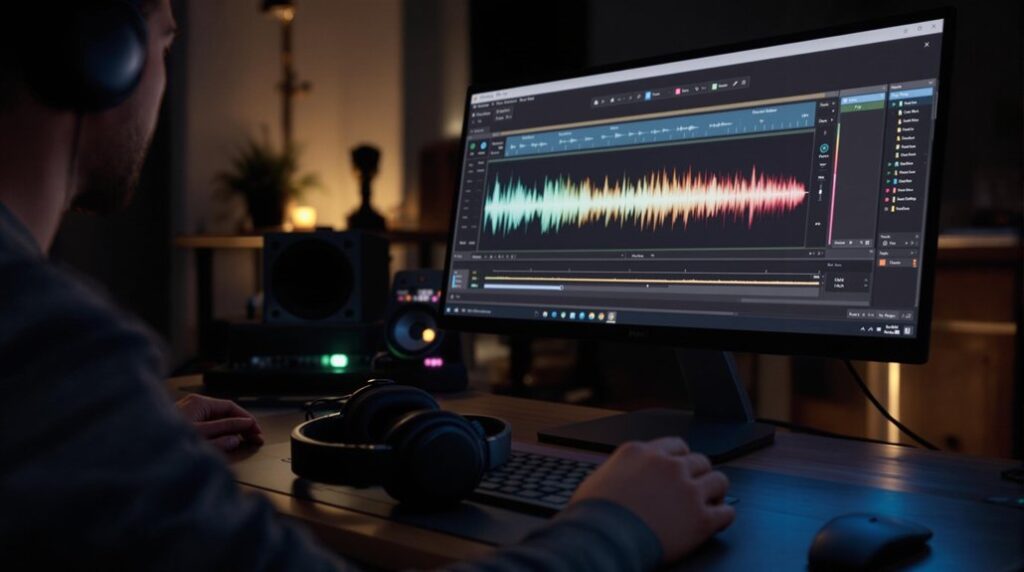
Editing and exporting audio in Audacity is a crucial phase that transforms raw recordings into polished audio files ready for distribution or further use.
Utilize the editing tools such as cut, copy, paste, and delete to manipulate audio segments effectively within the timeline. Enhance audio quality by applying effects like normalization, equalization, and noise reduction. The “Undo” and “Redo” functions allow for easy corrections without starting over. Additionally, applying vocal reduction techniques can help refine your audio by isolating or removing vocals as needed.
When exporting audio, choose from various audio formats, including WAV, MP3, or OGG, and adjust settings such as bitrate and sample rate to optimize file quality.
Remember to save your project files periodically to preserve progress, enabling future edits and adjustments without the need to restart the entire process.
Frequently Asked Questions
How Do You Record Your Desktop Audio on Audacity?
To record desktop audio in Audacity, configure your sound settings to select the appropriate output device as the input source. Utilize mixer options for track management, ensuring ideal audio quality before exporting in desired formats.
What Is the Easiest Way to Record Computer Audio?
The easiest way to achieve high-quality audio recording involves selecting appropriate software options that support digital sound. Employ effective recording techniques, optimize sound quality, utilize user-friendly interfaces, and leverage editing features for audio mixing and noise reduction.
Is Audacity Easy to Use for Beginners?
Audacity features a user-friendly interface that facilitates audio editing for beginners. With extensive beginner tips on software installation, microphone settings, and track management, users can achieve high recording quality while addressing troubleshooting issues and utilizing noise reduction and export options effectively.
How Do I Record the Best Audio in Audacity?
To record the best audio in Audacity, optimize sound settings, guarantee proper microphone placement, and utilize effective recording techniques. Post-recording, apply noise reduction, audio effects, and mastering audio practices for enhanced audio quality and software compatibility.
Conclusion
In summary, recording computer audio with Audacity is a straightforward process that can be accomplished in five systematic steps. By installing the software, configuring the necessary audio settings, selecting the appropriate recording device, initiating the recording, and subsequently editing and exporting the audio, users can efficiently capture high-quality sound. This method not only enhances audio production capabilities but also guarantees that users can create professional-grade recordings with relative ease.