For crystal-clear audio in Audacity, start by importing your file using File > Import. Identify sections of ambient noise to create a noise profile via Effect > Noise Removal. Use this profile to consistently reduce background disturbances by adjusting noise reduction levels and sensitivity. Eliminate pops and clicks by applying Effect > Click Removal, tweaking the threshold to ideal settings. Utilize the high-pass filter to remove low-frequency interferences. Normalize audio levels under Effects to prevent clipping and maintain uniform loudness. For thorough insight into achieving pristine audio, explore advanced settings and best practices that enhance overall audio quality.
Key Takeaways
- Generate a noise profile and apply noise reduction for consistent unwanted sound elimination.
- Use the Click Removal tool to target and remove pops and clicks from the audio track.
- Implement a high-pass filter to eliminate low-frequency rumble and enhance clarity.
- Normalize audio levels to ensure uniform loudness and prevent clipping.
- Validate the final audio on various playback devices to ensure quality across platforms.
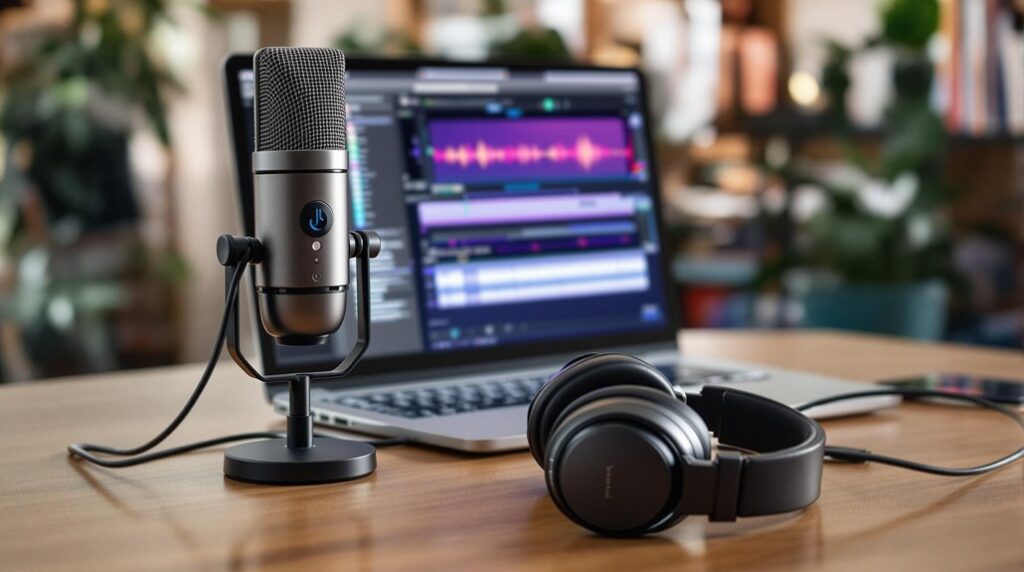
Audacity Basics and Features
Although Audacity is free and open-source, it offers a robust set of features that cater to both novice and seasoned audio editors. Its cross-platform availability on Windows, Linux, and Mac OS guarantees broad accessibility.
Audacity supports a range of audio formats, including WAV, AIFF, AU, FLAC, and MP3, accommodating both 16-bit and 24-bit audio tracks. A key feature is the noise reduction effect, which is instrumental in eliminating background noise to greatly improve your audio.
Users benefit from an intuitive interface that simplifies complex processes, making it easy to mix multiple audio tracks and apply external plug-ins for enhanced functionality. Additionally, mastering tools such as equalization techniques allow users to refine their sound quality and achieve professional-grade audio results.
Built-in tools such as click removal and volume normalization contribute to superior audio clarity and quality.
Importing Audio Files
Efficiently importing audio files into Audacity is a critical first step in the editing process. With Audacity installed, navigate to File > Import > Audio, or utilize the CTRL + SHIFT + I shortcut, to initiate the importation of your chosen file.
Audacity’s robust support for formats such as WAV, AIFF, AU, FLAC, and MP3 facilitates versatile editing possibilities. For formats like M4A, employing FFmpeg is essential to expand Audacity’s compatibility.
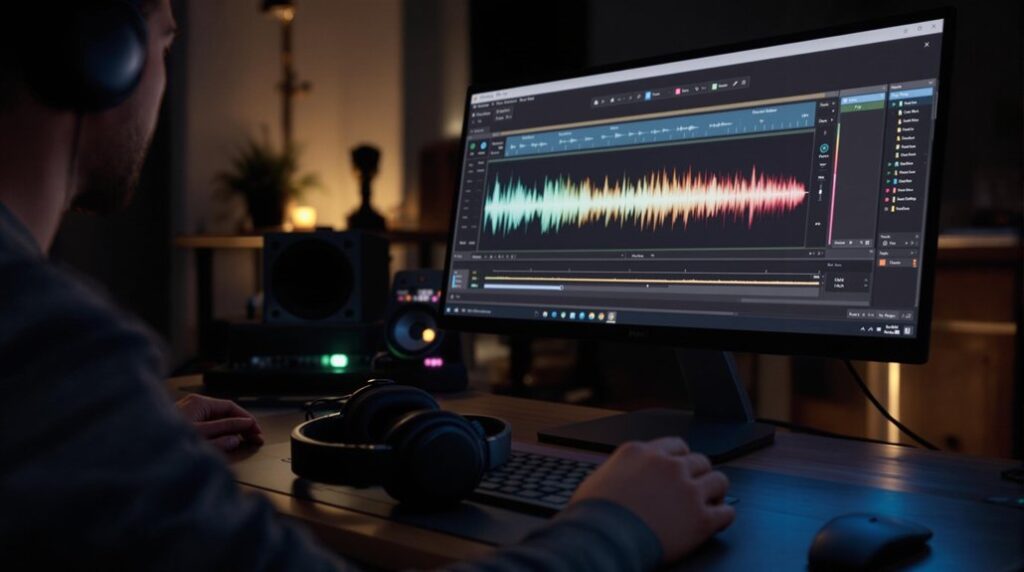
Make sure to duplicate audio files by selecting Edit > Duplicate (or CTRL + D), preserving the original for comparison. Upon successful import, the audio waveform materializes in the main editing window, providing a foundation for subsequent enhancements. This meticulous attention to importing guarantees maximum audio clarity from the onset, as proper import formats ensure optimal audio quality during editing.
Creating a Noise Profile
Identifying and eliminating unwanted noise is a fundamental step in refining audio quality, and creating an accurate noise profile in Audacity is essential to this process.
Begin by isolating a segment of audio that exclusively contains the ambient noise you wish to eliminate, devoid of intentional sounds. This segment serves as the foundation for your Noise Profile.
Navigate to Effect > Noise Removal and select “Get Noise Profile” to allow Audacity to analyze the noise characteristics.
Subsequently, your Noise Profile will be configured to effectively remove background noise across the entire audio track. Advanced algorithms are commonly utilized by audio restoration tools for precise noise reduction, ensuring optimal results in your editing process.
Precision in adjusting parameters like noise reduction level, sensitivity, and frequency smoothing is critical to tailoring the removal process. This guarantees that the resultant audio maintains peak clarity and fidelity.
Applying Noise Reduction
In Audacity, applying noise reduction begins with the precise creation of a noise profile by isolating a section of audio that exclusively contains the unwanted noise. This profile serves as a benchmark for subsequent processing, where careful adjustment of parameters such as Noise Reduction level, Sensitivity, and Frequency Smoothing is essential to optimize results without introducing artifacts. Utilizing the preview feature allows for real-time assessment and iterative refinement, ensuring that audio clarity and quality are maintained throughout the process. Additionally, it’s important to note that consistent background noise is more effectively reduced than irregular sounds.
Effective Noise Profile Creation
When commencing on the task of noise reduction in Audacity, establishing an effective noise profile is an essential first step that sets the foundation for ideal sound clarity.
To accurately assess and remove noise, begin by isolating a segment of audio containing only the unwanted noise—this is imperative for precise profiling.
Navigate to Effect > Noise Reduction and select “Get Noise Profile” to capture the noise level’s unique characteristics. This profile allows Audacity to effectively target and remove noise across the entire track without impacting the integrity of intentional sound.
Subsequently, select the full audio track and apply the noise reduction. Ensuring this step is executed meticulously guarantees that subsequent adjustments in the noise reduction process yield best results.
Optimizing Reduction Parameters
With an accurate noise profile established, the next phase involves enhancing the reduction parameters to achieve the ideal balance of noise elimination and audio fidelity.
Begin by selecting the entire track and accessing the Noise Reduction effect. Adjust the Noise Reduction level, typically around 12 dB, to control the intensity of noise removal. Fine-tune Sensitivity, often set at 6, to differentiate between noise and desired signals.
Employ Frequency Smoothing, generally at 3, to mitigate harsh shifts and maintain audio quality. Preview changes meticulously to prevent excessive artifacts.
Implement a two-pass approach: the initial pass addresses prominent noise, while the subsequent pass fine-tunes residual artifacts.
Continuously monitor audio levels post-processing to guarantee clarity, avoiding over-processing for peak sound quality.
Removing Pops and Clicks
Eliminate unwanted pops and clicks from your audio recordings in Audacity through utilizing the software’s specialized effects.
Begin by proceeding to Effect > Click Removal. This tool allows for precise adjustments targeting the specific pops and clicks within your audio. Start by isolating a section containing these noises, then use the Preview feature to gauge the effectiveness of your chosen settings.
For best results, adjust the Click Removal Threshold, typically starting around 50%, to guarantee it captures unwanted sounds while preserving audio integrity. Additionally, employing a high-pass filter can help further enhance the clarity of your audio by removing low-frequency noise that may contribute to unwanted sounds, such as low-frequency noise.
Post-application, conduct a thorough review of the entire track to verify the absence of artifacts. If persistent issues remain, employ the Repair tool via Effect > Repair to manually rectify isolated clicks without disturbing adjacent audio.
Trimming Unwanted Silence
Trimming unwanted silence in Audacity involves a meticulous process of identifying and excising silent sections to streamline audio continuity.
By employing visual waveform inspection and utilizing the Cut command (CTRL + X), users can efficiently remove non-essential silence, greatly enhancing the audio’s flow and clarity.
For precision, utilizing the Zoom tool (CTRL + 1) enables accurate detection, while the Silence Finder feature facilitates batch processing, optimizing the workflow in silence management. Additionally, ensuring proper mic placement can further reduce the chances of capturing unwanted silence during recording sessions.
Efficient Silence Removal
Efficiently removing unwanted silence in Audacity is crucial for achieving a polished and professional audio track. To remove silence, highlight the silent sections on the waveform, identifiable as flat lines. Use the Cut command (CTRL + X) to excise these segments, thereby streamlining the audio. For automated precision, employ the Silence Finder tool (Analyze > Silence Finder), which detects and marks silence based on customizable thresholds. Post-trimming, apply the Normalize effect (Effects > Volume and Compression > Normalize) to guarantee uniform volume levels. Regular auditory checks during trimming are essential to maintaining sound quality.
| Feature | Functionality | Command/Path |
|---|---|---|
| Highlight Silence | Visual identification of gaps | Flat lines on waveform |
| Remove Silence | Cut command usage | CTRL + X |
| Silence Finder | Automatic silence detection | Analyze > Silence Finder |
| Normalize Audio | Consistent volume post-trimming | Effects > Volume and Compression > Normalize |
Enhance Audio Flow
When aiming to enhance audio flow in Audacity, precise trimming of unwanted silence is paramount.
Begin by identifying flat lines in the waveform, which represent silence, and highlight these sections for removal. Utilize the Zoom tool to meticulously inspect the waveform, ensuring accurate delineation of silent versus essential audio segments.
Employ the Cut command (CTRL + X) to excise these marked silences, thereby refining the auditory experience and bolstering listener engagement. For efficiency, leverage the Silence Finder tool located under Analyze > Find Silence to automatically detect prolonged silences.
Post-trimming, conduct a thorough auditory review to confirm that the audio flow remains seamless and that critical dialogue or sound elements have not been inadvertently excised.
This precision-focused approach optimizes the audio’s continuity and clarity.
Normalizing Audio Levels
Achieving consistent audio levels is fundamental for a professional-quality production, and normalizing audio in Audacity serves as an effective tool for this purpose. To normalize audio, navigate to Effects > Volume and Compression > Normalize. Here, you can adjust the peak amplitude, guaranteeing that each track maintains uniform loudness.
The process involves:
- Selecting the Track: Choose the audio track you wish to normalize.
- Setting Peak Amplitude: Recommended peak amplitude is typically -1.0 dB to avoid clipping.
- Balancing Loudness: Guarantees all segments of audio exhibit similar loudness, critical for seamless integration.
- Managing Dynamic Range: Amplifies softer sounds while controlling loud peaks.
Normalization guarantees polished audio output, essential for enhancing the listening experience without compromising quality. Additionally, implementing effective tools and techniques can further enhance your audio cleaning process.
Enhancing Audio Quality
Enhance your audio production with meticulous enhancements to achieve superior sound quality in Audacity.
Begin by excising unnecessary silence with the Cut command (CTRL + X), streamlining your audio and fostering listener engagement.
Employ the Normalize function under Effects > Volume and Compression > Normalize to guarantee consistent loudness, essential for professional-grade output.
To Clean Up Audio effectively, leverage the Click Removal tool, meticulously adjusting its parameters to eradicate pops and clicks without compromising audio integrity.
Implement a high-pass filter to eliminate low-frequency rumble, facilitating the removal of background noise and augmenting vocal clarity. Additionally, utilizing directional microphones can significantly enhance audio clarity by focusing on desired sound sources and reducing background noise.
Each enhancement is pivotal in refining audio quality, resulting in a polished, noise-free product that meets the highest auditory standards, ready for subsequent exportation.
Exporting Clean Audio
- File Format Selection: Navigate to ‘File > Export > Export Audio’. Choose WAV or FLAC for high-quality outputs or MP3 for a compressed version, guaranteeing suitable format for background music.
- Export Settings Configuration: Set the sample rate to 44100 Hz and bit depth to 24-bit for superior dynamic range and clarity.
- Normalization: Employ the ‘Normalize’ option to adjust the overall track volume, achieving consistent levels without distortion.
- Metadata Tagging: Include metadata such as title, artist, and album for organized file management.
Finally, validate your exported audio on various playback devices to guarantee sound quality aligns with your professional standards. Proper compression settings can significantly enhance the clarity and loudness of your audio.
Choosing Recording Equipment
Selecting the right recording equipment is a critical foundation for capturing high-quality audio. A high-quality microphone is indispensable for audio clarity and minimizing background noise. Dynamic microphones are best for loud environments, while condenser microphones are preferred in studio settings due to their sensitivity and broad frequency range. Choosing a microphone with a cardioid or super-cardioid polar pattern is essential, as it focuses on capturing sound directly in front while attenuating background noise from the sides and rear. Additionally, implementing a pop filter curtails plosive sounds, preventing distortion during vocal recordings. Furthermore, utilizing a microphone with high-quality sensitivity can significantly improve your overall recording experience. Below is a comparative table of recommended microphones:
| Microphone Model | Ideal Environment |
|---|---|
| CAD E100S | Studio, controlled |
| Blue Yeti | Versatile, general use |
| Dynamic Mics | Loud, live performances |
| Condenser Mics | Studio, sensitive |
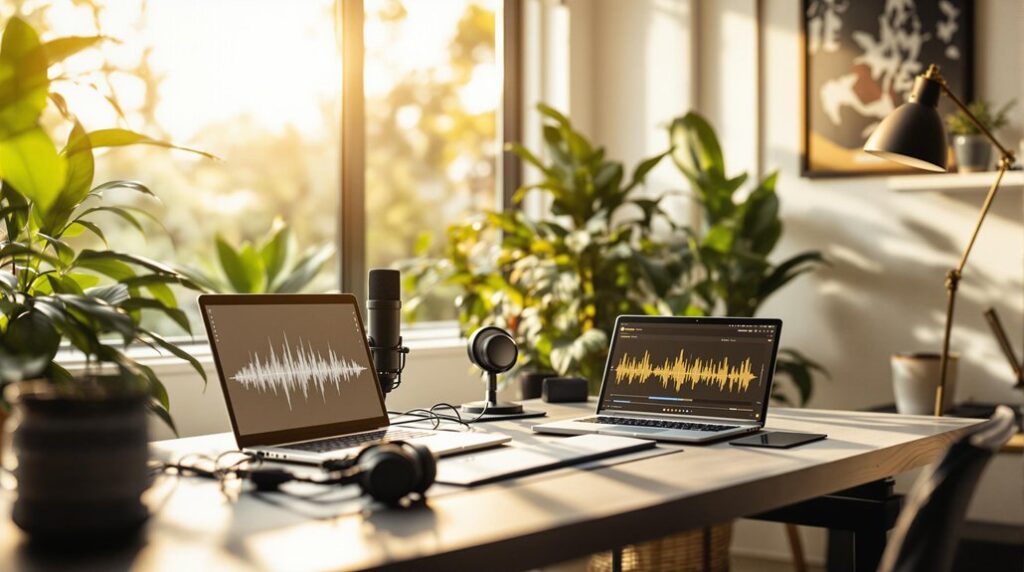
Optimizing Recording Environment
To achieve ideal audio quality, it is essential to meticulously optimize the recording environment, as even the best equipment cannot compensate for poor acoustics.
By minimizing noise interference and enhancing audio capture, one can substantially improve recording fidelity.
Consider the following precision-focused measures:
- Noise Reduction: Dampen external noise sources—such as HVAC systems or traffic—by using soundproofing techniques like sealing windows and doors.
- Microphone Utilization: Select high-quality microphones, either dynamic or condenser, to inherently lower background noise and enhance audio fidelity.
- Proximity Adjustment: Position microphones closer to the sound source to guarantee a robust signal and decrease ambient sound interference.
- Acoustic Treatment: Employ foam panels or soundproofing barriers to absorb reflections and echoes, thereby refining the audio clarity.
Implement these technical strategies to guarantee pristine sound quality.
Utilizing Advanced Filters
In addition to optimizing the recording environment, employing advanced filters in Audacity is a strategic approach to additionally refine audio quality. High-pass and low-pass filters eliminate extraneous low and high frequencies, respectively, enhancing the overall clarity of recordings.
The Notch filter is particularly effective in excising specific problematic frequencies, such as the pervasive 60Hz mains hum, without affecting surrounding frequencies. Spectral editing capabilities facilitate the precise visual identification and removal of unwanted audio artifacts.
Moreover, the Compressor effect is indispensable for managing dynamic range, ensuring equilibrium between louder and softer audio elements to produce a balanced mix.
Finally, the Equalization effect allows meticulous frequency band adjustments, enhancing vocal presence by amplifying mid-range frequencies while attenuating undesirable low frequencies.
Troubleshooting Common Issues
Why do audio issues persist even after applying various filters and effects? This conundrum often arises due to several technical variables within audio recordings.
To tackle these issues systematically, consider the following:
- Microphone Proximity: Confirm microphone placement is ideal. A closer mic reduces ambient noise, enhancing noise reduction efficiency.
- Repeated Noise Reduction: If unwanted noise lingers, adjust noise reduction settings and apply the process iteratively to refine audio clarity without degrading quality.
- High-Pass Filter: Utilize a high-pass filter to mitigate low-frequency interference, thereby clarifying vocals and minimizing room boom.
- Noise Gate Adjustments: Modify the noise gate plugin’s threshold and attack time to prevent unnatural audio cutouts, confirming a seamless sound.
Implementing these strategies can greatly enhance the fidelity of your audio recordings.
Exploring Additional Tools
Having addressed common troubleshooting techniques, expanding the toolkit for audio enhancement in Audacity can additionally improve the quality of your recordings. Integrating external plugins like iZotope RX and Waves NS1 raises the Noise Reduction capabilities of Audacity, producing cleaner audio tracks. The FFmpeg library facilitates importing diverse audio formats such as M4A, broadening the spectrum of workable audio files. Utilizing the Click Removal tool mitigates intermittent pops, refining the audio track quality. Advanced noise management via Acon Digital DeNoise combines intelligent Noise Reduction with minimal artifacts, complementing Audacity’s native features. Moreover, Audacity’s spectral analysis offers visual insights for precise frequency content manipulation, streamlining the editing process.
| Tool/Feature | Functionality | Benefit |
|---|---|---|
| iZotope RX | Advanced Noise Reduction | Enhanced audio clarity |
| FFmpeg Integration | Import unsupported formats | Expanded audio format support |
| Click Removal Tool | Remove pops and clicks | Improved recording quality |
| Acon Digital DeNoise | Intelligent noise management | Minimal audio artifacts |
| Spectral Analysis | Visual frequency feedback | Precise sound editing |
Best Practices for Clear Sound
To achieve ideal sound clarity in Audacity, begin by recording in a controlled environment using a high-quality microphone to reduce ambient noise.
Implement effective noise reduction techniques by generating a noise profile from a silent section of the recording, allowing Audacity to precisely target and eliminate undesired sounds.
Additionally, verify consistent audio levels through normalization, and conduct thorough quality assessments on various playback devices to confirm the audio’s integrity and clarity.
Optimize Recording Environment
Achieving ideal audio quality begins with meticulous attention to the recording environment, an essential foundation for capturing clear sound.
To optimize the recording environment and minimize background noise, consider the following technical guidelines:
- Select an Appropriate Space: Choose a quiet room with minimal external noise. Avoid large spaces that can introduce echoes and reverberations, which degrade audio clarity.
- Microphone Placement: Position the microphone close to the sound source. This proximity boosts audio clarity and reduces the capture of ambient background noise.
- Acoustic Treatment: Employ foam panels or movable barriers to absorb sound reflections, mitigating noise interference and enhancing recording precision.
- Invest in Quality Equipment: Opt for a high-quality microphone, such as the CAD E100S or Blue Yeti, and use a pop filter to mitigate plosive sounds for improved audio fidelity.
Effective Noise Reduction Techniques
Optimizing the recording environment lays the groundwork for superior audio quality, but eliminating residual noise in post-production further refines the sound.
In Audacity, effective Noise Reduction begins with obtaining a precise Noise Profile. Select a silent section of your audio to capture ambient noise, then navigate to Effect > Noise Reduction, and click “Get Noise Profile.” This profile guides the reduction process.
On the second pass, fine-tune parameters: set Noise Reduction to 9, Sensitivity to 6, and Frequency Smoothing to 3 to achieve an ideal noise-sound balance. Implement a Noise Gate to suppress sub-threshold sounds, enhancing clarity.
For persistent frequency-specific noise, apply a Notch Filter, particularly useful for eliminating electrical interference hums like 60Hz. Monitor audio levels diligently to avoid over-processing.
Frequently Asked Questions
How to Make Audio Sound Clearer in Audacity?
To achieve clearer audio in Audacity, implement audio enhancement techniques such as utilizing noise reduction methods, equalization for frequency balance, normalization for consistent loudness, compression to manage dynamic range, and click removal for eliminating extraneous sounds.
How to Clean up Audio With Audacity?
To address the current question, employ audio restoration techniques and noise reduction methods in Audacity by creating a noise profile, adjusting settings for ideal sound integrity, utilizing Click Removal, and normalizing volume levels to achieve professional audio clarity.
How Do I Make Unclear Audio Clear?
To make unclear audio clear, employ audio enhancement techniques such as noise reduction, equalization, normalization, and compression. These methods contribute considerably to sound quality improvement, guaranteeing a balanced, noise-free, and dynamically consistent output. Regular adjustments guarantee ideal results.
How to Smooth Out Audio in Audacity?
To smooth audio in Audacity, employ audio smoothing techniques such as compression, normalization, and equalization. Use noise reduction methods like Noise Gate to eliminate background noise, and apply light reverb selectively for enhanced depth and clarity.
Conclusion
In summary, achieving crystal-clear audio in Audacity involves a systematic approach utilizing its array of features. Mastery of importing audio files, creating accurate noise profiles, and applying noise reduction techniques is essential. The removal of pops and clicks, combined with the application of advanced filters, further enhances sound quality. Addressing common issues through troubleshooting guarantees peak results. Employing additional tools and adhering to best practices solidifies the process, culminating in superior audio clarity and fidelity.