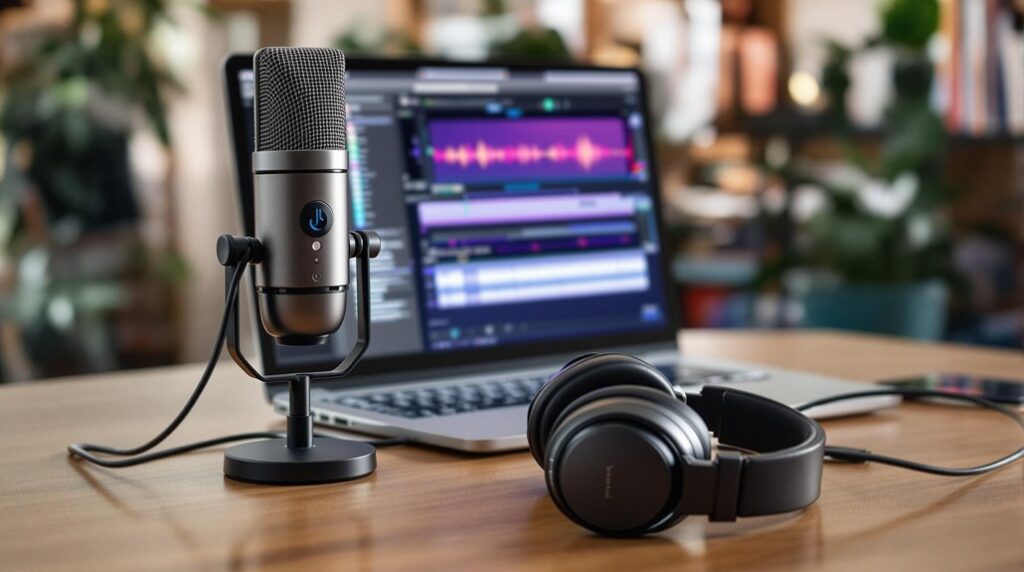
To achieve autotune in Audacity, follow these three steps: First, install the GSnap plugin by placing it in the appropriate plug-ins folder for your operating system. Second, select your vocal audio track and access GSnap through the Effects menu. Choose a scale that matches your song’s key, adjust settings like AMOUNT, SPEED, and THRESHOLD to fine-tune the pitch correction according to your desired sound. Finally, export your modified track by selecting File > Export Audio, ensuring the best audio quality settings. By mastering these steps, you gain access to advanced pitch correction techniques that enhance your recordings considerably.
Key Takeaways
- Install GSnap by placing it in the appropriate Audacity plug-in folder to access auto-tune features.
- Select the vocal section of your audio track for targeted pitch correction.
- Open GSnap from the Effects menu, choose the correct scale to match your song’s key.
- Adjust the AMOUNT, SPEED, and THRESHOLD settings to achieve the desired pitch correction effect.
- Export your final track in a high-quality format to ensure optimal playback.
Installing GSnap Plugin
To begin the process of autotuning in Audacity, it is vital to install the GSnap plugin, a widely used tool for pitch correction. First, download the GSnap plugin from the official GVST website to guarantee you have the latest version.
For Windows users, extract the downloaded ZIP folder and copy the GSnap files into the Audacity Plug-Ins folder located at Program Files (x86) > Audacity > Plug-Ins.
Mac users should place the GSnap file in the Audacity Application Support folder at ‘~/Library/Application Support/audacity/Plug-Ins’.
It is important to close Audacity during this installation process. After installation, launch Audacity, navigate to the Effects tab, select “Add/Remove Plug-ins,” and enable GSnap to confirm successful integration of this vital audio editing tool. Additionally, utilizing music production blogs can provide you with further insights and tips on using plugins effectively.
Applying Auto-Tune Effects
Applying auto-tune effects in Audacity involves a systematic approach to pitch correction that enhances vocal performance while preserving artistic expression. Begin by selecting the vocal section of your audio track and accessing the GSnap plugin from the Effect menu. Configure key settings by clicking “SELECT A SCALE…” to align with the song’s key for accurate pitch correction.
| Parameter | Recommended Range | Effect on Vocals |
|---|---|---|
| AMOUNT | 100% | Full pitch correction |
| SPEED | 1 – 10 | Natural to robotic sound |
| THRESHOLD | Adjustable | Sensitivity to pitch |
Adjust AMOUNT, SPEED, and THRESHOLD within the plugin settings, then click Apply Autotune. Preview the results, and continuously refine to achieve the desired effect while maintaining vocal authenticity. Additionally, experimenting with pitch correction amount can significantly influence the overall vocal quality.
Exporting Your Final Track
Finalizing your project involves exporting the audio track to confirm that all modifications, including the applied auto-tune effects via GSnap, are preserved.
To export audio, navigate to File > Export Audio, where you can select the desired audio format, such as WAV or MP3, according to your distribution needs. Assign a name to your audio file and choose an accessible save location for future retrieval.
During the export process, verify that audio quality settings such as sample rate and bit depth are appropriately configured to achieve the best playback quality. Additionally, ensure you are using high-quality, lossless file formats to maintain clarity in your final track.
Finally, click Save to complete the export process, and if prompted, adjust any metadata tags to enhance the organization and identification of your audio file.
Frequently Asked Questions
How to Autotune in Audacity for Beginners?
To autotune in Audacity, beginners should utilize software plugins like GSnap for pitch shifting. Apply autotune effects for vocal enhancement, focusing on audio editing techniques and sound engineering principles to refine recording techniques across vocal layers effectively.
How to Make Pitch Correction in Audacity?
To achieve effective pitch correction in Audacity, utilize various vocal tuning methods and Audacity plugins, adjusting parameters for ideal audio quality enhancement. Implement sound engineering basics and audio restoration strategies to refine vocal editing and mixing vocals effectively.
Does Audacity Have Built-In Autotune?
Audacity does not include built-in autotune features for pitch correction. Users must utilize external audio plugins to enhance vocal performance, employing various editing techniques within the user interface to achieve desired sound effects in music production.
How to Fine Tune in Audacity?
To achieve effective fine tuning in Audacity, utilize pitch adjustment methods and audio editing tips, including plugin recommendations like GSnap. Implement sound engineering basics and vocal enhancement strategies for ideal recording quality and performance improvement techniques during mixing.
Conclusion
The implementation of the GSnap plugin in Audacity greatly enhances pitch correction capabilities. By meticulously applying auto-tune effects, users can achieve a polished vocal performance that aligns with professional standards. The final step of exporting the track guarantees that the enhanced audio is preserved for distribution or further editing. This systematic approach to utilizing auto-tune effectively transforms raw recordings into refined sound pieces, demonstrating the powerful potential of digital audio workstations in contemporary music production.


