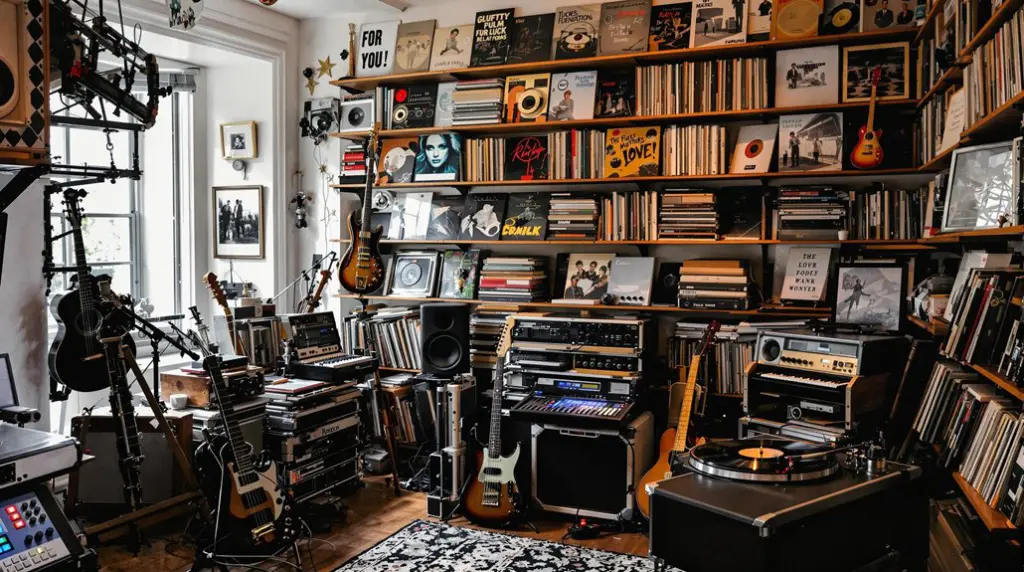
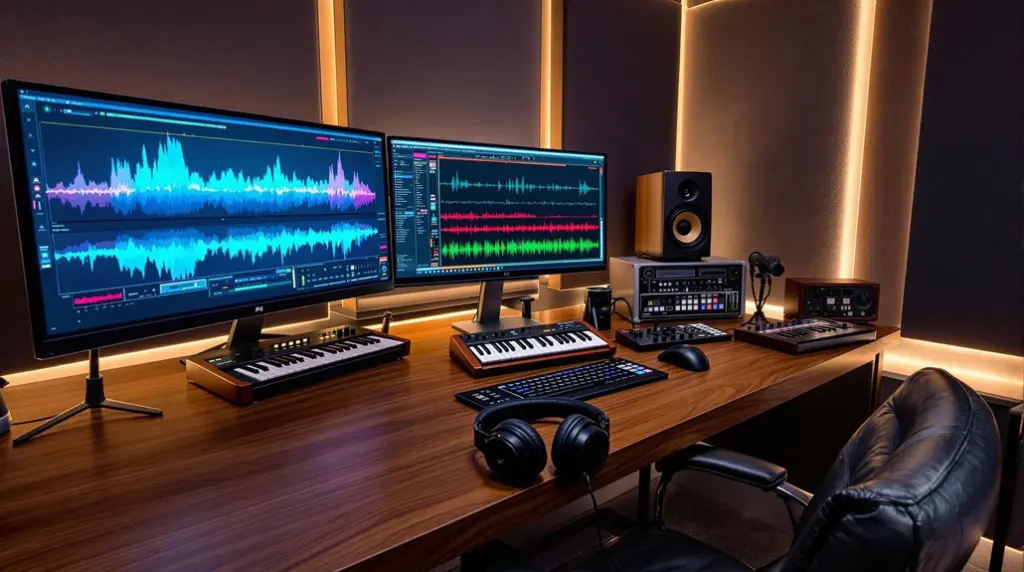
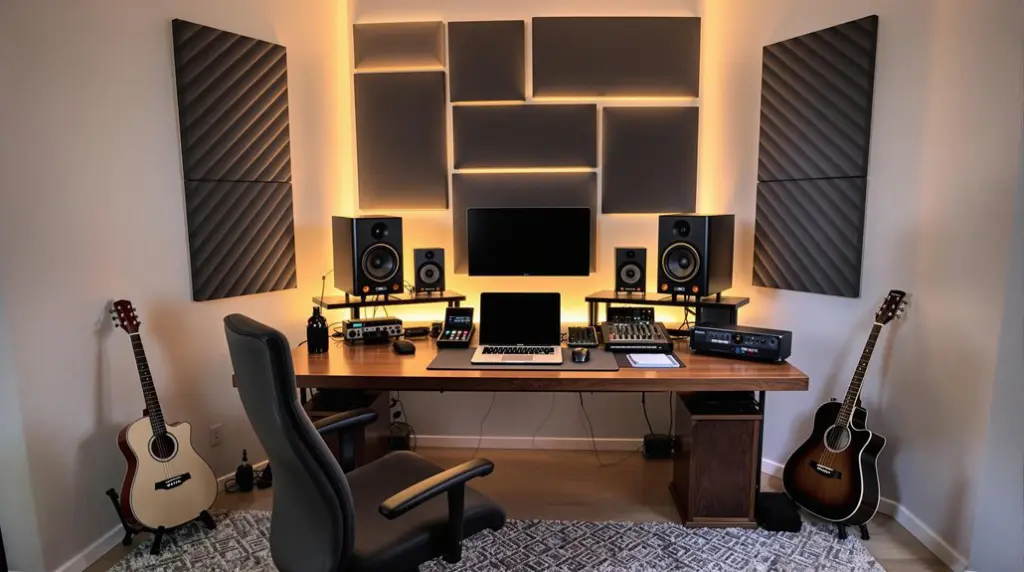
To set up a home music studio, prioritize a quiet space with good acoustics and ample natural light. Invest in a quality microphone, a powerful computer with an SSD, and essential DAWs like Pro Tools or Ableton Live. Choose a reliable audio interface with high-resolution audio quality and built-in preamps. Optimize sound monitoring with high-quality studio monitors and closed-back headphones. Implement effective acoustic treatments such as bass traps and sound panels to enhance sound quality, alongside soundproofing techniques to minimize external noise. With these foundational elements in place, you can start creating music with professional precision and creativity. Learn how to boost your studio setup even further.
Key Takeaways
- Choose a quiet room with good acoustics and minimal ambient noise for your studio space.
- Invest in a quality microphone and powerful computer with an SSD for efficient recording.
- Select an audio interface with high-resolution audio quality and USB 3.0 or Thunderbolt connectivity.
- Use acoustic treatment materials like bass traps and sound panels to improve recording sound quality.
- Ensure your computer has at least a quad-core processor, 16 GB RAM, and 500 GB SSD for optimal performance.
Finding the Ideal Space
Finding the Ideal Space
How do you determine the perfect location for your home music studio? The selection process involves several vital factors that influence both the acoustic design and overall functionality of the space.
To begin with, consider ambient noise: opt for a quiet environment, away from busy streets, household appliances, and other noise sources that could interfere with the quality of your recordings. Additionally, it’s important to assess the availability of electrical outlets to guarantee you have adequate power for all your equipment.
Room size is another fundamental element. Larger rooms typically offer superior acoustics and more flexibility for the strategic placement of acoustic treatment materials. Proper room layout guarantees that sound waves are diffused evenly, minimizing unwanted echoes and reverberations.
Natural light is not merely an aesthetic choice; it can greatly enhance mood and productivity during extended recording sessions. Choose a well-lit area to foster a creative and inspiring atmosphere.
Accessibility is key for operational efficiency. Confirm the studio is near power outlets and has reliable internet connectivity, which is vital for using recording equipment and downloading necessary software updates.
Lastly, proper ventilation is non-negotiable. A well-ventilated room guarantees comfort by maintaining airflow, especially important when electronic equipment generates heat over long periods.
These factors collectively lay the groundwork for an ideal home music studio environment.
Essential Recording Equipment
Having identified the ideal space for your home music studio, attention must now be directed toward equipping it with the necessary gear to produce high-quality recordings. A quality microphone is fundamental for capturing vocals and acoustic instruments. For those on a budget, the Audio-Technica AT2020 and MXL 990 are excellent choices, providing clarity and versatility in various recording techniques.
The microphone selection should align with your specific recording needs, whether it’s for vocals, instruments, or both. Additionally, consider the benefits of acoustically treated rooms, which can greatly enhance the sound quality of your recordings.
In addition to microphones, a powerful computer equipped with a solid-state drive (SSD) is essential for handling the demands of recording sessions, offering speed and reliability. Digital Audio Workstations (DAWs) like Pro Tools, Logic, or Ableton Live are indispensable for the recording, mixing, and editing phases of music production. Selecting the right DAW depends on your workflow preferences and production requirements.
Important accessories further enhance recording quality. Pop filters are crucial for reducing plosive sounds during vocal recordings, ensuring cleaner audio. High-quality headphones, particularly closed-back models like the Shure SRH440, provide accurate monitoring and isolation, enabling precise evaluation of recordings.
Together, these components form the backbone of a functional and efficient home music studio.
Choosing Your Interface
When selecting an audio interface for your home studio, consider the connectivity options such as USB 3.0 or Thunderbolt for reduced latency, and guarantee it has the necessary inputs and outputs for your recording needs.
It’s also important to take into account high-resolution audio quality for professional sound and low latency performance to enhance your recording experience.
Prioritize interfaces with high-quality preamps to maintain sound fidelity, and verify compatibility with your DAW for seamless integration.
Budget-friendly options like the Focusrite Scarlett 2i2 or the Behringer UMC404HD can provide a solid starting point while still allowing for future expansion.
Connectivity and Port Options
Selecting the right audio interface is a crucial step in configuring your home music studio, as it serves as the central hub for all your audio connectivity and port needs.
When choosing an audio interface, consider the connection types available. USB 2.0 is common but may introduce more latency compared to USB 3.0 and Thunderbolt, which offer superior speed and performance, making them ideal for professional setups.
The input options on your interface are another important factor. Entry-level interfaces typically provide two inputs, sufficient for solo musicians or small setups, while interfaces with ADAT inputs allow for expanding your rig to accommodate additional devices.
This scalability is imperative for future-proofing your studio, making sure it can grow with your evolving needs.
Additionally, interfaces with MIDI connectivity are priceless if you plan to incorporate MIDI instruments, enhancing your production capabilities greatly.
The number and type of outputs should also be matched to your current and anticipated needs, facilitating a seamless recording and monitoring workflow.
Preamps and Sound Quality
The preamps integrated within an audio interface play a significant role in achieving superior sound quality in your home music studio. Preamps amplify the low-level signals from microphones and instruments to line level, fundamentally impacting the sound clarity and detail captured in your recordings.
A preamps comparison reveals that lower-end models can introduce unwanted noise and distortion, while higher-quality preamps provide cleaner, more detailed sound.
To guarantee you choose the right interface, consider the following essential features:
- Number of Preamps: Assess the number of preamp inputs required for your setup. Some interfaces, like the Focusrite Scarlett 2i2, offer two inputs, whereas others provide options for expansion.
- Sound Quality: Opt for interfaces with high-quality preamps to assure professional-grade sound capture.
- Phantom Power: Verify the interface supports phantom power for condenser microphones, enhancing versatility and sound clarity.
- Future Expansion: Look for ADAT inputs, allowing for future growth of your studio setup.
Selecting an interface with built-in high-quality preamps is vital for achieving pristine audio recordings.
Budget-Friendly Interface Choices
Establishing a high-quality home music studio on a budget is entirely feasible with the right audio interface. When considering budget-friendly options, interface comparisons reveal that the Focusrite Scarlett 2i2 and the Behringer UMC404HD are top contenders.
The Focusrite Scarlett 2i2, priced at approximately $160, provides two inputs and high-quality preamps, making it a favorite for small setups. Conversely, the Behringer UMC404HD offers four inputs for around $150, ideal for more extensive recording needs without compromising on quality.
Budget considerations should also include the connection type of the interface. Opting for USB 3.0 or Thunderbolt connections can greatly enhance data transfer rates and reduce latency, which is essential for maintaining audio integrity during recording sessions.
Additionally, built-in preamps and phantom power for condenser microphones add versatility, allowing for a broader range of recording applications.
Many budget interfaces come bundled with DAW (Digital Audio Workstation) software, offering further savings on essential music production tools.
Computer Specifications
When setting up your home music studio, investing in a computer with a minimum of a quad-core processor is essential to efficiently handle multiple tracks and plugins.
Aim for at least 8GB of RAM, although 16GB or more is advisable for smoother performance during intensive sessions.
Additionally, opting for solid-state drives (SSDs) over traditional hard drives will greatly enhance data access speeds and session load times.
Consider high-performance specs like Intel Core i7 and i9 processors for peak performance and minimal latency.
These specifications will support complex projects without hindering creativity.
Processing Power Requirements
Selecting the right computer for your home music studio is essential to guaranteeing seamless and efficient audio production. A critical aspect of this decision is understanding the processing power requirements necessary for high-quality audio processing.
Multi-core processors offer significant advantages in this regard, as they allow the distribution of tasks across multiple cores, enhancing overall performance and efficiency.
Here are the key considerations when selecting a computer for your music studio:
- Processor Core Count: Aim for a minimum of a quad-core processor. The multi-core advantages become evident when running multiple plugins and virtual instruments simultaneously.
- Clock Speed: Higher clock speeds translate to faster processing of audio tasks, reducing latency and improving real-time audio effects.
- Compatibility: Guarantee that your chosen Digital Audio Workstation (DAW) software is compatible with your computer’s operating system to avoid any software-related issues.
- Graphics Card: While not as critical as CPU power, a dedicated graphics card can enhance the visual performance of software with complex graphical interfaces, thereby improving your workflow.
RAM and Storage
Having addressed the importance of processing power, attention must now turn to RAM and storage, both vital in achieving a seamless music production experience. RAM optimization is essential for handling the myriad of tasks involved in music production, from running Digital Audio Workstations (DAWs) to managing extensive plugin libraries. A minimum of 16 GB of RAM is recommended, with 32 GB being preferable for more demanding sessions and high-end software usage.
Equally important is storage management. Solid-state drives (SSDs) greatly enhance the performance of your setup by offering faster read and write speeds compared to traditional hard drives (HDDs). For maximum efficiency, at least 500 GB of SSD space should be allocated for the operating system, DAWs, plugins, and audio files. External SSDs can further extend storage capacity and serve as reliable backup solutions.
Regularly monitoring storage space is essential. Large audio project files and sample libraries can quickly consume disk space, making efficient storage management a necessity.
| Component | Recommendation |
|---|---|
| RAM | Minimum 16 GB, ideally 32 GB |
| Primary Storage | At least 500 GB SSD |
| External Storage | Additional SSDs for backup |
| CPU Cores | Minimum quad-core processor |
Sound Monitoring Gear
Achieving impeccable sound quality in a home music studio hinges on the caliber of sound monitoring gear employed. Accurate monitoring techniques are the cornerstone of effective mixing and mastering. High-quality studio monitors like the Yamaha HS series or Focal Alpha 50 are indispensable for their precise sound representation.
These monitors guarantee that every detail of your mix is faithfully reproduced, facilitating informed decisions during the production process. Additionally, utilizing models like the JBL 305P MkII can provide a broad soundstage and precise imaging, enhancing the overall listening experience.
When it comes to headphone selection, closed-back headphones such as the Shure SRH440 are essential. They offer superior isolation, blocking external noise and preventing audio bleed, which is vital during recording sessions.
To further enhance your studio setup, consider the following:
- Subwoofer Integration: Adding a subwoofer like the Yamaha HS8s can enhance low-end accuracy, especially in smaller setups where full-range monitors may lack bass definition.
- Monitor Positioning: Place your monitors in an equilateral triangle from your listening position to achieve a balanced stereo image and reduce frequency anomalies.
- Acoustic Treatment: Utilize sound panels and bass traps to minimize reflections and resonances, markedly improving monitoring accuracy.
- Consistent Calibration: Regularly calibrate your monitors to maintain consistent sound quality.
Investing in the right sound monitoring gear is fundamental to achieving professional-grade audio production in your home studio.
Software and Instruments
With sound monitoring gear guaranteeing that every nuance of your mix is accurately represented, attention must now turn to the digital tools that will shape your musical creations. A Digital Audio Workstation (DAW) stands at the core of any home music studio. Renowned options like Pro Tools, Logic Pro, and Ableton Live cater to diverse production styles, from intricate sound design to live performance setups.
These DAWs often come equipped with built-in software instruments, providing a solid foundation for music creation. However, expanding your sonic palette with third-party sound libraries such as Komplete Select or Arturia V Collection can considerably enhance your creative potential.
Plugins like Xfer Records Serum and FabFilter Pro-Q3 can also boost your productions by offering advanced sound design and precise audio shaping capabilities. Verify that any software instruments you select are compatible with your DAW to avoid integration issues that could disrupt your workflow.
Mastering the stock plugins within your DAW should be a priority, as these tools offer robust capabilities without additional cost. Effective plugin management is essential; organize and streamline your plugins to maintain an efficient production environment.
Utilize online tutorials and engage with music production communities to reveal the full potential of your software and instruments. This continuous learning will refine your skills, ultimately raising the quality of your musical output.
Acoustic Treatment and Setup
To transform your home studio into a professional-grade recording space, effective acoustic treatment is vital. By controlling reflections and preventing echoes, you can appreciably enhance the sound quality within your studio.
Begin with the strategic placement of bass traps in the corners to absorb low frequencies and acoustic panels on the walls to tackle mid-to-high frequency reverberations, ensuring a balanced acoustic environment.
Proper placement of acoustic panels is essential. Focus on positioning them at the first reflection points on walls and ceilings to manage sound waves and improve clarity.
For a cost-effective approach, consider DIY acoustic panels using materials such as fiberglass or rock wool wrapped in fabric, which offer substantial sound absorption without the need for expensive commercial products.
Additionally, incorporate soft furnishings like carpets, rugs, and curtains to absorb sound and reduce reflections further. Regular assessment and adjustment of your acoustic setup, considering your specific room dimensions and layout, are important for optimizing sound quality and achieving accurate monitoring during recording and mixing sessions.
Here’s a quick checklist to get you started:
- Install bass traps in room corners.
- Place acoustic panels at first reflection points.
- Use DIY materials for cost-effective solutions.
- Add soft furnishings to enhance sound absorption.
Frequently Asked Questions
What Should Every Home Music Studio Have?
Every home music studio should have quality audio interfaces, reliable DAWs, condenser microphones, studio monitors, high-quality headphones, acoustic treatment for sound clarity, and ergonomic studio furniture to facilitate a professional, efficient, and creative working environment.
What Do You Need to Set up a Music Studio at Home?
To set up a music studio at home, prioritize a powerful computer, quality audio interface, high-end microphones, accurate studio monitors, and a versatile DAW. Additionally, consider acoustic treatment and a strategic studio layout for ideal sound quality and workflow.
What Do You Need to Own a Music Studio?
To own a music studio, you need acoustic treatment and soundproofing materials for ideal sound control, alongside professional gear such as a powerful computer, audio interface, quality microphones, studio monitors, and closed-back headphones for precise recording and mixing.
How Do You Build a Successful Music Studio?
Building a successful music studio involves implementing advanced soundproofing techniques, meticulous equipment selection, and leveraging technical expertise, creative vision, and industry knowledge to create an ideal environment for high-quality music production and seamless workflow.
Conclusion
Establishing a home music studio requires careful consideration of space, essential recording equipment, appropriate interfaces, computer specifications, sound monitoring gear, software, instruments, and acoustic treatment. Each element plays a critical role in achieving professional-grade audio production. By systematically addressing these components, an ideal recording environment can be created, facilitating both technical excellence and creative expression. This all-encompassing approach guarantees that the home music studio meets industry standards and supports the artistic endeavors of musicians and producers alike.


