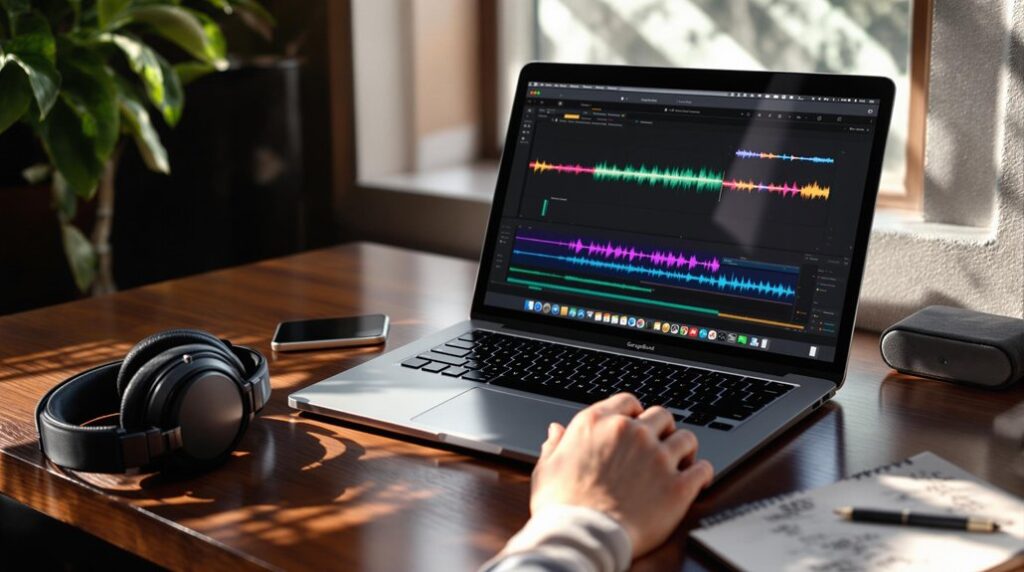
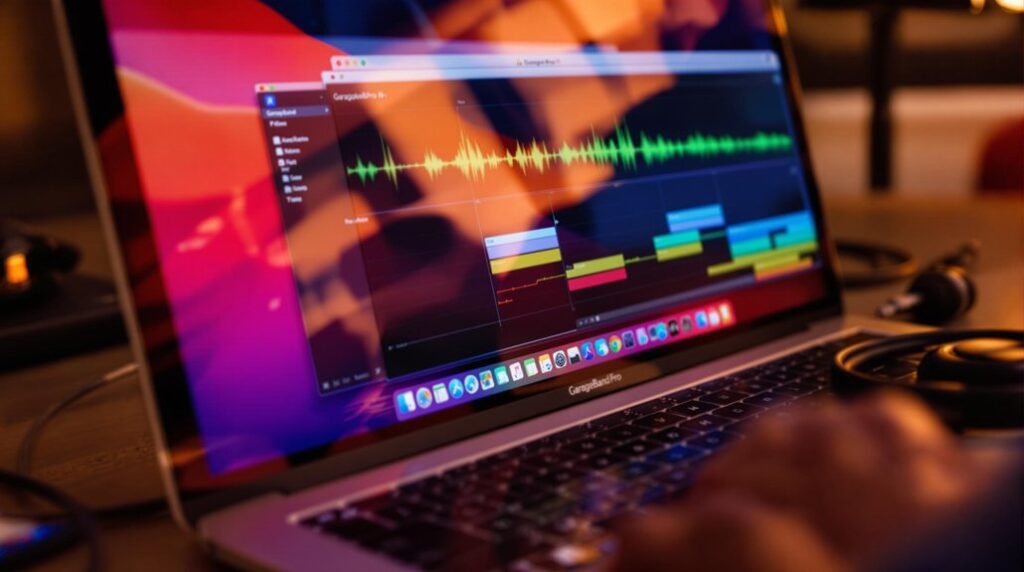
Mastering audio levels with the GarageBand Limiter involves precise manipulation of dynamic range to maintain consistent loudness and prevent distortion. Key features include threshold settings to cap peak levels, and gain adjustment for volume enhancement. In a 24-bit WAV project, insert the limiter on the master track to control peaks below -1 dB. Utilize metering plugins for monitoring and adjust attack and release times for nuanced mastery. Regularly compare mastered and unmastered versions for clarity improvements. By thoroughly understanding these tools and techniques, one's audio mastering capabilities can be greatly enhanced. Explore further to boost your mixing prowess.
Key Takeaways
- Set the Limiter's threshold to prevent audio peaks from exceeding the desired level, avoiding distortion and maintaining balance.
- Adjust gain settings to enhance track loudness while preserving audio quality and dynamic integrity.
- Monitor dynamic range using metering plugins to ensure consistent output and prevent clipping.
- Compare unmastered and mastered tracks to evaluate improvements in loudness, clarity, and balance.
- Experiment with attack and release times for nuanced control over audio dynamics during mastering.
Understanding the Garageband Limiter
The GarageBand Limiter serves as an essential dynamic processing tool within the software, engineered to prevent audio peaks from surpassing a predetermined threshold. This tool is vital for achieving a clean and professional sound output during mixing and mastering sessions. By automatically reducing the volume of audio signals exceeding the set limit, the Limiter maintains consistent loudness, effectively preventing distortion. Users have the flexibility to adjust the threshold level and the degree of gain reduction, allowing for precise control over audio dynamics. In mastering, the Limiter is particularly effective, enhancing loudness without sacrificing quality or causing clipping. Regular comparisons of unmastered and processed tracks can further refine the mastering process, ensuring the desired sound is efficiently achieved. It's important to verify audio interface recognition in GarageBand settings to ensure high-quality sound capture, especially when working with dynamic processing tools like the Limiter.
Setting Up Your Project
When commencing a new mastering session in GarageBand, it is essential to lay a solid foundation by meticulously setting up your project.
Begin by creating a new project, selecting a 24-bit WAV format to guarantee maximum audio quality during mastering. Import all audio tracks into a single session to streamline adjustments and facilitate comparisons.
Establish the cycle region to match the track's exact length, allowing precise application of the limiter and other adjustments. Insert the GarageBand limiter on the master track to manage the dynamic range and prevent clipping during playback. To ensure your edits are seamlessly integrated, utilize the snap to grid feature which helps in aligning audio segments accurately, maintaining consistent rhythm and timing.
Regularly compare unmastered and mastered versions to pinpoint improvements, guaranteeing clarity and consistency in your final mix. This methodical approach establishes a robust groundwork for effective mastering.
Adjusting Limiter Settings
Achieving ideal audio levels in GarageBand requires a precise approach to adjusting limiter settings. The AU Peak Limiter is essential for controlling dynamic range, preventing audio clipping by setting a maximum volume threshold. To optimize your track, adjust the input gain, ensuring a balanced signal enters the limiter without distortion. The output gain can be modified to enhance overall track volume while keeping peak levels intact. Monitoring RMS values is important, as they reflect average loudness and help maintain consistent EQ and Compression throughout the track. Experimenting with attack and release times offers nuanced control over how the limiter handles audio dynamics. Implement high-pass filters to eliminate unnecessary low-end frequencies, which can help achieve a cleaner mix by reducing muddiness. This meticulous adjustment allows for refined sound shaping, ensuring a professional-grade audio output in GarageBand.
Monitoring Audio Levels
Monitoring audio levels within GarageBand is vital for maintaining level consistency and preventing audio distortion. Effective use of limiters plays an important role in managing the final output level, helping to guarantee that peaks do not exceed the -1 dB threshold. Additionally, dynamic range monitoring through metering plugins allows for precise adjustments, contributing to a balanced mix suitable for various playback systems. Incorporating volume automation techniques can further enhance your audio production by creating smooth transitions and dynamic volume control throughout your track.
Importance of Level Consistency
Maintaining consistent audio levels is a fundamental aspect of mastering in GarageBand, as it underpins a seamless listening experience and mitigates disruptive volume fluctuations within a track.
Level consistency across the audio track is paramount, as it guarantees that each element of the mix remains balanced, preventing abrupt changes that may jar the listener. By maintaining uniform audio levels, the integrity of the song's dynamic range is preserved, fostering a cohesive sound profile.
Employing metering plugins within GarageBand facilitates the visualization of these levels, allowing for precise adjustments where necessary. This vigilant monitoring is essential for identifying deviations that may necessitate EQ or compression tweaks, thereby refining the track's overall sonic quality and guaranteeing a professional-grade output.
Using Limiters Effectively
Limiters serve as fundamental tools in the audio mastering process within GarageBand, acting as safeguards against peak distortion while maintaining the desired dynamic range. The AU Peak Limiter, a significant Audio Unit, effectively manages peak audio levels by setting the ceiling between -0.3 dB to -1 dB, preventing clipping during the mixing process. Monitoring audio levels is essential; employing metering plugins enables visualization of loudness and guarantees ideal output levels. Regular comparisons between unmastered and mastered tracks are recommended to fine-tune limiter settings, preserving dynamic integrity. Additionally, adjusting attack and release settings can refine the audio's character, achieving a polished sound.
| Parameter | Recommended Setting | Purpose |
|---|---|---|
| Ceiling | -0.3 dB to -1 dB | Prevent clipping |
| Attack | Experiment | Shape audio character |
| Release | Experiment | Maintain musicality |
| Metering Plugins | Regular Use | Visualize loudness |
| Track Comparison | Frequent | Balance and dynamic preservation |
Dynamic Range Monitoring
Precision in audio mastering is paramount, particularly in managing dynamic range within GarageBand. Dynamic range monitoring is essential for achieving balanced audio levels, ensuring that both the softest and loudest parts of a track are well-managed.
Utilizing metering plugins in GarageBand allows for visualization of these levels, facilitating informed adjustments during the mastering process. The ideal dynamic range typically falls between 10 to 14 dB, which effectively balances clarity without distortion.
Key practices include:
- Regular comparison between unmastered and mastered tracks to identify discrepancies in dynamic range.
- Employing limiters to control peaks and prevent clipping while preserving the track's overall punch.
- Monitoring across various playback systems to maintain a consistent listening experience.
Such measures guarantee audio integrity and listener satisfaction.
Enhancing Audio Clarity
Enhancing audio clarity in GarageBand involves a strategic approach to managing dynamic range and preventing distortion. The Limiter plays a pivotal role in this by setting a maximum threshold, guaranteeing that the audio file remains free from clipping. By adjusting the Limiter's gain, users can enhance the loudness of their tracks while maintaining audio quality. This adjustment effectively balances the dynamics of the track, improving mix clarity and allowing softer sounds to be audible alongside louder elements. Regular comparisons between unmastered and mastered versions are essential in identifying clarity improvements. The Limiter guarantees a cohesive listening experience across various playback systems. Additionally, the use of wet/dry mix in reverb and delay settings can further refine audio quality, ensuring a balanced and polished sound.
| Feature | Functionality | Benefit |
|---|---|---|
| Threshold | Sets maximum audio peak level | Prevents clipping |
| Gain Adjustment | Increases track loudness | Maintains audio quality |
| Dynamic Balance | Controls dynamic range | Enhances mix clarity |
| Version Comparison | Analyzes clarity improvements | Identifies necessary adjustments |
| Consistent Output | Uniform volume across devices | Cohesive listening experience |
Troubleshooting Common Issues
A multitude of users encounter challenges when managing audio levels in GarageBand, particularly when utilizing the AU Peak Limiter. This tool is often ineffective at adjusting peak volume levels as expected, leading to inconsistent audio output. Users frequently report that extreme limiter settings fail to produce anticipated changes, resulting in discrepancies when compared to external applications. To troubleshoot these issues, users should:
- Evaluate the limiter's impact on RMS values versus peak volumes.
- Adjust limiter settings incrementally while monitoring changes in volume levels.
- Consult community forums for shared experiences and solutions.
These strategies can help identify the root cause of the volume level inconsistencies. By systematically addressing these challenges, users can achieve more reliable and consistent audio mastering results within GarageBand. Additionally, high-pass filters can be applied to reduce low-end muddiness, ensuring clarity and maintaining overall integrity in the audio mix.
Comparing Unmastered Tracks
Addressing audio level inconsistencies in GarageBand sets the stage for a deeper exploration of comparing unmastered tracks with their mastered counterparts. This comparison reveals vital differences in loudness, clarity, and sonic quality, essential for achieving the desired audio output. By contrasting unmastered tracks with a reference, one can pinpoint areas requiring enhancement, such as frequency balance and dynamic range. Employing metering plugins facilitates a visual analysis of loudness and dynamic discrepancies, aiding in precise adjustments. Regular breaks during listening sessions prevent ear fatigue, maintaining objectivity. Additionally, documenting specific improvements during mastering provides a valuable reference for future projects. Incorporating tools like Voxengo SPAN, which offers detailed frequency analysis, can further assist in achieving clarity and precision in audio production. This methodical approach guarantees consistency in audio quality, bridging the gap between unmastered and mastered tracks effectively.
Finalizing Your Audio Output
In the process of finalizing your audio output in GarageBand, mastering the use of the Limiter is vital for guaranteeing your track maintains a professional quality.
The Limiter plays a significant role in controlling peak levels, preventing clipping, and enhancing the overall polish of your sound. To achieve ideal finalization, set the Limiter's threshold just below 0 dB, allowing sufficient headroom while maximizing output volume without distortion. Regularly compare unmastered and mastered tracks for desired loudness and clarity. Adjust the Limiter's gain to boost volume post-limiting for competitive loudness. Export your final mix as a 24-bit WAV file for superior quality.
GarageBand's user-friendly interface simplifies the mastering process, making it accessible to musicians of all skill levels. These techniques guarantee your audio output remains clear and professional when finalized.
Frequently Asked Questions
Should You Use a Limiter When Mastering?
Utilizing a limiter during mastering is advisable as it offers significant benefits, including preventing clipping and enhancing loudness while preserving dynamic range. Employing precise mastering techniques guarantees ideal sound quality and consistent volume levels across audio projects.
What Does the Limiter Do on Garageband?
The limiter in GarageBand manages audio dynamics by capping peak levels, preventing distortion. It functions by reducing the volume of signals surpassing a set threshold, ensuring consistent loudness and enhancing audio quality through controlled dynamics.
What Is the Best Limiter Setting for Mastering?
Determining the best limiter setting for mastering involves selecting appropriate limiter types and mastering techniques. Ideal settings typically include an output level of -0.1 dB, attack times of 5-10 milliseconds, and release times of 50-100 milliseconds.
How Do I Increase Master Volume in Garageband?
To increase the master volume in GarageBand, employ effective mixing techniques and volume automation. Adjust the "Master" fader, ensuring individual track levels are balanced, then use automation for precise control, maintaining audio integrity without distortion.
Conclusion
The effective utilization of the GarageBand limiter is vital for achieving ideal audio levels and clarity in music production. By thoroughly understanding the limiter's functionalities, setting up projects correctly, and meticulously adjusting settings, sound quality can be greatly enhanced. Continuous monitoring of audio levels and troubleshooting common issues are essential for maintaining audio integrity. Comparing unmastered tracks with finalized outputs further underscores the limiter's impact, ultimately leading to a polished and professional audio product.


