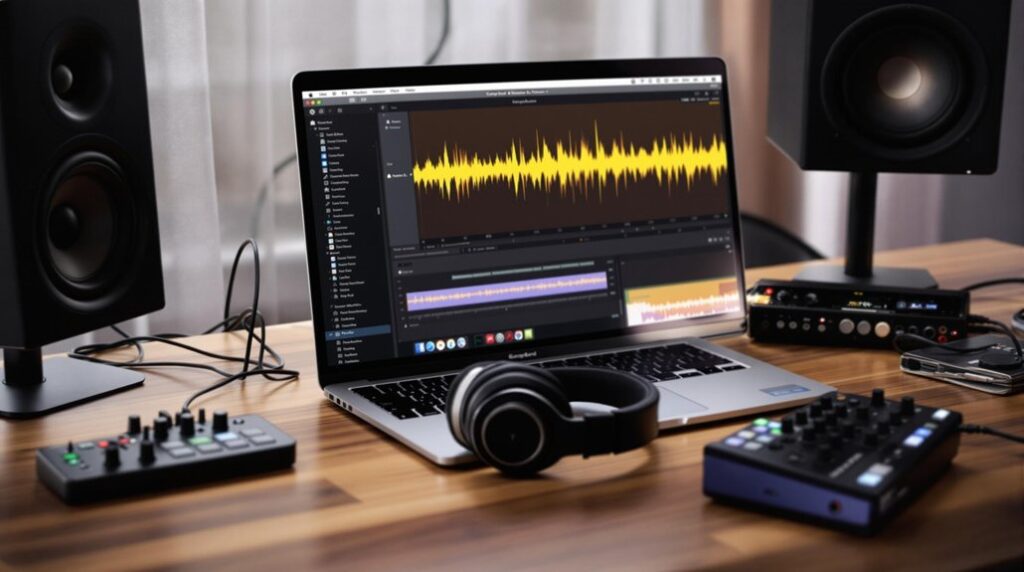
Mastering fade-out in GarageBand involves a meticulous process, starting with understanding and enabling the automation function. Utilize the "Show Automation" feature from the "Mix" menu to access the volume control line. Place dots along this line to represent volume levels and create a fade-out by dragging the final dot downward, forming a smooth slope. Adjust the slope steepness for desired fade-out speed, ensuring it aligns rhythmically. Regular practice and experimentation with complex volume changes enhance your skills. Proper microphone setup and audio quality considerations further refine your mix. Explore these techniques to boost your audio editing proficiency.
Key Takeaways
- Access the automation feature by selecting "Show Automation" from the "Mix" menu in GarageBand.
- Use automation dots to adjust the volume line for creating fade-out effects.
- Create a downward slope on the automation line to achieve a smooth fade-out.
- Monitor the slope's steepness during playback to ensure the fade-out aligns with the track's end.
- Experiment with dot placements for precise volume control and desired fade-out durations.
Understanding GarageBand Automation
To fully harness the potential of GarageBand's automation feature, it is essential to understand its role in dynamically controlling audio parameters, particularly volume, to enhance your musical compositions.
The first thing to grasp is that GarageBand's automation allows for precise manipulation of audio levels. By moving to the "Mix" menu and selecting "Show Automation," users can reveal an editable automation line.
This line facilitates the placement of dots to set volume points accurately across the timeline. With this, one can craft smooth fade-in and fade-out effects, as represented by the line's slopes.
Such visual control over volume modulation enables the creation of unique audio changes, ultimately enriching the sound quality and depth of any musical project. Additionally, you can use automation to create dynamic panning effects, enhancing audio immersion by shifting sound between speakers.
Enabling Automation Features
To enable automation features in GarageBand, users must first access the "Mix" menu and select "Show Automation," thereby revealing the automation controls necessary for track adjustments. Once enabled, an automation line becomes visible on the track, providing a graphical interface for precise volume modulation. This line serves as a guide for placing and manipulating dots, allowing for meticulous control over dynamic volume changes such as fade-ins and fade-outs. Users can also utilize the snap to grid feature to ensure that their automation adjustments align perfectly with the rhythm and timing of the track.
Accessing Mix Menu
Steering through the intricacies of GarageBand's powerful features, how do you effectively enable automation for seamless audio control?
Begin by accessing the "Mix" menu at the screen's top. This menu serves as a hub for mix menu shortcuts that streamline your workflow.
Select "Show Automation" from the dropdown to activate the automation view, offering a thorough track settings overview. Here, you'll find the option to adjust "Volume" in the automation menu, an essential step for integrating audio effects seamlessly.
Once enabled, the automation line appears on your track, allowing precise control over volume dynamics. By placing dots on this line, users can execute sophisticated fades and nuanced volume manipulation, thereby enhancing the overall auditory experience within GarageBand.
Displaying Automation Line
Steering through the sphere of automation in GarageBand requires a clear understanding of its interface, particularly when displaying the automation line to enable nuanced audio control.
To reveal the automation options, navigate to the "Mix" menu and select "Show Automation". This action introduces visual cues integral to track management, allowing for the precise handling of audio dynamics.
By selecting "Volume" from the automation menu, the automation line is displayed, offering a graphical representation of volume changes. Each dot along this line serves as a pivotal point for audio precision, enabling users to meticulously adjust volume levels by dragging these points.
This feature facilitates smooth shifts and fades, enhancing overall audio production with an intuitive and efficient workflow.
Adjusting Volume Automation
To effectively adjust volume automation in GarageBand, begin by placing automation dots along the volume automation line, which provides a visual representation of volume levels across the track.
These dots allow precise control over volume adjustments and facilitate the creation of a fade-out effect by dragging the final dot downward to form a gradual slope.
The slope of the automation line visually indicates the shift in volume, enabling users to achieve seamless and refined fade-out effects by experimenting with the placement and movement of multiple dots.
Placing Automation Dots
Initiating the process of adjusting volume automation in GarageBand requires enabling the feature by selecting "Show Automation" from the "Mix" menu.
Once visible, choosing "Volume" from the automation menu reveals the automation line. Strategic placement of automation dots is essential for effective control over track dynamics.
Here are some tips for placement and best practices:
- Place dots at critical musical shifts for natural volume changes.
- Avoid overcrowding with too many dots, which can lead to erratic volume shifts.
- Consistently space dots to maintain a smooth fade-out, preventing abrupt changes.
- Drag dots carefully, maintaining a balance between artistic intent and technical execution.
- Visualize a downward slope, ensuring the shift to silence is seamless.
Avoid common mistakes by adhering to these guidelines.
Slope Representation
Understanding the mechanics of slope representation in GarageBand's volume automation is essential for achieving a professional fade-out effect. The automation line serves as a graphical indication of volume fluctuations, where slope visualization techniques are vital.
Upward slopes denote increased volume, while downward slopes facilitate the fade-out process. For precise fade out parameters analysis, users place a dot at the track's end and manipulate it downward, creating the desired slope. The steepness of this slope determines the fade-out's speed—gentler slopes provide smoother shifts.
Each automation line adjustment through individual dot manipulation offers precision in controlling fade-out dynamics. By monitoring slope visualization during playback, users can guarantee the fade-out effect aligns seamlessly with the track's intended conclusion.
Volume Level Adjustments
Mastering volume level adjustments in GarageBand involves a precise approach to manipulating the automation line, ensuring seamless audio shifts.
To begin, enable volume automation by selecting "Show Automation" from the "Mix" menu. Choose "Volume" to reveal the automation line, where you can employ volume mixing techniques by placing dots for specific adjustments.
Crafting smooth automation curves is essential for achieving dynamic sound dynamics. For a fade-out effect, strategically place a dot at the track's end and drag it downward, crafting a visual downward slope on the timeline.
Enhance complexity by experimenting with multiple dots to achieve intricate volume changes.
- Enable volume automation via "Mix" menu
- Select "Volume" for the automation line
- Use dots for precise adjustments
- Create fade-out with downward slope
- Experiment for dynamic sound curves
Implementing the Fade-In Technique
Have you ever wondered how to seamlessly introduce a track with a gradual build-up in GarageBand?
To employ effective fade-in effects, begin by selecting "Show Automation" from the "Mix" menu, enabling the automation feature for precise audio changes.
Choose "Volume" from the automation menu to reveal the volume automation line on your track.
Strategically place a dot at the start of this line to mark the initiation of the fade-in effect, carefully dragging it upwards to set your desired starting volume level.
Adjust subsequent dots along this line to create a gradual increase, forming a smooth upward slope.
This method enhances your mixing techniques, ensuring the introduction of your audio is both professional and impactful.
Preview and fine-tune for best results.
Incorporating effects like reverb during the fade-in can add depth and unique textures to your track, creating an immersive listening experience.
Executing a Smooth Fade-Out
To execute a smooth fade-out in GarageBand, begin by activating the automation feature via the "Show Automation" option located in the "Mix" menu.
Select "Volume" from the automation menu, revealing a line for volume adjustments.
Implement fade out techniques by placing a dot at the track's end, marking the fade-out's inception.
Drag this dot downward, crafting a slope on the automation line to signify a gradual volume decrease.
This method guarantees seamless audio shifts and enhances mixing strategies.
Review playback to confirm the fade-out aligns with your track's flow, adjusting as needed for a polished finish.
- Access "Show Automation" in the "Mix" menu.
- Select "Volume" in the automation menu.
- Mark fade-out start with a dot.
- Create a downward volume slope.
- Review and refine fade-out.
For optimal audio quality, proper microphone setup is crucial to ensure the best recording conditions and enhance the final output.
Enhancing Audio With Practice
Building on the techniques of executing a smooth fade-out, enhancing audio with practice is fundamental to refining one's skills in GarageBand. Through regular audio dynamics exploration, users can develop an intuitive understanding of how subtle adjustments techniques impact the final mix. Implementing high-pass filters effectively can also significantly improve the clarity of your mix by eliminating unnecessary low-end frequencies. Experimentation benefits are evident when users actively engage with varying fade-out durations, achieving precision in track conclusion. Visual feedback from the automation line is invaluable, offering clear insight into the effectiveness of edits. In addition, participating in online forums or local music production communities can provide diverse perspectives and advanced strategies. Beyond volume, consistent experimentation with parameters like panning and effects broadens one's proficiency in audio editing, ultimately producing a more polished and dynamically rich soundscape.
Sharing Your Masterpiece
After perfecting your track in GarageBand with a smooth fade-out, it is essential to share your creation with a wider audience to receive constructive feedback and build your presence in the music community.
Effective music promotion strategies involve employing various platforms and techniques. Begin by exporting your track using GarageBand's "Export Song to Disk" feature. Distribute your music across platforms like SoundCloud and Bandcamp, taking advantage of their wide reach.
Engage audiences by providing insightful descriptions and inspirations behind your track. Utilize social media for direct sharing and feedback solicitation methods. Join online communities and forums to connect with fellow musicians and gather constructive input.
- Export your track via GarageBand's sharing options.
- Share on SoundCloud and Bandcamp.
- Use Apple Music and email for quick distribution.
- Engage with music forums and social media groups.
- Provide track descriptions to enhance audience engagement.
Make sure your device compatibility is optimal for GarageBand to ensure a smooth and seamless music production experience.
Frequently Asked Questions
How to Make Fade Out in Garageband?
To implement fade out techniques in GarageBand, enable audio editing by selecting "Show Automation" under "Mix." Choose "Volume" for volume automation, place a dot at track's end, and drag downward to achieve a smooth fade-out effect.
How to Crossfade on Garageband?
To crossfade on GarageBand, employ crossfade techniques by overlapping audio regions, utilizing volume automation for smooth audio shifts. Implement precise mixing tips by adjusting automation points to control volume dynamics, ensuring seamless integration between audio segments.
How to Add Fade Out Audio?
To add a fade-out in audio editing, employ fade out techniques by enabling the automation feature. Use sound mixing by adjusting the volume automation line, creating a downward slope to achieve a smooth, professional fade-out effect.
What Is Mastering in Garageband?
Mastering in GarageBand involves refining the final mix using advanced mixing techniques, audio effects, and track balancing. This guarantees the audio achieves ideal sound quality, with consistent volume, frequency balance, and dynamic range, suitable for diverse playback systems.
Conclusion
Mastering the fade-out technique in GarageBand is achieved through a systematic approach involving the understanding and enabling of automation features, precise adjustment of volume automation, and the application of fade-in and fade-out techniques. This process enhances audio quality and requires consistent practice to refine skills. By following these structured steps, users can effectively share their finely-tuned audio projects, demonstrating a high level of proficiency in digital audio production within the GarageBand platform.


