Creating professional beats with GarageBand starts by launching a new project and configuring your tempo, key, and time signature. Utilize virtual instruments and the Loop Browser for diverse sonic palettes. Enhance your tracks using built-in effects like reverb and distortion, and apply automation for dynamic shifts. Engage in precise editing with MIDI controllers, and finely tune your mix with EQ and compression tools. Master your project by balancing levels and exporting in high-fidelity formats. Navigate GarageBand efficiently with keyboard shortcuts to streamline your workflow. Exploring these elements further will reveal the extensive creative possibilities available.
Key Takeaways
- Begin with an "Empty Project" and set desired Tempo, Key, and Time Signature for your beats.
- Utilize the Loop Browser to find genre-specific loops for inspiration and foundational beats.
- Arm tracks for recording and use the built-in virtual instruments for diverse sound creation.
- Edit and refine tracks with timing and pitch tools, and apply effects like reverb and distortion.
- Mix and master your track by adjusting volume, EQ, and panning for a balanced final product.
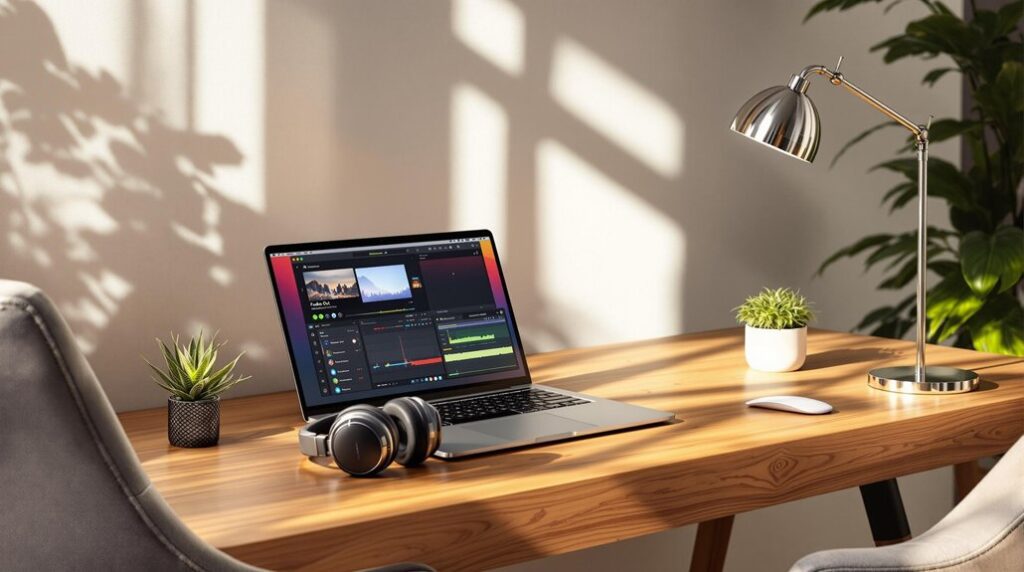
Getting Started With Garageband
When starting on your journey to create professional beats, mastering the initial setup of GarageBand is paramount.
Begin by downloading GarageBand from the App Store on your Mac or iOS device, as Windows users lack this privilege. Launch the software and create a new project by selecting "Empty Project," meticulously setting the Tempo, Key Signature, and Time Signature to align with your creative vision.
Utilize the "Software Instrument" option to enrich your composition with virtual instruments, utilizing the Musical Typing feature for seamless keyboard note input.
The Loop Browser becomes an essential tool, offering a plethora of pre-recorded loops—blue for raw sounds, green for editable clips, and yellow for rhythmic drums.
GarageBand's user-friendly interface allows musicians of all skill levels to navigate the software with ease, thanks to its organized main window and accessible tools.
Consistently save your project to safeguard your evolving masterpiece.
Exploring GarageBand Features
Explore the robust capabilities of GarageBand to enhance your beat-making prowess. This dynamic software offers a plethora of built-in virtual instruments, such as synthesizers, pianos, and drums, enabling seamless creation of professional audio without external gear.
The Loop Browser is a treasure trove of pre-recorded loops, categorized by instrument, genre, and mood, streamlining the integration of diverse sounds into your compositions. Customize these loops by altering their length, pitch, and effects to reveal new creative dimensions.
With MIDI support, connect external MIDI controllers to capture intricate beats and melodies, further refined using the MIDI editor. Additionally, GarageBand's extensive mixing and mastering tools afford users the ability to polish tracks to industry standards, ensuring a professional-grade final product. Incorporating Legacy instruments and vintage synthesizers from the Library in GarageBand can add nostalgic elements and unique character to modern tracks.
Setting Up Your Workspace
Having explored the myriad features of GarageBand, the next step involves meticulously setting up your workspace to optimize your beat-making process.
Begin by launching GarageBand and configuring essential project settings, including tempo, key signature, and time signature, which establish the foundational structure of your composition.
Navigate the GarageBand window, where familiarity with the interface—comprising toolbars, track menu, and sound library—is essential for workflow efficiency.
The loop browser serves as a valuable resource, offering an extensive array of pre-recorded loops that can inspire or form the basis of your beats.
To safeguard your progress and prevent data loss, it is imperative to save your project frequently using "File > Save" or the Command + S shortcut.
For beginners, it is advisable to start with the Empty Project template due to its flexibility and user-friendly default settings, allowing exploration of various creative needs.
Creating a New Project
Initiating the creation of a new project in GarageBand is a pivotal step that lays the groundwork for your musical composition.
Begin by launching GarageBand and selecting "New Project" from the File menu or using the shortcut Command-N. Opt for the "Empty Project" to customize your setup precisely to your needs.
Before diving into track creation, adjust essential project settings like Tempo, Key Signature, and Time Signature to guarantee everything aligns with your intended soundscape.
Utilize the "New Track" button (Shift + Command + N) to add various track types, setting the stage for effective project organization.
- Select "New Project" from the File menu
- Choose "Empty Project" for customized setup
- Adjust Tempo, Key, and Time Signature
- Use "New Track" button for track organization
For optimal sound quality, consider using Smart Controls to make real-time modifications and enhancements to your tracks, ensuring a professional finish.
Selecting Instruments and Loops
Access the Loop Browser via the loop icon to explore pre-recorded loops, conveniently sorted by instrument, genre, and mood. Integrate these loops by dragging them into the workspace, customizing their parameters such as length and pitch. Stack multiple loops and instruments to achieve intricate, professional-sounding arrangements. Using filters in the Loop Browser allows you to sort loops by key, tempo, or beat, ensuring a seamless integration into your track.
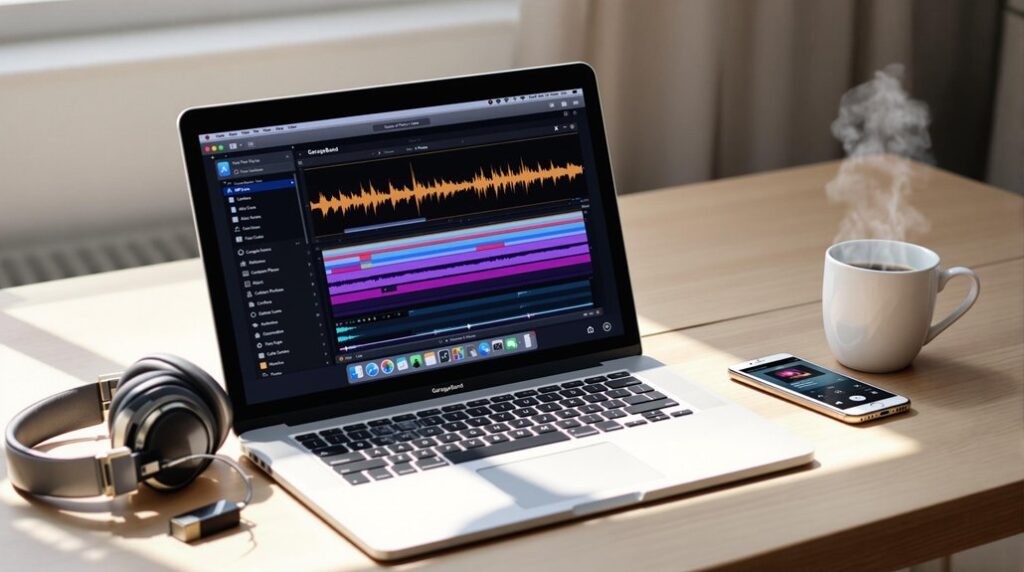
Recording Audio Tracks
Master the art of recording audio tracks in GarageBand by arming your track with precision—enable the record function and capture your audio with the press of the red record button.
Ensuring ideal input levels is essential; avoid the red zone to prevent clipping and distortion. Utilize either built-in mics or external audio interfaces to tailor your recording audio setup.
Once captured, edit the audio track using GarageBand's robust tools to refine timing, pitch, and apply effects. This flexibility allows for high-quality production and creativity.
- Arm the track: Click the record enable button for readiness.
- Manage input levels: Test to avoid distortion.
- Choose input source: Built-in mic or external interfaces.
- Edit and save: Use tools for refinement and remember to save often.
For optimal performance, ensure microphone compatibility with GarageBand, which helps in capturing audio with clarity and precision.
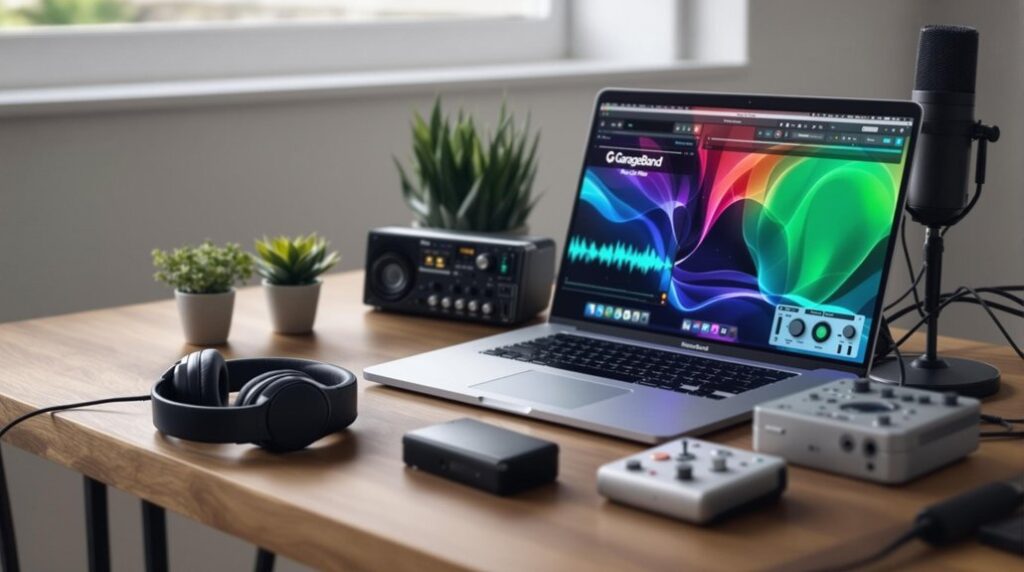
Using MIDI Controllers
With the foundational skills of recording audio tracks in GarageBand established, musicians can enhance their production quality by integrating MIDI controllers into their workflow. Connecting a MIDI controller via USB or Bluetooth allows the creation of dynamic music editing through virtual instruments. In 2024, the market for budget MIDI controllers has expanded significantly, offering diverse options that balance performance, integration, and user experience. In GarageBand, after establishing a new software instrument track, verify the MIDI controller is recognized within the application preferences for seamless real-time note input. This setup enables intricate drum patterns and expressive dynamics in performance. The MIDI editor in GarageBand offers powerful tools for refining recorded notes, such as quantization, pitch correction, and timing adjustments, crafting a polished sound. Additionally, explore MIDI effects like arpeggiators and chord triggers to add complexity and creativity to your beat compositions.
Editing and Arranging Tracks
When crafting professional beats in GarageBand, efficient track organization is paramount to maintaining workflow fluidity and clarity. By utilizing advanced editing tools such as pitch adjustment, note quantization, and automation, producers can sculpt their tracks with precision and creativity. Arrange your project by seamlessly dragging and dropping tracks and loops, ensuring a cohesive and dynamic auditory experience. Additionally, incorporating dynamic panning effects can enhance audio immersion by shifting sound between speakers, creating movement in the stereo field.
Efficient Track Organization
Efficient track organization in GarageBand is pivotal for crafting professional beats. A structured approach not only enhances workflow but also guarantees a coherent arrangement.
Utilize track folders to consolidate related elements, thereby minimizing clutter and enhancing session navigation. Label each track with descriptive names, providing clarity and enabling rapid access during intricate mixing phases.
Rearranging tracks is straightforward—simply drag the track header to reposition it, promoting logical sequencing and auditory flow. Employ color-coding to distinguish between different instruments and sections, offering an intuitive visual overview that aids in managing complex compositions.
- Use track folders to group similar elements.
- Label each track descriptively for swift identification.
- Rearrange tracks by dragging headers for better flow.
- Color-code tracks to visually organize sections.
Using Advanced Editing Tools
Mastering the advanced editing tools in GarageBand can greatly enhance the professionalism of your beat production.
Utilize the Editors button to explore sophisticated MIDI editing, allowing precise manipulation of pitch, duration, and velocity. This control transforms your tracks with nuanced detail.
Rearrange and layer tracks in the main project window, crafting intricate arrangements and dynamic soundscapes.
Implement the Automation feature to introduce dynamic shifts in volume, pan, and effects, adding depth to your compositions.
The Loop Browser serves as a resource for integrating and customizing pre-recorded loops, adjusting their length and pitch for a tailored sound.
Additionally, the scissors tool enables splitting and trimming audio regions, facilitating seamless changes and precise edits in your beat creation process.
Applying Effects and Plugins
Transform your tracks with the robust suite of effects and plugins available in GarageBand, elevating your music production to professional levels.
To apply effects, open the Smart Controls, select your track, and drag your chosen effect—be it reverb, echo, or distortion—from the effects list.
GarageBand's integration of Audio Units (AU) plugins expands your sonic palette, allowing for diverse sound processing.
Customize these effects to suit your unique artistic vision, using built-in presets as a creative springboard.
Employ automation to dynamically adjust effect parameters over time, crafting more engaging, evolving soundscapes.
- Enhance your productions with built-in effects like reverb and echo.
- Leverage Audio Units for expanded sound processing capabilities.
- Utilize automation for dynamic effect modulation.
- Customize presets for a personalized sound signature.
Experiment with different reverb types to enhance vocal clarity and achieve the desired acoustic environment for your tracks.
Mixing and Balancing Levels
Achieve a polished mix by meticulously balancing levels and crafting an immersive audio experience. Begin by adjusting volume faders on each track in GarageBand, ensuring no element dominates the mix. Employ EQ to sculpt frequencies, cutting unnecessary ranges to allow instruments their own sonic space, thereby eliminating muddiness. Incorporate pan controls to strategically place tracks within the stereo field, enhancing spatial perception and clarity. Compression is essential for dynamic consistency; it smooths out volume fluctuations, accentuating softer sounds without introducing distortion on peaks. Regularly reference your mix against commercial tracks of similar genre to evaluate overall tonal balance and stereo width. Remember to maintain subtle adjustments within a 3-decibel range when applying EQ to preserve tonal balance and avoid drastic alterations. This iterative process of mixing refines your audio, aligning it with industry standards for a professional, engaging result.
Mastering Your Track
In mastering your track with GarageBand, leverage the Mixer view to meticulously adjust levels and panning, ensuring a sonically balanced composition.
Employ built-in effects like EQ, Compression, and Reverb to fine-tune the sonic characteristics of your mix, enhancing its depth and clarity.
As you finalize your project, export in high-fidelity formats such as WAV or AIFF, while tailoring your settings to meet the specifications of your distribution platform, ensuring superior audio quality.
Utilizing Mixing Tools
Master the art of mixing in GarageBand by utilizing its extensive suite of tools designed to enhance your audio production. The mixing tools, including EQ and compression, provide the foundation for achieving a balanced sound.
Access these features within the Smart Controls panel to sculpt frequencies and manage dynamics effectively. Employ the Master track to apply global effects, ensuring the mix translates seamlessly across diverse systems.
The Mixer view offers a detailed visual interface, allowing for precise fader adjustments and effect applications.
- EQ: Shape your track's tonal balance for clarity and impact.
- Compression: Control dynamic range, adding punch and consistency.
- Master track: Apply global effects for a cohesive sound.
- Automation: Create dynamic shifts and enhance interest.
Consistently monitor levels to prevent clipping and maintain audio fidelity.
Finalizing Export Settings
Finalizing your track in GarageBand involves meticulous attention to export settings, a critical step in the mastering process that guarantees your audio maintains its integrity across various playback systems.
Begin by traversing to the Share menu and selecting "Export Song to Disk" to access essential export settings for your GarageBand projects. Opt for a file format that aligns with your audio quality needs, such as WAV for uncompromised fidelity.
Prior to export, thoroughly review and refine your mix using GarageBand's built-in mastering tools to ascertain peak sound quality. Consistently save your project to safeguard against data loss.
Once satisfied, name your file and designate a destination on your computer for easy retrieval, thereby finalizing your creative endeavor with precision and professionalism.
Exporting Your Beat
Steering through the final stages of your music production journey in GarageBand requires a keen understanding of the export process to confirm your beat is ready for the world.
Begin by maneuvering to the Share menu and selecting "Export Song to Disk". This action summons a pop-up window where you can refine your export preferences.
Choose an audio format that suits your needs; WAV is best for superior quality, whereas MP3 is ideal for compact file size. Once your settings are in place, click "Export" to render your beat into a single audio file.
Keep in mind:
- File Name: Customize to confirm easy identification.
- Location: Select a memorable directory.
- Format: Decide between WAV and MP3.
- Quality Settings: Adjust for desired fidelity.
Troubleshooting Common Issues
Maneuvering the intricacies of GarageBand can sometimes present challenges, but understanding common issues can streamline your music production process.
Addressing performance issues involves efficient troubleshooting, such as closing extraneous applications to maximize system resources. For audio recording, confirm input levels are balanced to prevent clipping, indicated by red meters, and verify the correct output settings within preferences.
Employing a low-latency audio interface is beneficial for seamless recording and playback, minimizing delays. Regular updates to GarageBand and audio drivers enhance compatibility and resolve bugs.
MIDI recording issues require checking the connection and recognition of your MIDI controller, along with fine-tuning MIDI settings for peak performance.
Enhancing Workflow Efficiency
Mastering workflow efficiency in GarageBand is essential for maximizing productivity and enhancing the creative process. By integrating smart techniques, producers can streamline their editing tracks and composition workflows.
Utilize shortcut keys such as Command + N and the spacebar to expedite navigation and playback, greatly boosting your workflow efficiency. Organize your project by color-coding and naming tracks for seamless management. This guarantees quick access and reduces time spent on searching.
The Loop Browser is a valuable tool; it allows rapid incorporation of pre-recorded loops, fostering creativity and expediting composition.
- Shortcut keys: Optimize navigation with Command + N and spacebar.
- Track organization: Color-code and name for efficient management.
- Loop Browser: Quickly find and integrate loops.
- Regular saves: Use Command + S to secure progress.
Comparing Alternatives to GarageBand
When evaluating alternatives to GarageBand, professionals must consider cross-platform compatibility, as solutions like Soundtrap offer seamless collaboration across devices, unlike GarageBand's macOS exclusivity.
Advanced feature sets, such as Logic Pro's sophisticated MIDI editing and FL Studio's powerful automation tools, can greatly enhance production capabilities for those requiring more than GarageBand's basic offerings.
In addition, user interface experience is paramount; Ableton Live Lite's session view provides a unique workflow for electronic music production, contrasting with GarageBand's more straightforward layout.
Cross-Platform Compatibility
Despite GarageBand's user-friendly interface and feature set, its restriction to MacOS and iOS devices poses a significant limitation for producers seeking cross-platform flexibility.
In the domain of professional DAWs, alternatives such as FL Studio and Ableton Live extend their reach across both Windows and Mac systems, enhancing accessibility for music production.
Meanwhile, cloud-based options like Soundtrap by Spotify offer real-time collaboration and cross-device compatibility via any web browser, catering to modern production needs.
For Windows users, Cakewalk by BandLab provides a robust, professional-grade solution without platform constraints.
- FL Studio and Ableton Live: Cross-platform support for Windows and Mac.
- Soundtrap by Spotify: Cloud-based, real-time collaboration.
- Cakewalk by BandLab: Free, professional-grade DAW for Windows.
- BandLab: Mobile app and web interface for versatile music creation.
Advanced Feature Set
While GarageBand is celebrated for its intuitive design and accessible range of virtual instruments, professionals seeking a more extensive feature set often turn to alternatives like Logic Pro and Ableton Live.
Logic Pro offers advanced features such as multi-channel audio routing and thorough MIDI editing tools, elevating music production to professional standards.
Ableton Live's session view capabilities facilitate dynamic track improvisation, which is essential for live performances.
Meanwhile, Soundtrap provides cloud-based collaboration, allowing simultaneous project editing, which is indispensable in modern music production.
FL Studio and Pro Tools, with robust VST plugin support, offer enhanced sound design flexibility.
Compared to GarageBand's basic tools, Reaper's advanced audio editing and automation options provide a versatile platform for intricate track creation and professional audio production.
User Interface Experience
Although GarageBand is renowned for its beginner-friendly interface, offering intuitive drag-and-drop functionality and a straightforward track layout, software like Ableton Live and Logic Pro present more sophisticated user interfaces tailored to seasoned producers.
These alternatives offer advanced features, enhancing the user interface experience. Ableton Live's session view facilitates live performances, while Logic Pro provides thorough controls for MIDI instruments and project file management.
Unlike GarageBand, these programs provide cross-platform compatibility, expanding accessibility beyond Mac and iOS.
- Ableton Live: Ideal for complex live performances with its session view.
- Logic Pro: Offers extensive MIDI instrument controls and project file efficiency.
- FL Studio: Cross-platform capabilities with a wide array of advanced features.
- Pro Tools: Professional-grade recording and mixing essential for studio productions.
Frequently Asked Questions
Can You Make Professional Beats With Garageband?
Yes, professional beats can be crafted using Garageband. With its extensive sound libraries, innovative beat making techniques, and user-friendly workflow tips, Garageband features facilitate the creation of high-quality beats suitable for various music production projects.
Can I Make Professional Music With Garageband?
Yes, you can create professional music with GarageBand. Its features, including robust music production techniques, versatile beat-making tips, and foundational sound design basics, support diverse musical styles, enabling the production of polished, commercially viable tracks.
How Do Professional Producers Make Beats?
Professional producers employ advanced beat making techniques, utilizing sound design strategies and music production tips. They utilize genre-specific approaches to create distinctive rhythms, integrate dynamic automation, and collaborate for refinement, ensuring impactful and engaging compositions within the music industry.
What Software Do Musicians Use to Make Beats?
Musicians utilize beat making software such as Ableton Live, FL Studio, and Logic Pro X. These digital audio platforms facilitate music production by offering advanced tools for sequencing, audio samples, and MIDI integration, essential for professional-grade beat creation.
Conclusion
Mastering beat creation in GarageBand involves understanding its extensive features, setting up an efficient workspace, and selecting appropriate instruments and loops. Proficiency in exporting beats and troubleshooting common issues enhances the production process, while strategic workflow enhancements can greatly increase productivity. Although GarageBand offers robust capabilities, exploring alternative digital audio workstations can provide additional creative opportunities. By integrating technical expertise with creative insight, producers can maximize the software's potential, ultimately crafting professional-grade beats efficiently and effectively.