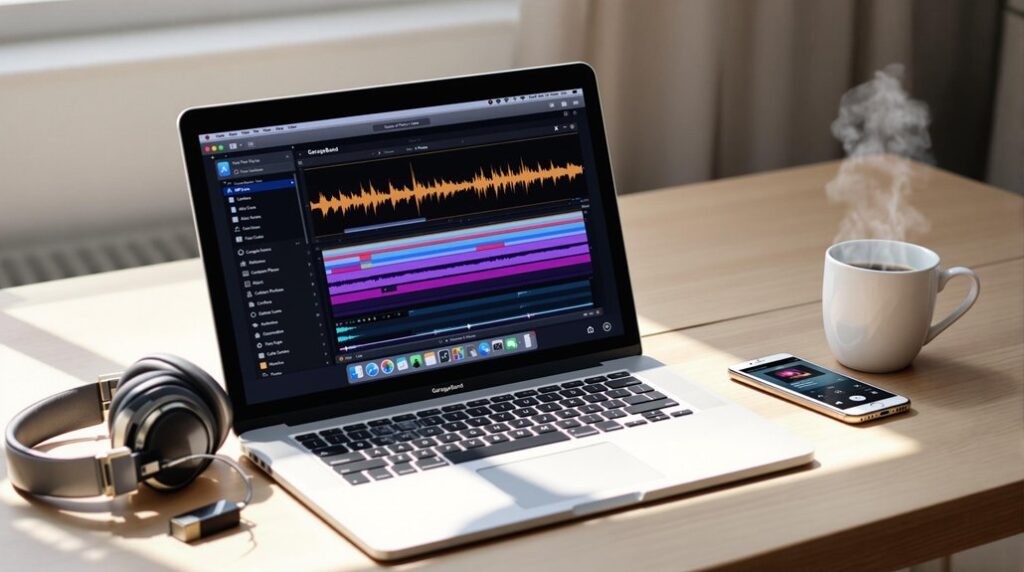
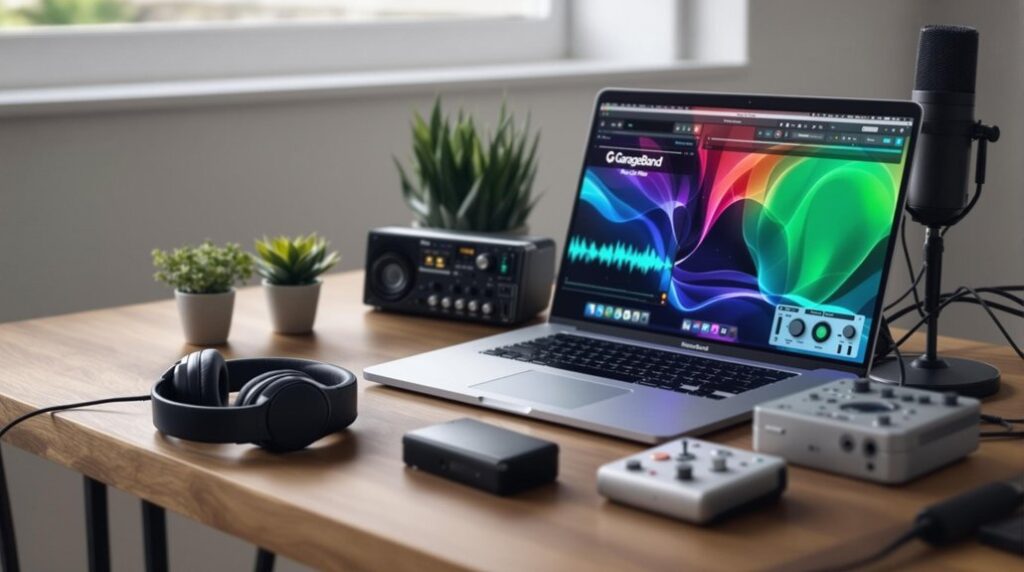
To connect a MIDI controller with GarageBand, first determine your device platform. On a Mac, plug the MIDI controller into an available USB port. Confirm recognition through the Audio MIDI Setup, then activate MIDI input in GarageBand's Preferences. For iOS devices, use a Lightning to USB Camera Adapter, ensuring GarageBand auto-detects the device for Smart Instruments. Bluetooth MIDI setup requires pairing the controller and activating it in GarageBand's MIDI settings. Conduct a test recording to verify all connections. Maintain seamless performance by enabling MIDI monitoring and aligning channel settings. Opportunities abound to fine-tune further for creative flexibility.
Key Takeaways
- Plug the MIDI controller into your Mac's USB port for automatic recognition by GarageBand.
- Use Bluetooth MIDI to wirelessly connect your MIDI controller to an iPad or iPhone.
- Ensure MIDI input is enabled in GarageBand Preferences for proper MIDI data capture.
- Perform a test recording to verify accurate MIDI input and device functionality.
- Use Audio MIDI Setup on Mac to confirm the MIDI controller appears in the MIDI Studio window.
Setting Up MIDI Controllers
Establishing a seamless connection between your MIDI controller and GarageBand is an essential step in optimizing your music production setup.
To control Touch Instruments effectively on an iPhone or iPad, connect a compatible Bluetooth® MIDI device. This involves using an appropriate adapter, such as the Lightning to USB Camera Adapter, making sure your MIDI devices are recognized by the system.
The Audio MIDI Setup can be a valuable tool for verifying device connectivity and resolving issues. Once connected, GarageBand should automatically detect the device, allowing it to function as a virtual instrument.
Familiarize yourself with the MIDI controller's functions, including tempo and volume adjustments, to enhance your music production. Always confirm MIDI monitoring is enabled for seamless sound triggering.
For beginners, choosing a MIDI keyboard with velocity-sensitive keys ensures expressive performances and a more intuitive music-making experience.
Connecting on Mac
Having successfully set up MIDI controllers for iOS devices, let's explore the process of connecting a MIDI controller to a Mac.
Begin by plugging the MIDI controller into an available USB port, allowing the system to automatically detect the device.
Proceed by opening the Audio MIDI Setup application and confirming the appearance of the MIDI controller in the MIDI Studio window.
Launch GarageBand, navigate to Preferences, and verify that MIDI input is enabled for your project.
Next, record-enable a software instrument track in GarageBand, ensuring the MIDI controller can trigger sounds effectively.
Conduct a test recording by playing the MIDI controller to confirm that the input is accurately capturing MIDI data within GarageBand, thereby ensuring seamless integration and functionality.
Many controllers, such as the Arturia KeyLab MKII, include standard MIDI outputs alongside USB ports, which enhances connectivity options for users.
Connecting on Ios Devices
Connecting a MIDI controller to an iOS device involves a straightforward process that enhances mobile music production capabilities. To connect your MIDI, utilize a 30-pin adapter for older models or a Lightning to USB Camera Adapter for newer iOS devices. Once connected, launch GarageBand, the digital audio workstation, and access the Smart Instruments tab to verify device recognition. GarageBand will automatically detect the MIDI device, enabling seamless integration. To confirm functionality, perform a test recording to capture MIDI data. If issues arise, check connections and guarantee MIDI input settings are enabled on the iOS device. Using a MIDI keyboard with velocity-sensitive keys can significantly enhance your ability to perform dynamic compositions.
| Step | Description |
|---|---|
| Adapter Selection | Use 30-pin or Lightning to USB for iOS device connection |
| Open GarageBand | Launch the app and navigate to Smart Instruments |
| Device Detection | GarageBand auto-detects MIDI device for integration |
| Test Functionality | Perform a test recording to verify MIDI input in the digital audio workstation |
Using Bluetooth MIDI
While traditional MIDI connections often rely on cables, the integration of Bluetooth MIDI with GarageBand introduces a wireless alternative that enhances both convenience and flexibility.
To set up a Bluetooth MIDI device with GarageBand, first verify Bluetooth is enabled on your iPad, then pair the MIDI keyboard through the iPad settings.
Once paired, open GarageBand and go to the MIDI settings to select the paired Bluetooth device from the MIDI input options. This connection allows seamless access to virtual instruments and MIDI tracks, enabling wireless control over parameters such as pitch and modulation.
Additionally, you can record MIDI data directly into your projects, streamlining your music production workflow. The capability to connect multiple Bluetooth MIDI devices simultaneously further bolsters creative possibilities.
Troubleshooting Connectivity Issues
As you leverage the flexibility of Bluetooth MIDI with GarageBand, occasional connectivity challenges may arise, necessitating a systematic approach to troubleshooting.
Begin by confirming the MIDI controller is properly connected; tap Bluetooth MIDI in your setup preferences. If no sound is triggered, verify that monitoring is enabled, facilitating audio output.
Mismatched MIDI channel settings between the controller and GarageBand can disrupt signal flow, so verify they align. Address stuck notes by adjusting the note-off velocity sensitivity settings on the controller.
The Audio MIDI Setup utility can confirm the controller's detection, while a MIDI Monitor utility provides insights into signal flow, diagnosing potential errors. Use the Plug-In Manager to organize plug-ins effectively, ensuring that any additional tools you install are easily accessible.
Secure all cables and connections to maintain a stable interface for seamless music production.
Frequently Asked Questions
How Do I Connect My Midi Controller to My Mac?
To connect a MIDI controller to your Mac, utilize USB connection methods or Bluetooth pairing options. Confirm software compatibility by configuring audio settings, installing necessary drivers, exploring MIDI interface types, and employing MIDI cable options. Troubleshooting tips may be required.
Does Garageband Ios Support MIDI?
GarageBand iOS fully supports MIDI controller compatibility, offering extensive MIDI input settings. Users can utilize GarageBand features for iOS music production, manipulate virtual instruments, and apply MIDI effects, benefiting from continuous GarageBand updates for enhanced mobile production capabilities.
Which Midi Controller for Garageband?
Selecting the best budget controllers for GarageBand involves evaluating portable MIDI options, advanced control surfaces, and beginner-friendly models. Consider features like USB vs. wireless connectivity, compatibility checklist, and brand comparisons for an ideal music production experience.
How to Connect a Midi Controller?
To effectively manage MIDI controller setup, guarantee robust USB connection, consider MIDI interface options, and address software compatibility issues. Familiarize yourself with controller features, optimize performance, employ MIDI editing techniques, and troubleshoot MIDI issues for seamless integration.
Conclusion
The integration of MIDI controllers with GarageBand enhances the music production process by offering a tactile interface for musicians. Establishing connectivity on Mac and iOS devices requires specific steps, while Bluetooth MIDI provides a wireless alternative. Troubleshooting guarantees seamless operation, addressing potential connectivity issues. An extensive understanding of these processes facilitates efficient use of MIDI technology, thereby expanding creative possibilities within GarageBand and optimizing the overall user experience in digital music production.


