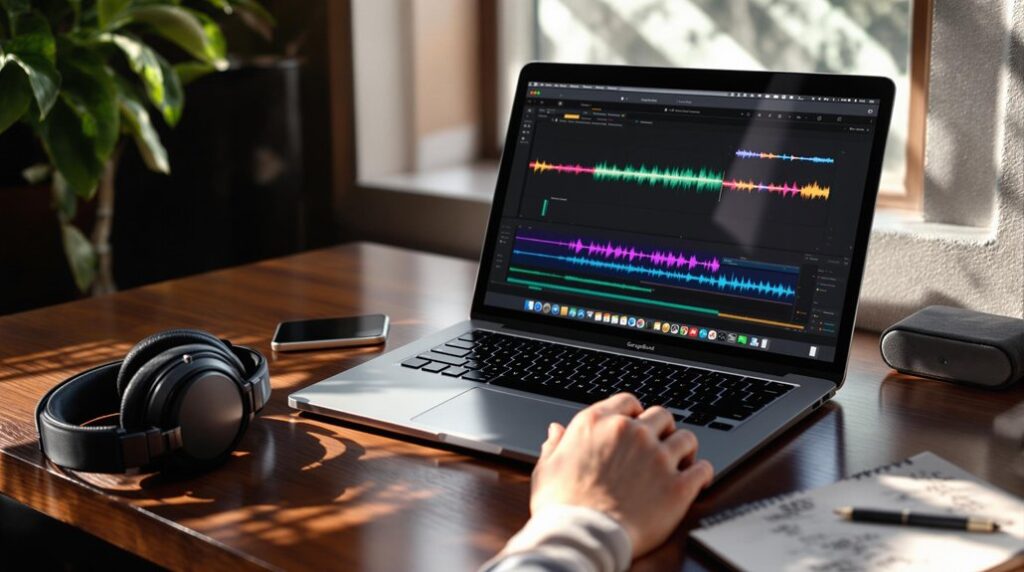
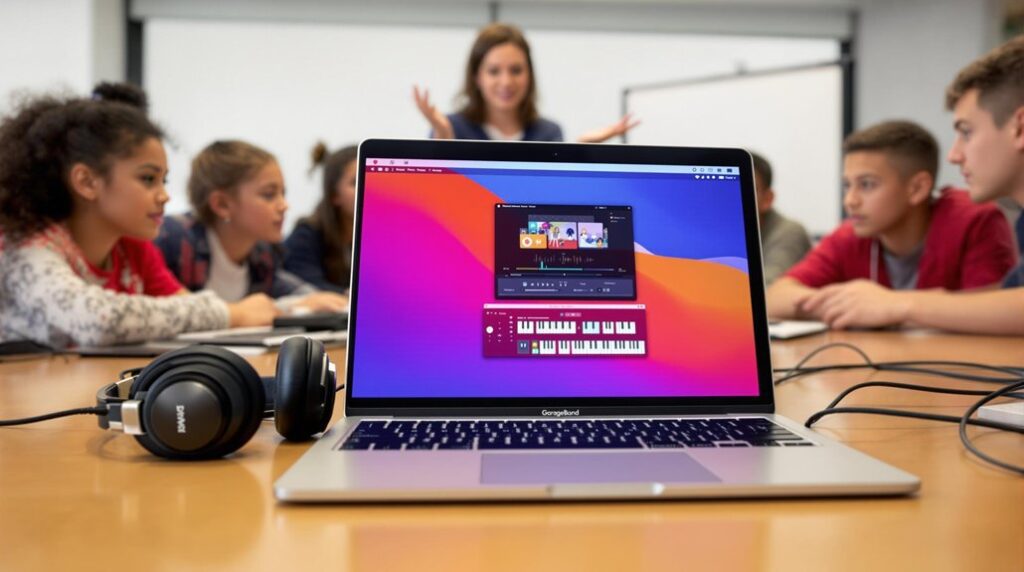
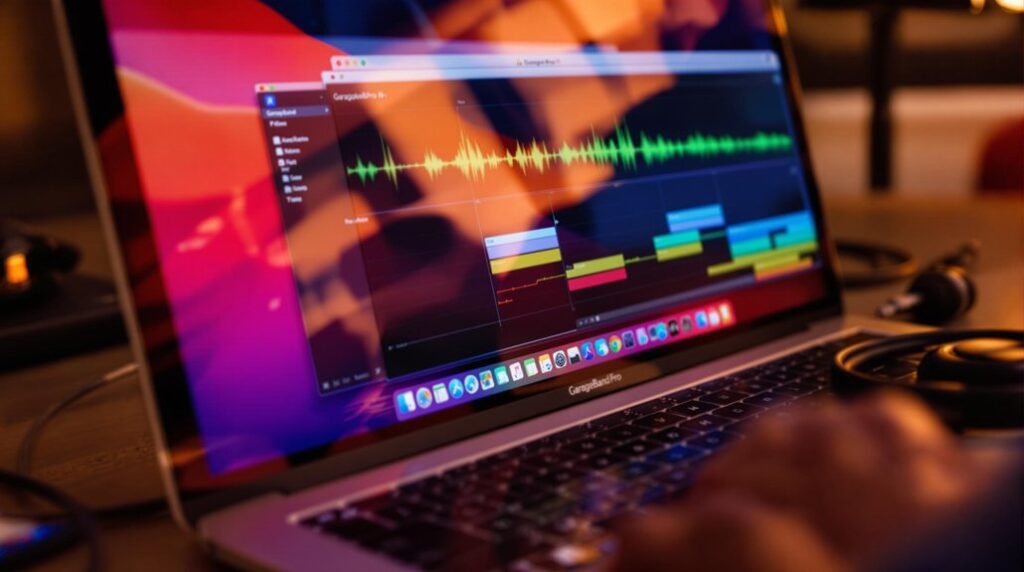
To import songs protected by DRM into GarageBand, first convert them into compatible audio formats such as MP3, WAV, or AIFF. This requires using conversion tools like AudFree, TuneMobie Apple Music Converter, or DRmare to effectively strip DRM from M4P files. Make sure the converted files are stored locally, not in the cloud, then import them into GarageBand via the Loop Browser or drag-and-drop methods. If you encounter errors, verify DRM status and storage location before re-syncing your library. Mastering these steps will enable you to efficiently import and edit your music in GarageBand. Discover more nuances and features ahead.
Key Takeaways
- Use conversion tools like AudFree or TuneMobie to remove DRM from protected songs before importing into GarageBand.
- Convert protected M4P files to GarageBand-compatible formats like MP3, WAV, or AIFF.
- Ensure audio files are downloaded locally, not stored in iCloud, for successful import into GarageBand.
- Utilize the drag-and-drop method for importing converted audio files directly into the GarageBand timeline.
- Regularly save your project and set action length to "Automatic" for full-length audio track import.
Understanding Protected Songs
Protected songs are audio files encoded with Digital Rights Management (DRM) restrictions, which are designed to control the use and distribution of digital content.
These restrictions often prevent such files from being imported into applications like GarageBand, resulting in error messages when attempting direct imports.
Common protected song formats include M4P, mainly used by Apple Music and unconverted iTunes Store purchases.
To utilize these tracks in GarageBand, it is vital to convert Apple Music songs by removing DRM protection.
This process involves using specialized conversion tools to transform them into compatible formats like MP3 or AAC.
Prior to conversion, verifying the protection status of songs is essential to avoid unnecessary errors and guarantee a seamless integration into your music projects.
Compatibility Issues in GarageBand
When working with GarageBand, users may encounter compatibility issues primarily due to file format restrictions and DRM protection.
GarageBand does not support the import of DRM-protected M4P files, which results in an error message, while it seamlessly accepts unprotected AAC files from the iTunes Store.
To guarantee successful importation, files should be stored locally in compatible formats such as MP3, WAV, or AIFF, and any DRM-protected files must be decrypted prior to importation.
File Format Restrictions
Maneuvering file format restrictions is essential for seamless music production in GarageBand, especially given its compatibility limitations with protected audio files.
Protected songs, often found in the M4P format, present import issues due to their encoding. GarageBand supports formats like MP3, AAC, WAV, AIFF, and CAF but rejects M4P files, commonly associated with Apple Music tracks.
To circumvent these challenges, guarantee that the audio files are locally stored rather than accessed from cloud storage. Additionally, verify that files are unprotected and correctly encoded, as incorrect formats or DRM restrictions can prevent integration.
Experimenting with different formats and conversions might be necessary, keeping in mind specific encoding settings or sample rates that GarageBand may require for successful imports.
DRM Protection Challenges
Although GarageBand is a versatile tool for music production, its inability to import DRM-protected songs from Apple Music poses significant challenges for users.
With Apple Music tracks encoded in the unsupported M4P format, these protected songs cannot be directly used in GarageBand, resulting in an error message.
To overcome this issue, users must convert protected Apple Music tracks into compatible formats like MP3 or AAC.
- Utilize conversion tools such as AudFree or TuneMobie Apple Music Converter.
- Confirm converted files are stored locally, as GarageBand does not access cloud-only songs.
- Address DRM issues by understanding file compatibility and using conversion methods.
Exploring DRM Restrictions
Digital Rights Management (DRM) serves as a barrier by restricting the use of copyrighted content, such as Apple Music's M4P files, which cannot be directly imported into GarageBand.
This protection often results in error messages when attempting to import such tracks, highlighting the need to address file compatibility.
To effectively use DRM-protected music in GarageBand, it is essential to convert these files into a supported format like MP3 or AAC, utilizing specialized tools that can remove DRM restrictions.
Understanding DRM Protection
When dealing with digital content, understanding Digital Rights Management (DRM) is essential for maneuvering the limitations imposed on file usage.
DRM is a technology designed to restrict the use and distribution of copyrighted digital content. Protected songs, such as those from Apple Music, often come in M4P format, which is incompatible with applications like GarageBand.
This incompatibility results in import failures and error messages indicating that "Protected songs cannot be imported into GarageBand." To address these challenges, converting DRM-protected songs to a compatible format, such as MP3 or WAV, is necessary.
Consider these points:
- DRM restricts unauthorized access to digital files.
- Protected songs in M4P format cannot be directly imported into GarageBand.
- Conversion tools are necessary to change file formats for compatibility.
Overcoming File Restrictions
Understanding and overcoming file restrictions imposed by DRM is vital for effectively using protected songs in applications like GarageBand.
DRM restrictions, especially on Apple Music's M4P files, prevent direct importation into GarageBand, resulting in error messages. To circumvent this, users need to employ DRM removal tools.
Popular converters such as AudFree and TuneMobie can strip DRM from protected songs, converting them to GarageBand-compatible formats like MP3 or WAV. This conversion process is significant, as it allows the otherwise inaccessible tracks to be seamlessly integrated into GarageBand projects.
Making sure you use a reliable DRM removal tool will facilitate a smooth workflow, enabling creative freedom without legal constraints. Always verify the converted files maintain quality and adhere to copyright laws.
Converting Apple Music Formats
To seamlessly integrate protected Apple Music songs into GarageBand, converting the tracks into a compatible format such as MP3 or WAV is imperative.
To achieve this, use a tool like AudFree Apple Music Converter or TuneMobie Apple Music Converter to convert the songs from their original M4P format to GarageBand-compatible formats. These converters effectively remove DRM protection and maintain lossless audio quality.
Key steps in the conversion process include:
- Selecting the output format (MP3/WAV) and customizing audio parameters (codecs, channels, sample rates).
- Ensuring all ID3 tags, such as title and artist, are retained for organization within GarageBand.
- Locating the converted files on your computer for seamless import into GarageBand for editing or remixing.
Tools for Music Conversion
Charting the terrain of music conversion tools is essential for those seeking to import protected Apple Music tracks into GarageBand. Tools such as AudFree and DRmare serve as robust Apple Music Converters, effectively stripping DRM from protected songs. These tools convert tracks into formats like MP3, AAC, and WAV, all compatible with GarageBand. They support batch processing, allowing multiple conversions simultaneously at speeds up to 30X faster than real-time, ensuring efficiency without compromising quality. Additionally, essential metadata such as ID3 tags are preserved, maintaining organized music libraries. Customizable audio parameters and built-in web players enhance user experience, eliminating the need for iTunes.
| Feature | AudFree | DRmare |
|---|---|---|
| DRM Removal | Yes | Yes |
| Batch Processing | Yes | Yes |
| Conversion Speed | Up to 30X | Up to 30X |
| Metadata Retention | Yes | Yes |
| Custom Audio Settings | Yes | Yes |
Adding Converted Files to GarageBand
Having selected the appropriate tool for music conversion, the next step is seamlessly integrating these converted files into GarageBand.
To import converted Apple Music songs, verify they are in a format GarageBand supports, such as MP3, AAC, or WAV. Launch GarageBand and open a new or existing project. Simply drag and drop your converted files into the workspace.
Follow these essential steps:
- Set the song section length to "Automatic" to accommodate the full import of your audio files.
- Utilize the Tracks view and Loop Browser for locating and editing imported songs.
- Integrated mixer section allows for volume adjustment and effect application.
- Save your project regularly to keep changes intact.
Importing Itunes Purchases
Importing iTunes purchases into GarageBand is simplified by the unprotected AAC format, allowing for seamless integration without encryption barriers.
To begin, ascertain your purchased songs are downloaded locally rather than stored in iCloud. Then access GarageBand and use the Loop Browser or drag-and-drop functionality to add them to your project timeline.
Confirm that your iTunes Library is synchronized with GarageBand to guarantee all purchased tracks are readily available for import.
Unprotected Format Advantage
Purchasing songs from the iTunes Store offers a distinct advantage for music creators utilizing GarageBand, as these tracks are typically provided in AAC format—unprotected and fully compatible for seamless integration.
Unlike Apple Music tracks, which are restricted by DRM and encoded in M4P format, purchased iTunes songs are free from such limitations. This allows for their direct manipulation within GarageBand, utilizing the full spectrum of editing and mixing capabilities.
To maximize the benefits of GarageBand-supported formats, guarantee your iTunes purchases are downloaded locally before accessing them.
- Unprotected Apple Music: Enjoy seamless editing without DRM restrictions.
- AAC Format: Directly compatible with GarageBand for hassle-free importing.
- Easy Access: Use the Loop Browser in GarageBand to locate and import tracks effortlessly.
Direct Import Process
Begin the process of importing your purchased iTunes songs into GarageBand by ensuring they are downloaded locally on your device in AAC format, which guarantees compatibility with the software.
Launch GarageBand and initiate a new project. Access the Loop Browser by selecting the Loop icon, where you can import songs from Apple by locating your iTunes purchases.
Drag your desired song from the list directly into the GarageBand timeline for seamless editing and mixing. Make sure your iCloud Music Library is enabled in iTunes to facilitate access to your songs across all devices.
If songs cannot be imported, verify the file's DRM status, as DRM-protected files are not supported by GarageBand and must be converted to an unprotected format.
Troubleshooting Import Errors
Many users encounter difficulties when trying to import protected songs into GarageBand, often due to DRM restrictions or file storage issues.
To troubleshoot import errors, first verify whether the files are indeed protected. Protected files typically prevent import due to DRM. Confirm that the songs are stored locally; files in the cloud cannot be imported into GarageBand.
If problems persist, consider these solutions:
- Re-sync your music library: Use iTunes to confirm all tracks are stored locally on your device.
- Conversion tools: Utilize software like AudFree or TuneMobie to remove DRM and convert songs to compatible formats.
- Direct import: Drag files directly into GarageBand's workspace as a workaround.
Editing Music in GarageBand
Once you've successfully imported your songs into GarageBand, the next step is to refine and perfect your tracks through editing.
Begin by opening your GarageBand project and clicking the Edit button to access a suite of editing music in GarageBand options. You can trim and split audio clips to organize your arrangement.
To adjust the volume of individual tracks, utilize the track header slider or navigate to the mixer section for a more balanced sound.
Enhance your mix further by using Smart Controls (press B) to apply effects and tailor each track's sound.
Implement automation curves to introduce dynamic changes in volume and effects, adding depth to your music.
Make sure to explore the advanced editing tools in GarageBand, such as audio plug-ins and compression, to further refine the sound quality of your tracks.
Confirm all changes are saved by selecting File and then Save.
Creating Ringtones From Songs
Transforming your favorite songs into personalized ringtones with GarageBand involves a straightforward yet precise process. To create ringtones from songs, start by verifying the tracks are not protected songs. Purchase from iTunes or convert from Apple Music to a compatible format.
Within GarageBand, initiate a new project or open an existing one, then drag the desired track into the timeline for editing.
- Trim the clip to 30 seconds or less using the trimming tool, aligning with ringtone specifications.
- Access the My Songs option post-editing, select Share, and opt for the Ringtone export.
- Rename the ringtone and set it as the Standard Ringtone for device saving.
This method guarantees your customized ringtones are quickly accessible and free from protection constraints.
Sharing GarageBand Creations
Sharing your GarageBand creations efficiently enhances collaboration and distribution. To share, open your GarageBand project and click the Share button in the top right corner.
Choose to share directly to Music or iTunes by entering song details and selecting an export format such as AAC or WAV. Click Share to save the exported song in the Music app for easy access.
For collaboration, export your work as a GarageBand project file, which allows collaborators to open and edit it on their devices.
On iOS, share via AirDrop, email, or social media by tapping My Songs, selecting your project, and choosing Share.
For wider distribution, export your song to platforms like SoundCloud directly from GarageBand to reach broader audiences.
To ensure quality sound, it's essential to perform basic editing and mixing before sharing your project.
Frequently Asked Questions
How to Get a Protected Song Into Garageband?
To import a protected song into GarageBand, utilize alternative software to apply conversion methods, transforming protected formats into compatible ones like MP3 or AAC. Confirm local storage and correct format settings for seamless integration into GarageBand projects.
Why Can't I Import Apple Music to Garageband?
Apple Music tracks cannot be imported into GarageBand due to DRM restrictions. These protections prevent conversion into GarageBand-compatible formats. To use these tracks, DRM removal tools must be employed to facilitate compatibility and integration.
Why Are Some Songs DRM Protected?
Songs are DRM-protected to prevent music piracy and guarantee compliance with copyright laws. DRM technology restricts unauthorized distribution, safeguarding artists' and record labels' financial interests by controlling how digital music is accessed and shared.
Why Are My Files Greyed Out on Garageband?
Files may appear greyed out in GarageBand due to incompatibility with supported audio file formats or being protected music files. Verify files are locally stored and in compatible formats like MP3 or AAC for successful import.
Conclusion
In summary, importing protected songs into GarageBand requires an extensive understanding of digital rights management (DRM) restrictions and compatibility issues. By converting protected formats into compatible ones using specialized tools, users can circumvent these limitations. Troubleshooting common import errors guarantees seamless integration, while further editing in GarageBand facilitates creative expression. This process ultimately expands the utility of GarageBand, allowing users to create ringtones and share their musical creations efficiently. Mastery of these techniques enhances the overall music production experience.


