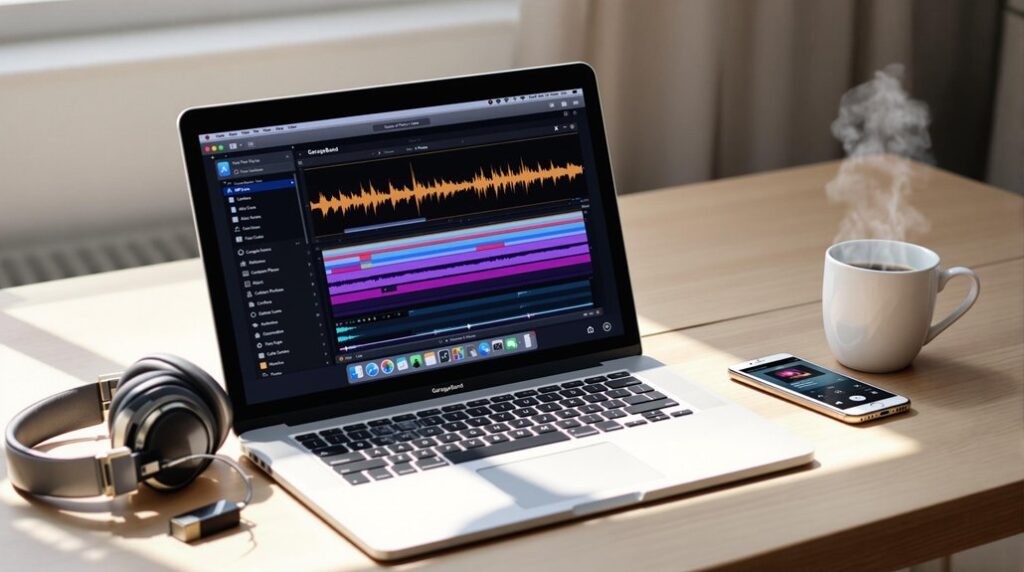
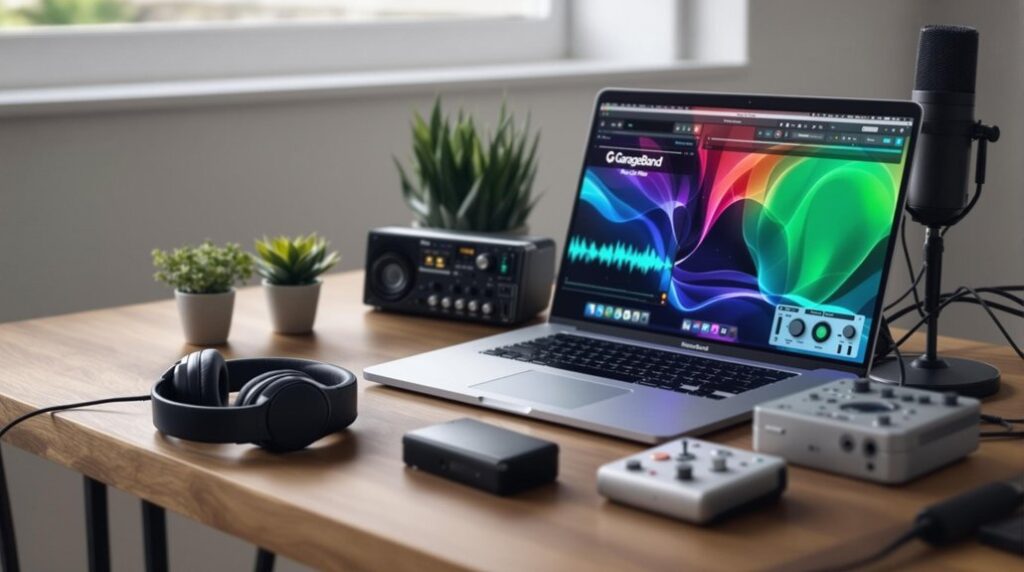
To master GarageBand's Beat Maker, start with an organized session setup and track layout. Use reference tracks for tonal accuracy and apply color coding for efficient navigation. Adjust volume and gain to align with industry standards using loudness meters. Employ subtle EQ techniques and compression to enhance sound clarity while safeguarding dynamic integrity. Set limiter thresholds prudently to prevent distortion and maintain your dynamic range. Engage in critical listening across diverse environments, ensuring a polished, professional output. Incorporating these steps provides foundational insight, opening pathways for creating industry-standard beats with confidence and technical precision. Discover the depths of mastering GarageBand.
Key Takeaways
- Organize your GarageBand session with clear track labeling and color coding for efficient navigation and workflow.
- Utilize a reference track to ensure your beats align with industry-standard loudness and tonal balance.
- Apply basic EQ and compression techniques to enhance clarity and maintain dynamic range in your beat.
- Implement limiting techniques to maximize loudness while preventing digital distortion and clipping.
- Practice critical listening by comparing your mix across various environments to ensure consistent quality and translation.
Setting Up Your Session
In the sphere of digital music production, organizing your GarageBand session is akin to laying the foundation of a sonic masterpiece.
Begin with a well-structured track layout, incorporating a reference track to facilitate tonal comparison and guarantee seamless navigation throughout the mastering journey. Precision in aligning your mix's volume levels with the reference track is paramount, as this alignment is vital for evaluating sound quality.
Employ EQ adjustments to individual tracks, executing subtle boosts and cuts between 0.5 to 3 dB, to enhance clarity and eradicate muddiness. Compression follows, where setting an initially higher ratio helps manage dynamic range while maintaining the mix's character.
Continuous comparison with the reference track assures consistency and alignment with industry standards. Utilize a frequency analyzer plugin to visually assess and refine the frequency spectrum of your tracks, ensuring optimal clarity and balance.
Track Layout Essentials
Once your session is set up with a solid foundation, focusing on the track layout becomes pivotal to achieving a streamlined mastering process in GarageBand.
Begin by organizing your session with precision; place the song to be mastered on one track and a reference track on another to facilitate tonal comparison. This allows for an accurate mix in GarageBand, highlighting areas for sonic enhancement. Ascertain both tracks' volumes match to properly evaluate sound quality.
Clearly label each track to avoid confusion, and employ color coding to categorize elements like vocals, instruments, and effects. This aids in maneuvering through complex sessions.
Regularly save iterations with incremental filenames, safeguarding your progress and enabling swift backtracking if adjustments require revisiting prior versions.
Using multiple takes can help capture the best performance, ensuring the final mix benefits from high-quality audio recordings.
Volume and Gain Adjustments
In the domain of mastering your tracks with GarageBand's Beat Maker, precise volume and gain adjustments are essential for achieving a polished mix.
Begin by ensuring consistent loudness across all tracks through careful gain calibration, which facilitates an accurate evaluation of your mix's balance and texture.
Employ incremental changes and utilize a loudness meter to maintain dynamic integrity, targeting industry-standard levels to resonate well on streaming platforms.
For effective audio manipulation, mastering basic editing techniques such as splitting and deleting unwanted audio is crucial for a clean and professional sound.
Matching Track Levels
Achieving a balanced mix in GarageBand requires meticulous attention to the art of matching track levels, where both volume and gain adjustments play pivotal roles.
Begin by referencing a professional track to establish a standard for loudness and tonal balance. Utilize incremental volume adjustments, approximately 2.9 dB, to maintain audio integrity while ensuring each element is perceptibly distinct.
Gain staging must be addressed prior to effect application to prevent distortion, simultaneously preserving dynamic range. Employ critical listening techniques to discern volume discrepancies, aiming for each track to enhance the overall mix.
Consistently compare your project against the reference track to verify that the mix remains clear and impactful, sidestepping clipping issues during the mastering phase for a polished final product.
Adjusting Gain Properly
Steering through the complexities of gain adjustment in GarageBand is an important skill that underpins a polished and professional mix.
Adjusting gain properly guarantees ideal loudness while avoiding clipping or distortion, vital for maintaining the dynamic range. Incremental adjustments, such as 2.9 dB, are recommended to prevent drastic sound quality compromises.
Matching track volumes with a reference track provides a benchmark for accurate mix assessment. Visual aids like meters are invaluable, guiding you to align with industry standards for both loudness and quality.
Consistent monitoring of gain levels throughout mixing and mastering helps sustain a balanced dynamic range, enriching the sound without losing clarity.
- Incremental gain changes preserve sound quality.
- Reference tracks aid in volume matching.
- Visual meters support informed adjustments.
Effective EQ Techniques
Crafting the perfect tonal balance in your GarageBand projects requires mastering the art of EQ techniques, a crucial step in shaping and enhancing sound clarity.
Begin your EQ process completely free of compression, focusing first on removing unwanted frequencies to refine your mix. Subtle EQ adjustments, ranging from 0.5 to 3 dB, allow you to enhance the low-end while addressing mid-range buildup.
This approach guarantees a more balanced mix by eliminating muddiness or tininess that can detract from sound quality. Employ a reference track to guide your EQ decisions, aligning your tonal adjustments with professional standards.
Regular A/B listening—toggling between original and EQ-adjusted tracks—is essential for evaluating improvements and achieving the desired tonal balance.
Incorporating reverb sends into your mix allows for real-time adjustments while optimizing CPU resources, ensuring cohesive sound across multiple tracks.
Compression for Dynamic Control
Compression, a pivotal element in audio production, is vital for maintaining dynamic control within your GarageBand projects. By taming the dynamic range, compression guarantees consistent volume levels across your track.
Start with a ratio of 2:1 to 4:1 to manage louder peaks without excessively flattening the sound. Adjust the threshold so compression engages only during louder sections, preserving the music's natural dynamics.
Key parameters include attack and release times. A swift attack can capture transients, while a prolonged release allows the sound to sustain gracefully. To refine your settings, perform A/B comparisons to assess the impact on the track's character.
- Ratio: Begin with 2:1 to 4:1 for balanced control.
- Threshold: Set to engage on loud sections.
- Attack/Release: Fine-tune for transient management and natural sustain.
To maintain audio integrity while applying compression, ensure that your settings do not introduce distortion, preserving the track's original sound quality.
Limiting for Final Volume
In the final stages of mastering your track in GarageBand, setting the limiter threshold becomes essential for achieving the desired loudness while preventing digital distortion. A precise threshold setting, typically around -0.5 dB, guarantees that your track maintains its integrity and dynamism without being compromised by harsh clipping. Additionally, ensure a balance between dry and wet signals when applying effects like reverb and delay, to maintain audio clarity and enhance the overall sound quality.
Setting Limiter Threshold
Setting the limiter threshold is an essential step in mastering your track to achieve ideal sound quality and volume. To guarantee your mix is radio ready, set your limiter threshold to prevent audio from exceeding a level of approximately -0.5 dB. This safeguards against digital distortion while enhancing the track's fullness.
The output ceiling should be adjusted to achieve the desired loudness without clipping, preserving the track's integrity. Begin with a moderate reduction, typically around 2-4 dB, to control dynamic range while retaining the mix's character.
- Continuously monitor the sound using A/B listening techniques to assess loudness and clarity.
- Avoid excessive limiting to maintain dynamic range and sound quality.
- Aim for a balanced approach that enhances the mix without compromising its essence.
Avoiding Digital Distortion
To achieve pristine audio quality in your final mix, it is imperative to vigilantly avoid digital distortion during the limiting process.
Limiting serves as the vital endpoint of mastering, safeguarding the master track against clipping while maximizing loudness. Set your limiter's threshold judiciously, typically around -0.5 dB, to guarantee clarity and prevent unwanted digital artifacts. Over-limiting risks collapsing the dynamic range, stripping the mix of its musical essence.
Employ a loudness meter, such as Ulean, to monitor the integrated LUFS rating, maintaining alignment with industry standards, usually around -14 dB for streaming.
Regular A/B listening between the limited master track and reference tracks is essential to preserve the mix's integrity, thereby balancing loudness with the artistic vision of your creation.
Understanding Loudness Standards
Loudness standards are essential in the music production arena, serving as the benchmark for achieving a harmonious balance between dynamic range and playback quality across diverse platforms.
When you use GarageBand, understanding these standards is vital to guarantee your tracks meet industry expectations. The standard loudness level for music is around -14 dB LUFS. This level prevents distortion and maintains consistent playback volume across streaming services like Spotify and Apple Music.
Integrated loudness meters, such as the Ulean loudness meter, are invaluable tools for achieving precise LUFS ratings. Monitoring input levels during audio recording in GarageBand is crucial to avoid clipping and ensure high-quality audio output. Streaming platforms automatically adjust tracks exceeding -14 dB LUFS. Maintaining dynamic range is important to avoid listener fatigue. Continuous monitoring guarantees adherence to these standards while preserving the mix's integrity.
Critical Listening Practices
How can one truly refine a mix without the art of critical listening? This indispensable practice involves a meticulous evaluation of sound quality, dynamics, and tonal balance. Utilizing reference tracks within the same genre is crucial, as they serve as benchmarks to guarantee sonic alignment with industry standards. Volume matching is necessary, enabling precise tonal assessments and maintaining sound quality integrity. During critical listening sessions, documenting issues such as frequency imbalances or dynamic inconsistencies is essential for targeted improvements. Moreover, experiencing your mix through various listening environments, such as headphones and studio monitors, offers an all-encompassing understanding of how your sound translates across different systems. Automating effect parameters like reverb, delay, and EQ can enhance creative sound transformation, adding depth and interest to your mix. This holistic approach to critical listening is key to achieving a polished, professional mix.
Frequently Asked Questions
Does Garageband Have a Mastering Feature?
GarageBand lacks a dedicated mastering feature, but it offers essential mastering techniques such as EQ, compression, and limiting through the "Master Track" option. Utilizing plugins and presets can help users achieve a refined and professional sound.
Can You Make Professional Beats With Garageband?
Yes, GarageBand facilitates the creation of professional beats through its extensive virtual instruments, high beat quality, and built-in effects. Its intuitive interface and MIDI capabilities enable users to produce intricate, polished compositions suitable for various professional applications.
Do Any Professionals Use Garageband?
Professional Usage of GarageBand is prevalent, with numerous artists utilizing its capabilities for initial demos and complete tracks. Its intuitive interface, extensive sound library, and seamless Logic Pro X integration make it a valuable tool in music production.
What Is the Difference Between Track and Master in Garageband?
In GarageBand, the difference between a track and master lies in track organization; tracks are individual audio or MIDI channels with specific effects, while the master is the final stereo mix, ensuring cohesive sound through mastering techniques.
Conclusion
The thorough guide to mastering GarageBand's beat-making capabilities equips users with essential skills in setting up sessions, understanding track layouts, and making precise volume and gain adjustments. By employing effective EQ techniques and strategic compression, dynamic control is enhanced, while limiting guarantees ideal final volume. Awareness of loudness standards and engagement in critical listening practices further refine the production process. Mastery of these elements fosters the creation of polished, professional-quality beats, thereby releasing the full potential of GarageBand as a powerful music production tool.


