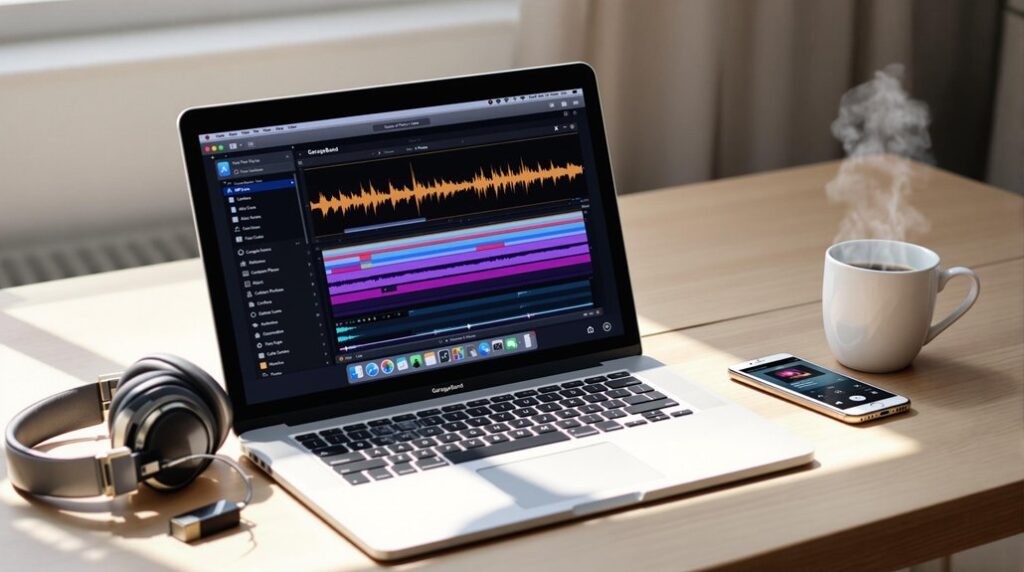
Mastering GarageBand MIDI can be streamlined into three thorough steps. Begin by setting up GarageBand, creating an empty project, and selecting "Software Instrument" to lay the groundwork. Next, focus on creating and manipulating MIDI regions by right-clicking to establish a note canvas, adjusting note lengths, and utilizing Smart Controls. Confirm precise input and adjustment of notes via the MIDI Region View, carefully crafting your melody with techniques like quantization and pitch replication. The final touch involves optimizing sound quality using EQ adjustments and frequency analysis. Each step enhances your workflow, opening doors to deeper musical exploration and creativity.
Key Takeaways
- Start by creating an empty MIDI region and adjust its length to fit your composition needs.
- Use the MIDI Region View to input, edit, and adjust note durations for precise rhythm and melody.
- Utilize quantization to snap notes to the nearest beat, ensuring accurate timing and flow.
- Employ Smart Controls to customize virtual instrument sounds for a unique audio experience.
- Regularly playback your composition to identify and correct any melodic or rhythmic discrepancies.
Setting Up GarageBand
To begin mastering GarageBand's MIDI capabilities, the initial step is to set up the application correctly on your Apple device.
Start by downloading GarageBand from the App Store, ensuring compatibility with your system. Once installed, launch the application and select "Empty Project" from the launch menu to create a new workspace. This blank canvas is essential for crafting your MIDI compositions.
Navigate to the Track Type Menu and choose "Software Instrument" to enable MIDI input and select from a variety of virtual instruments.
Before proceeding, adjust the tempo, key signature, and time signature in the Details group to maintain consistency in your composition. If desired, disable the metronome and counting tools for a streamlined, distraction-free environment.
When starting a new project, selecting project templates can provide guidance and structure, offering options tailored to specific music genres and styles.
Creating MIDI Regions
Having established your GarageBand setup, the next step involves harnessing the power of MIDI regions to bring your musical ideas to life.
Creating a MIDI region in GarageBand is intuitive and precise, allowing for creative exploration. Follow these steps to begin:
- Create MIDI Region: Right-click in the track area to generate an empty MIDI region. This appears as a green box on the timeline, ready for composition.
- Adjust Length: Click and drag the bottom right corner of the MIDI region to adjust its length, typically covering 16 measures for simple melodies.
- Detailed Editing: Double-click the MIDI region to open the MIDI Region View. Here, zoom in for detailed editing, enabling precise placement of the first note and further adjustments in position, length, and pitch.
For enhanced musical expression, utilize Smart Controls in GarageBand to customize the sound of your virtual instruments by adjusting various parameters such as reverb and EQ.
Inputting Notes
Explore the melodic universe of GarageBand by mastering the art of inputting notes within a MIDI region. Begin by opening GarageBand and selecting your audio track.
Double-click the created MIDI region to access the MIDI Region View. Here, precision is paramount. To input your first MIDI notes, right-click in Measure 1, start with the note E, and adjust its position, length, and pitch as needed.
Consider using a MIDI keyboard for beginners to enhance your experience, as it provides velocity-sensitive keys and seamless DAW integration, which can significantly improve your music production workflow.
Use the copy and paste function to replicate notes from previous measures, ensuring pitch adjustments align with "Mary Had A Little Lamb." Zoom in and out to facilitate seamless placement and modification of notes, keeping the structure intact.
This technique allows you to create music without limitations, transforming your digital canvas into a symphonic masterpiece.
Modifying Note Lengths
In the domain of MIDI sequencing within GarageBand, adjusting note duration plays a pivotal role in sculpting the musical flow of your composition. By accessing the MIDI Region View, you can meticulously alter note lengths, ensuring each note resonates with the intended rhythmic precision. This process not only aids in achieving structural coherence but also enriches the expressive dynamics of your piece, allowing for a seamless integration of melody and rhythm. Additionally, GarageBand's robust MIDI support facilitates seamless integration with external MIDI controllers, enhancing your music production experience.
Adjusting Note Duration
Explore the art of adjusting note duration in GarageBand to refine your MIDI compositions with precision. This process involves meticulous control over how each note contributes to the overall rhythm and melody of your project.
Begin by accessing the MIDI Region View, where you can manipulate note lengths by dragging the edges of note boxes. Here's how to achieve ideal results:
- Adjusting Note Duration: Subtly extend or shorten notes within 10-20% of their original length to maintain musicality.
- Utilizing Quantization: Snap note lengths to the nearest beat or subdivision, ensuring alignment with the project's tempo.
- Visual Confirmation: Zoom in on the MIDI region to verify that note lengths match the intended musical phrasing.
Enhancing Musical Flow
While mastering the intricacies of MIDI editing in GarageBand, modifying note lengths becomes an essential technique to enhance the musical flow and expressiveness of your composition. By adjusting note durations, you can tailor the rhythm and articulation to fit your creative vision.
In the MIDI Region View, click and drag the edge of a note to alter its length, ensuring alignment with your desired phrasing. Shortening notes introduces a staccato effect, adding rhythmic punch, while lengthening them cultivates a legato feel, enriching emotional depth.
Consistent adjustments across measures uphold cohesive rhythm and musicality. Additionally, utilizing quantization settings can automatically snap note lengths to predefined values, streamlining the process and achieving precise timing. This enhances both flow and expressiveness in your work.
Completing Your Melody
Mastering the final touches of your melody in GarageBand MIDI requires meticulous attention to detail and an understanding of musical structure. To complete your track in GarageBand effectively, focus on aligning each measure with correct pitches and note lengths, as exemplified in "Mary Had A Little Lamb."
Begin by creating consistency in your music production through strategic use of copy and paste, guaranteeing each replicated measure maintains the melody's flow. Familiarity with GarageBand's interface layout improves the workflow, making navigation and editing more efficient.
- Note Placement: Divide measures into four sections for precise editing and timing.
- Final Measure: Conclude with a single C note spanning four beats for a definitive end.
- Review: Utilize audio effects and press Play to verify alignment and timing against the original song.
This approach will guarantee a polished and professional melody.
Final Composition Adjustments
As you shift to final composition adjustments in GarageBand, it is essential to guarantee each measure of your MIDI track maintains melodic consistency with the original melody of "Mary Had A Little Lamb" by meticulously adjusting pitches and note lengths. Utilizing the zoom function in the MIDI Region View enables precision in note placement, aiding in verifying note timing to align with the intended musical structure. Conclude your arrangement by confirming that the playback stops precisely at the end of the MIDI file, using the darkened area to drag the end arrow, thereby ensuring a polished and professional finish. Additionally, consider using a high-pass filter to eliminate unnecessary low-end frequencies that may muddy your mix, ensuring clearer and more defined sound quality.
Ensure Melodic Consistency
Achieving melodic consistency in your MIDI composition requires meticulous attention to detail and a methodical approach. To guarantee melodic consistency, compare each measure to the original melody of "Mary Had A Little Lamb," adjusting pitch and timing as necessary.
Pay close attention to the following steps:
- Utilize the zoom feature in GarageBand to inspect each note's placement, assuring alignment with the musical grid and maintaining rhythmic accuracy.
- Confirm note lengths within your MIDI regions reflect the original phrasing, ensuring structural integrity and seamless shifts throughout the piece.
- Regularly playback your composition to identify discrepancies in melody or rhythm, allowing for immediate adjustments and enhancing overall cohesiveness.
Employ copy-paste techniques for repetitive measures, modifying pitches as needed to uphold the song's essence.
Verify Note Timing
Fine-tune your MIDI composition by meticulously verifying note timing to achieve a polished final product. Begin by employing GarageBand's zoom function to scrutinize each measure, making precise adjustments to note length and placement. Utilize the playback feature to repeatedly evaluate the composition's flow, ensuring notes align seamlessly with the rhythm. Implement quantization to automatically synchronize notes with the nearest beat or subdivision, enhancing timing accuracy and consistency. Compare your composition to a reference recording of "Mary Had A Little Lamb" to confirm correct sequence and timing. This methodical approach guarantees each note is perfectly timed, ensuring a harmonious and professionally crafted piece.
| Action | Purpose |
|---|---|
| Listen to each note | Identify timing discrepancies |
| Use zoom function | Enable precise timing adjustments |
| Employ playback | Check composition flow |
| Apply quantization | Align notes to beat/subdivision |
| Compare to reference | Verify correct sequence and timing |
Finalize Track Arrangement
Commence the final phase of your MIDI composition journey by meticulously finalizing your track arrangement to guarantee a cohesive and polished outcome.
Ascertain all MIDI regions are perfectly aligned, avoiding any overlap or misaligned notes for a balanced and polished sound. Users can utilize the Zoom feature to fine-tune individual tracks to enhance timing and expression.
Here's a structured approach:
- Align and Adjust: Verify that note lengths, especially in "Mary Had A Little Lamb", reflect the intended rhythm and melody.
- Listen and Refine: Play through the composition multiple times, making minor tweaks to maintain integrity and flow.
- Conclude and Confirm: Ascertain the final measure is accurate, providing a satisfying end for the final mix.
This meticulous attention ascertains your composition reaches its full potential.
Reviewing Your Work
Listening meticulously to your MIDI composition in GarageBand is an essential step in the reviewing process, as it allows you to guarantee every note is perfectly aligned with your intended melody and timing.
Begin by pressing the Play button to conduct a thorough playback evaluation. Use the Zoom function to scrutinize each measure, ensuring the accuracy of note placements and lengths.
Pay particular attention to pitch and rhythm consistency, especially in repeated sections, to preserve the musical integrity. In the MIDI Region View, make precise adjustments where necessary, rectifying any discrepancies in note positions or durations.
To further refine your composition, consider implementing volume fade-ins and fade-outs to create smooth transitions and enhance the overall audio experience.
Finally, verify that the composition concludes correctly, with the final measure containing a single note of appropriate duration to gracefully close your piece.
Listening to Your Track
After meticulously reviewing and refining your MIDI composition, the next logical step is to engage in a thorough listening session to evaluate your track's overall coherence and impact.
Begin by verifying all MIDI regions are perfectly aligned; this prevents any silent gaps from disrupting playback.
Utilize the following steps for a prime listening experience:
- Playback: Click the Play button in the control bar to initiate the playback of your track, allowing you to listen for any inconsistencies.
- Alignment: Use zoom controls to visually confirm that notes are properly aligned, maintaining the intended rhythm of "Mary Had A Little Lamb."
- Volume: Adjust individual track volumes and pan settings to guarantee clarity and balance, enhancing the overall sonic quality during playback.
For optimal enhancement of the overall sound, regularly review your reverb and delay settings to ensure they don't overpower the audio.
This meticulous approach will refine your musical creation.
Enhancing Sound Quality
Enhance your MIDI compositions in GarageBand by meticulously improving sound quality, a vital step in achieving a professional-grade mix.
EQ allows you to precisely cut problematic frequencies and boost desired ranges, guaranteeing clarity and separation. Subtle adjustments within a ±3 dB range maintain tonal balance, vital for effective mixing and mastering.
Utilize a frequency analyzer plugin to visually assess the frequency spectrum, identifying overlapping frequencies that compromise the dynamic range. High-pass and low-pass filters effectively eliminate unnecessary low-end rumble and harsh high-end, enhancing sound quality.
Regularly monitor your mix on various playback systems to verify your enhancements translate well across different environments. This approach assures consistency and fidelity, essential for mastering GarageBand MIDI tracks.
To achieve optimal sound design, layering effects like reverb and modulation can create more polished audio tracks, offering unique textures and depth.
Frequently Asked Questions
Does Garageband Have a Mastering Feature?
GarageBand indeed has a mastering feature, facilitating the application of mastering techniques through its master track. Users can utilize audio effects, mixing tips, and final touches, optimizing their projects with factory presets and stock plugins for professional sound quality.
How to Use Garageband as a MIDI?
To use GarageBand as a MIDI sequencer, begin by selecting a "Software Instrument" for MIDI instrument selection. Employ MIDI recording techniques to capture notes, utilize MIDI editing tips for precision, and explore MIDI effects application for enhanced sound.
How to Automate Master Track in Garageband?
To automate the master track in GarageBand, utilize MIDI automation techniques by accessing Master track settings. Implement automation curves to dynamically adjust parameters. Enhance your composition's depth through strategic MIDI effects usage, optimizing the auditory experience.
What Is the Difference Between Track and Master in Garageband?
In GarageBand, "track" refers to individual audio or MIDI lanes enabling specific track settings and mixing strategies, while the "master" track consolidates all tracks for mastering techniques, applying audio effects globally to guarantee cohesive sound quality.
Conclusion
In mastering GarageBand MIDI, the outlined steps provide an extensive framework for creating and refining musical compositions. The meticulous setup of GarageBand, coupled with the creation and modification of MIDI regions, lays a solid foundation for musical creativity. Inputting and adjusting note lengths facilitates the crafting of melodies, while final composition adjustments guarantee cohesion and harmony. Reviewing and listening to the track allows for critical assessment, and enhancing sound quality raises the overall production, culminating in a polished musical piece.


