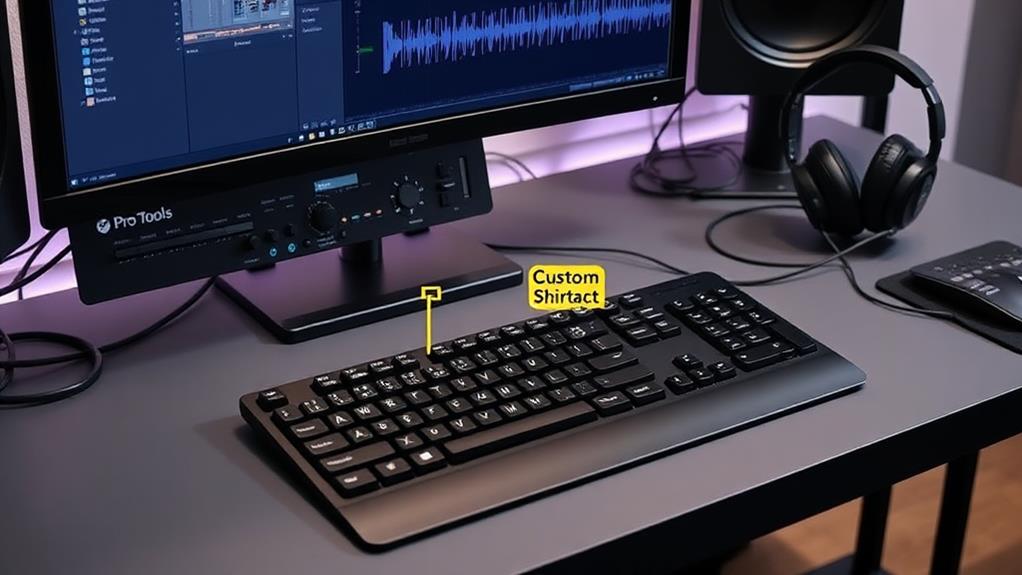
To achieve precise editing in Pro Tools, mastering Grid and Slip Modes is vital. Grid Mode snaps audio clips to grid markers based on adjustable time increments, ensuring consistent alignment, and has two variations: Absolute and Relative Grid. In contrast, Slip Mode allows unrestricted dragging of clips for detailed manipulation, ideal for meticulous projects. Efficient switching between these modes via keyboard shortcuts, such as F4 for Grid and F3 for Slip, optimizes workflow. Combining the precision of Grid Mode and the flexibility of Slip Mode enables thorough and efficient editing, essential for professional projects. Explore further to fine-tune your editing techniques.
Key Takeaways
- Use Grid Mode to snap audio clips to grid markers for precise timing in music production.
- Toggle between Absolute and Relative Grid modes with F4 or [Option] + 4 for flexible clip alignment.
- Activate Slip Mode with F3 to move clips freely and manage overlapping audio for detailed edits.
- Utilize Smart Tool for dynamic switching between trimming and selecting actions, enhancing editing efficiency.
- Customize grid settings to match session needs, ensuring precise control over clip placement.
Understanding Grid Mode
Grid Mode in Pro Tools is an essential feature for achieving precise editing, particularly in projects requiring stringent timing and alignment. This mode facilitates the snapping of audio clips to predetermined time increments governed by the grid value, which can be adjusted in the Edit Window toolbar. The ability to define the grid value allows for meticulous control over the timing and structure of the audio, ensuring consistent clip alignment.
There are two primary variations of Grid Mode: Absolute Grid and Relative Grid. Absolute Grid snaps the clips directly to the nearest grid marker, maintaining uniformity and precision in placement. In contrast, Relative Grid preserves the clip’s original offset relative to the grid, allowing for more fluid adjustments while retaining the initial timing relationships.
Additionally, the Smart Tool enhances efficiency in Grid Mode by dynamically switching between trimming and selecting actions based on the cursor’s position. This functionality simplifies intricate edits without sacrificing precision.
Users can also toggle grid visibility on or off, providing flexibility when working on complex arrangements where visual clarity is paramount. Overall, Grid Mode is indispensable for projects demanding rigorous timing and alignment, such as electronic music and loop-based compositions.
Utilizing Slip Mode
While Grid Mode offers structured precision by aligning clips to a predefined grid, Slip Mode in Pro Tools introduces a different level of flexibility, vital for tasks that demand meticulous manual adjustments.
Slip Mode allows for unrestricted dragging of audio clips, making it ideal for projects such as podcasts and interviews where detailed manipulation is essential. This mode permits clip overlapping, which facilitates the creation of seamless audio shifts through crossfades or hard edits.
Activating Slip Mode can be quickly achieved by clicking the mode selector in the Edit Window or using the shortcut key F2, guaranteeing efficient workflow.
In Slip Mode, deleted clips leave gaps in the timeline, which can be advantageous for precise editing but may require subsequent switching to Shuffle Mode to eliminate unwanted silence and maintain a continuous audio flow.
The Smart Tool in Slip Mode enhances editing efficiency by allowing intuitive selection and trimming based on the mouse position, reducing the need for frequent mode changes.
This combination of features guarantees that audio professionals can achieve high levels of precision and flexibility, particularly when crafting intricate audio shifts and clip overlaps.
Switching Between Modes
Efficiently maneuvering between Edit Modes in Pro Tools can considerably streamline the editing process, enhancing both speed and precision. Mastery of keyboard shortcuts is paramount for achieving ideal editing efficiency. Pro Tools allows quick access to its four primary Edit Modes: press F1 for Shuffle, F2 for Spot, F3 for Slip, and F4 for Grid. This quick toggling is essential for adapting to various editing requirements seamlessly.
An additional layer of flexibility is provided by toggling between Absolute and Relative Grid modes using F4 or [Option] + 4. This feature guarantees that clips can be moved with precision while maintaining their relative timing.
The Smart Tool further augments this versatility by dynamically adjusting to the selected Edit Mode based on mouse position, thereby facilitating rapid shifts between editing tasks without the need to manually switch tools.
Customization of Grid Mode by adjusting the Grid Value in the Edit Window toolbar allows for precise control over clip snapping behavior, which is critical for maintaining tight synchronization within the timeline.
An in-depth understanding of each Edit Mode’s distinct functionalities assures that audio professionals can switch modes fluidly, resulting in maximizing their editing efficiency and overall productivity.
Benefits of Grid Mode
How does Grid Mode enhance the editing experience in Pro Tools? Grid Mode in Pro Tools considerably refines the editing process by guaranteeing that clip edits snap to the nearest grid markers, thereby maintaining precise timing and rhythm. This feature is vital for music production, especially when aligning elements such as drums and bass. The visual alignment provided by vertical blue lines simplifies the task, allowing users to intuitively see where their clips will snap during movement, which greatly boosts editing efficiency.
Grid customization is another notable advantage. Users can tailor the grid settings to their specific session requirements, selecting suitable time scales such as beats/bars or minutes/seconds. This customization guarantees that the editing environment is perfectly aligned with the project’s needs. Additionally, the ability to temporarily disable grid snapping by holding the [Command] key offers flexibility, enabling precise adjustments without modifying the overall grid settings.
Here is a table illustrating the benefits of Grid Mode:
| Benefit | Technical Advantage | Emotional Impact |
|---|---|---|
| Precise Timing | Guarantees rhythm accuracy | Confidence in output |
| Visual Alignment | Simplifies editing tasks | Reduces frustration |
| Editing Efficiency | Minimizes timing errors | Saves valuable time |
| Grid Customization | Tailors to session needs | Enhances creativity |
| Temporary Disablement | Allows precise tweaks | Flexibility in editing |
Grid Mode’s features collectively guarantee a streamlined, precise, and highly efficient editing workflow in Pro Tools.
Grid vs. Slip Mode
Understanding the nuanced differences between Grid Mode and Slip Mode in Pro Tools is essential for achieving ideal editing results.
Grid Mode is designed to snap clips to predefined time increments based on the Grid Value, ensuring consistent clip alignment with the musical structure. This mode is particularly advantageous for music production where maintaining precise timing is vital. It offers two variations: Absolute Grid, which snaps clips directly to grid points, and Relative Grid, which maintains the clip’s offset relative to the nearest grid marker when moved. These options grant users flexibility in their editing techniques.
Conversely, Slip Mode allows unrestricted movement of clips, enabling users to drag and position audio without snapping to a grid. This mode is invaluable for editing projects like podcasts or interviews where exact timing is less critical, and detailed, unrestricted adjustments are needed.
Slip Mode’s freedom is also beneficial for managing overlapping audio or fine-tuning specific sections.
Switching between Grid and Slip Modes can greatly enhance editing efficiency. Users can leverage the precision of Grid Mode for major edits and shifts, then switch to Slip Mode for meticulous, detail-oriented adjustments, combining both modes’ strengths to optimize their workflow.
Frequently Asked Questions
What Is the Difference Between Slip Mode and Grid Mode in Pro Tools?
Slip Mode allows unrestricted clip movement for granular editing precision, whereas Grid Mode snaps clips to defined grid points for rhythmic accuracy. Grid Mode includes Absolute and Relative settings, enhancing editing precision by maintaining consistent timing and rhythm.
How to Use Slip Mode in Pro Tools?
To utilize slip editing techniques in Pro Tools, activate Slip Mode by clicking the Slip Mode button or using the shortcut F2. This mode allows unrestricted clip movement, enabling precision edits with tools like Trim, Selector, and Grabber.
What Is the Difference Between Grid and Relative Grid in Pro Tools?
The difference between Grid and Relative Grid in Pro Tools lies in their snap settings. Grid Mode aligns clips directly to grid lines, ensuring editing precision, while Relative Grid Mode allows for relative adjustments, preserving original timing within the selected grid settings.
What Are the Two Basic Editing Modes Used in Pro Tools?
The two fundamental editing modes in Pro Tools are Grid Mode and Slip Mode. Grid Mode guarantees precise audio alignment by snapping edits to the grid, while Slip Mode allows unrestricted movement of clips. Editing shortcuts streamline switching between modes.
Conclusion
In conclusion, understanding and effectively utilizing both Grid and Slip Modes in Pro Tools are essential for achieving precise audio editing. Grid Mode facilitates structured, time-aligned edits, while Slip Mode offers flexibility for freeform adjustments. Mastery of switching between these modes enhances the editing process, allowing for both accuracy and creativity. The strategic use of these modes, tailored to the specific requirements of the project, greatly optimizes workflow efficiency and editing precision.


