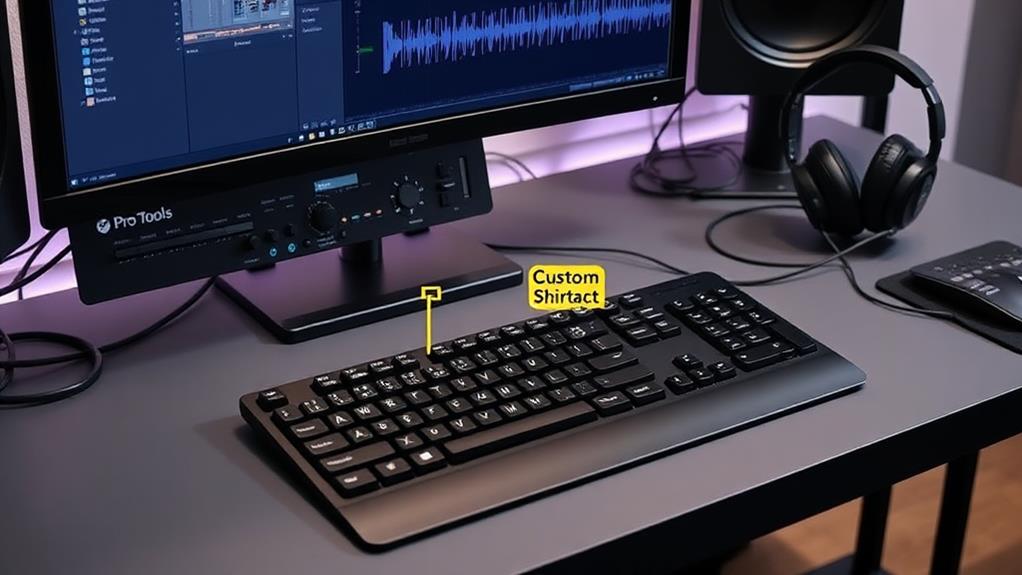
Begin setting up a Pro Tools session by guiding yourself to File → Create New or using the shortcut (Mac: ⌘+N, PC: Ctrl+N). Choose a suitable file type (BWF or AIFF), set your sample rate (44.1 kHz for CDs, 48 kHz for video), and select an appropriate bit depth (16-bit for CDs, 24-bit for professional recordings). Opt for local or cloud storage solutions based on your needs. Customize I/O settings for ideal audio fidelity. Regularly save your session and activate the auto-save feature to prevent data loss. Using session templates and organized track layouts will enhance your workflow efficiency. Discover more details on enhancing your setup practices.
Key Takeaways
- Choose the Appropriate Sample Rate and Bit Depth: Select these based on your project needs, like 44.1 kHz/16-bit for CDs or 48 kHz/24-bit for professional recordings.
- Regularly Save Your Session: Use “Save” and “Save As” frequently to ensure your work is backed up and can be easily recovered.
- Utilize Session Templates: Create and use templates to save time and ensure consistency across projects.
- Organize Your Tracks: Clearly label, color code, and group tracks to maintain a tidy and efficient workflow.
- Use Markers for Navigation: Employ markers to denote critical song sections for better navigation and organization within your session.
Creating a New Session
When setting up a new Pro Tools session, directing to File → Create New, or utilizing the shortcut (Mac: ⌘+N, PC: Ctrl+N), efficiently opens the New Session dialog box. This dialog box serves as the genesis of your session workflows, allowing you to set the foundation for effective track organization and project management.
First, select your desired file type—Broadcast Wave File (BWF) or Audio Interchange File Format (AIFF)—based on your project requirements and industry standards. Following this, configure essential session parameters such as Sample Rate and Bit Depth. Common choices include 44.1 kHz or 48 kHz for sample rate, and 24-bit or 32-bit float for bit depth, guaranteeing peak audio quality.
Next, determine your storage solution. Opt for Local Storage if you prefer saving on your device, or choose Collaboration/Cloud Backup for seamless cloud-based storage, enhancing collaborative workflows.
Before proceeding, review your I/O Settings to align with your session’s needs. Select from recent configurations, stereo-mix, or saved settings to streamline your workflow.
Once all parameters are meticulously set, click the Create button to instantiate your Pro Tools session, prepared for intricate recording and meticulous editing. This methodical approach guarantees a robust framework for superior track organization and streamlined session workflows.
Configuring Session Parameters
Once a new session is created, the next critical step involves configuring session parameters to guarantee ideal audio fidelity and project compatibility.
Begin by selecting the appropriate audio format; WAV is generally preferred for its wide acceptance and high-quality standards, though AIFF is also a viable option.
Next, determine the sample rate based on the project’s requirements. Use 44.1 kHz for CD-quality audio or 48 kHz for film and video applications. For high-definition audio projects, higher sample rates like 96 kHz may be considered.
Setting the bit depth is equally important. While 16-bit is sufficient for standard CDs, 24-bit is the industry standard for professional recordings due to its superior dynamic range. For advanced projects, a 32-bit float can be employed for even greater precision.
Input/Output (I/O) settings should be configured next. Streamline this process by loading previously saved I/O settings that match your typical recording setup, ensuring consistency and efficiency.
Saving and Opening Sessions
To efficiently manage your Pro Tools projects, mastering the saving and opening of sessions is essential.
Use File → Open Session or the shortcut (Mac: ⌘+O, PC: Ctrl+O) to access existing session files, and choose from Save Session, Save Session As, Save Session Copy In, or Save As Template for saving methods, ensuring your work is securely stored.
Be mindful of session compatibility, particularly with projects exceeding 24 tracks in older Pro Tools versions, to prevent data loss.
Efficient Saving Methods
Steering through the intricacies of Pro Tools requires mastery of efficient saving methods to secure data integrity and workflow continuity. Proper session backups and meticulous file organization are vital components.
Regular use of the Save Session function, complemented by the Auto Save feature, guarantees automatic recovery of your work in case of unexpected interruptions. Here are key saving methods to streamline your workflow:
- Save Session As: This feature allows you to create a copy of your current session with a new name or location. It is indispensable for maintaining different versions or variations of a project without overwriting the original work.
- Save Session Copy In: Essential for transferring session files between different software programs, this method creates a copy with all necessary media and settings included. This not only aids in collaboration but also in maintaining compatibility across different Pro Tools versions.
- Session Backups: Implementing a robust backup strategy is non-negotiable. Utilize both manual and automatic backups to secure data integrity.
Regularly saving your sessions and keeping backups in separate locations minimizes the risk of data loss.
Opening Existing Projects
Steering through the process of opening existing projects in Pro Tools is essential for maintaining a seamless audio production workflow. To access an existing session, navigate to File → Open Session or use the shortcut (Mac: ⌘+O, PC: Ctrl+O). This will open the Open Session dialog box where available files can be selected.
When opening sessions, be mindful of session compatibility, especially if the project contains more than 24 tracks and was created in an older Pro Tools version. Track limitations in older versions can lead to data loss if not properly managed.
Regularly open and save sessions to guarantee ongoing progress is captured. Pro Tools provides multiple saving options to manage session files effectively: Save Session, Save Session As, Save Session Copy In, and Save As Template.
The Auto Save feature is vital for safeguarding against unexpected data loss. Configuring this feature guarantees that backups are automatically created at regular intervals, providing a safety net.
| Saving Option | Description |
|---|---|
| Save Session | Saves current session progress |
| Save Session As | Creates a new session file with a different name |
| Save Session Copy In | Copies session data to a new location |
| Save As Template | Saves session settings as a reusable template |
Guaranteeing session compatibility and managing track limitations are key practices when opening existing projects.
Using Session Templates
Using session templates in Pro Tools offers significant advantages by streamlining the setup process through the use of pre-configured session settings, including track layouts and mixer configurations.
To create and customize a session template, navigate to File → Save As Template, where you can define the template’s name, assign it to specific categories, and select the “Include Media” option to embed essential audio files.
Consistent use of session templates enhances organizational efficiency, enabling quicker project initiation and a more focused creative workflow.
Benefits of Templates
When initiating a new project in Pro Tools, session templates offer invaluable efficiency by embedding pre-configured settings such as track layouts, mixer configurations, and window views.
Leveraging these templates is vital for maximizing template advantages and guaranteeing template efficiency, thereby saving time and maintaining consistency across projects.
Key benefits of using session templates include:
- Time Savings: By utilizing pre-configured templates, users can greatly reduce setup time. Instead of manually configuring tracks and settings for each new session, a template provides an immediate starting point tailored to specific needs.
- Consistency: Templates guarantee uniformity in track naming, routing, and effects application, which is essential for larger projects involving multiple sessions. Consistent setups lead to smoother workflow shifts and easier project management.
- Enhanced Workflow: By organizing and categorizing templates according to genres or production styles, users can swiftly locate and deploy the most appropriate template. This organization not only optimizes workflow but also enhances creative efficiency by allowing immediate focus on the artistic aspects of the project.
Pro Tools also includes a selection of pre-made templates on the software CD-ROM, which cater to various music genres and production styles, further simplifying the setup process for beginners and professionals alike.
Customizing Session Templates**
Creating a customized session template in Pro Tools involves a meticulous process that starts with configuring a session to your preferred specifications, including track layouts, effects chains, and window views.
To initiate template design, arrange your session with your common track setups, insert desired plugins, and adjust window arrangements for ideal workflow. Navigate to File → Save As Template to create your template.
The Save Session Template dialog box is essential for template management. Here, you can assign a unique name and choose an appropriate category for your template, guaranteeing easy accessibility for future projects.
The Include Media option is particularly useful for embedding specific audio files directly into the template, making it ideal for recurring projects that rely on consistent audio assets.
Effective template management involves organizing your templates in a logical manner. Pro Tools offers the option to designate a specific location for saving templates, promoting an orderly environment within your workspace.
By utilizing session templates, you can notably enhance workflow efficiency, providing a consistent starting point for new projects and reducing the time spent on initial configurations.
This strategic approach to template design not only streamlines your setup process but also guarantees a professional and consistent production standard across all your projects.
Organizing Tracks Efficiently
Efficient track organization in Pro Tools is paramount for maintaining a streamlined workflow and guaranteeing an error-free mixing process. Start by properly labeling tracks upon creation. Avoid default names like “Audio 1” or “Audio 2” to guarantee clarity across your session. Implementing a consistent naming convention aids in quick identification and minimizes confusion.
Next, establish a robust folder structure. Group tracks into folders based on instrument families such as Drums, Bass, Guitars, and Vocals. This not only streamlines navigation but also simplifies collective editing and mixing.
Utilize the Color Palette window to apply color coding. Assign distinct colors to different instrument families, enhancing visual differentiation and improving session aesthetics.
To optimize resource management, employ track freezing. This technique conserves CPU resources during the mixing process by rendering tracks temporarily inactive. Additionally, archive unused tracks to declutter your session, maintaining a clear workspace and minimizing potential errors.
Key Steps:
- Track Labeling: Name tracks clearly upon creation.
- Folder Structure: Organize tracks into instrument family folders.
- Color Coding: Use color coding for quick visual identification.
Implement these practices to guarantee a more efficient and error-free Pro Tools session.
Utilizing Markers and Regions
Utilizing markers and regions in Pro Tools is essential for efficient session navigation and precise editing. Markers can be employed to denote critical song sections such as Verse, Chorus, and Bridge. To maximize their utility, enable the Markers Ruler in the Edit window, enhancing visibility and providing quick access to key locations during playback.
Place markers at notable points using the playback cursor, and label them appropriately in the Edit Memory Location dialog box to guarantee clarity. Additionally, color-coded markers can visually distinguish important points, aiding in marker navigation during mixing and editing.
For efficient region management, create regions for easy duplication and arrangement of audio clips. This method streamlines the editing process and guarantees an organized session.
By segmenting your timeline into manageable regions, you can efficiently manipulate and reorganize audio clips without losing track of your session’s structure. In Pro Tools, regions can be effortlessly moved, copied, and edited, providing a flexible editing environment.
Incorporating these practices into your Pro Tools workflow will markedly enhance session organization and editing precision, ultimately leading to a more productive and streamlined audio production process.
Frequently Asked Questions
How Do I Organize My Pro Tools Sessions?
To organize your Pro Tools sessions, label tracks descriptively, use session templates for consistency, and employ track colors and folders. Additionally, set markers for key sections and regularly save backups to maintain an efficient workflow.
How to Set up a Pro Tools Session?
To set up a Pro Tools session, launch the software, create a new session, choose appropriate session filetypes (WAV or AIFF), configure sample rate and bit depth, load I/O settings, and utilize track templates for efficient setup.
Is Pro Tools Good for Beginners?
Pro Tools is well-suited for beginners due to its user-friendly interface and extensive beginner tutorials. These features streamline the learning curve, allowing users to efficiently navigate essential tools and workflows, adhering to industry standards and precise instructions.
How Do I Set Session Start Time in Pro Tools?
To set the session time in Pro Tools, access the “Session Setup” window via Setup > Session. Adjust the “Start Time” field to your desired timecode or bar, ensuring alignment with your project requirements. Confirm changes by clicking “OK.”
Conclusion
In conclusion, establishing a Pro Tools session involves meticulous attention to session parameters, efficient track organization, and strategic use of templates, markers, and regions. Adherence to these best practices guarantees streamlined workflow, enhanced productivity, and consistently high-quality audio production. Implementing these foundational techniques is essential for beginners seeking to master Pro Tools and achieve professional-grade results. Consistent application of these methods will facilitate a more efficient and effective audio editing and mixing process.


