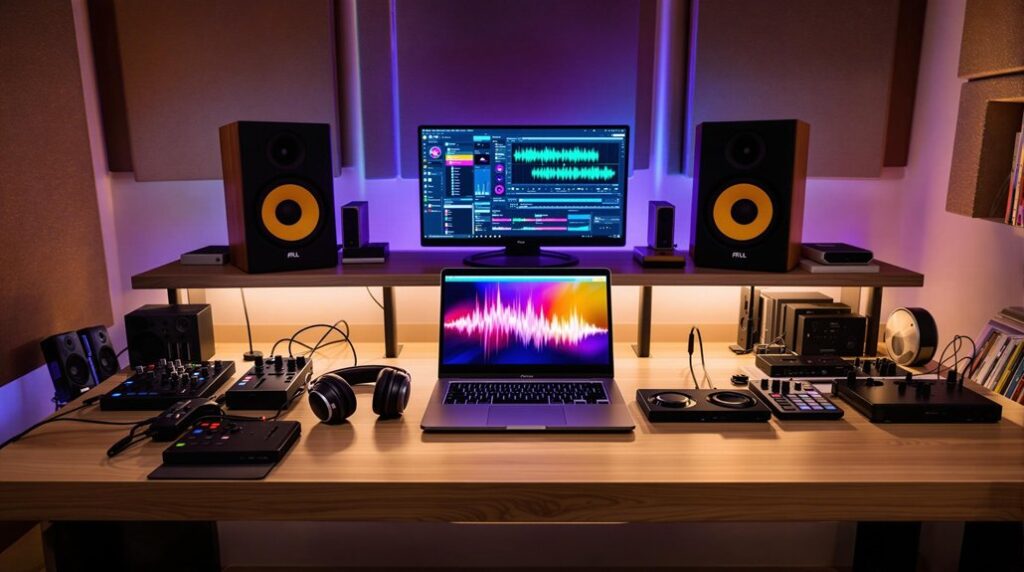
To set up your home studio for mixing, start by allocating your budget for critical gear like studio monitors and an audio interface. Choose a spacious, quiet room with good acoustics. Use a powerful computer and a suitable DAW. Integrate an audio interface with high-resolution converters and low-latency performance. Position bass traps in room corners and place acoustic panels at first reflection points to manage reflections and resonance. Arrange your equipment for an efficient workflow, keeping monitors at ear level and within easy reach. Stay organized with cable management. Follow these steps and you’ll be on track to mastering your mixes.
Key Takeaways
- Choose a room with good acoustics, minimizing external noise and reflections.
- Invest in quality studio monitors and an audio interface with low-latency performance.
- Place bass traps in corners and use acoustic panels at first reflection points.
- Position studio monitors at ear level and equidistant from the listening position.
- Organize your workspace efficiently with key equipment within easy reach.
Budget and Planning
When setting up your home studio for mixing, establish your budget to guarantee you allocate funds for essential equipment like quality monitors and a reliable audio interface. Start by determining your total budget allocation, ensuring you consider all potential costs.
Prioritize your spending on critical components such as studio monitors and an efficient audio interface. These items are vital as they’ve a substantial impact on your mixing capabilities.
Next, engage in thorough equipment selection. Research various brands and models to find the best balance between cost and performance. Compare prices across different retailers and read user reviews to make informed choices. Look for monitors that offer accurate frequency response and an audio interface with low latency and high fidelity.
Consider bundling packages or second-hand gear to stretch your budget further without compromising on quality. Opting for cost-effective yet reputable options ensures you get reliable equipment within your financial constraints.
Make a list of essential and non-essential items, focusing first on what’s crucial for mixing. This methodical approach to budget allocation and equipment selection will help you build a functional and effective home studio without overspending.
Choosing the Right Space
After establishing your budget and selecting your equipment, the next step is to choose the right space to optimize your home studio’s mixing environment. The room size directly impacts sound diffusion and equipment layout. A larger room allows better sound diffusion, while a smaller room might require additional acoustic treatment.
Minimizing external noise is important to guarantee the clarity of your mixes. Select a room away from busy streets or noisy appliances. Good acoustics are essential; avoid rooms with excessive echo or reverb. Carpets, curtains, and bookshelves can help improve the acoustics of your chosen space.
Additionally, natural light can create a comfortable and inspiring environment, essential for long mixing sessions. Ensure the room has windows but consider blackout curtains to control light levels. Proper ventilation is also crucial to maintain a comfortable and productive mixing environment.
Here’s a quick comparison to help you choose the right space:
| Criteria | Ideal Choice | Considerations |
|---|---|---|
| Room Size | Larger room | Space for sound diffusion |
| External Noise | Quiet room | Far from busy streets |
| Acoustics | Good natural acoustics | Minimal echo or reverb |
| Natural Light | Windows with blackout curtains | Control light levels |
| Ventilation | Properly ventilated room | Maintain comfortable environment |
Evaluate these factors carefully to create a productive and efficient mixing space.
Essential Equipment
A powerful computer forms the backbone of your home studio, ensuring you can run demanding audio production software without hitches. Opt for a machine with a multi-core processor, ample RAM (16GB or more), and an SSD for faster load times. This setup minimizes latency issues during your mixing sessions.
Your next critical component is a Digital Audio Workstation (DAW). Choose software that suits your workflow, such as Pro Tools, Ableton Live, or Logic Pro. These DAWs offer robust features for recording, editing, and mixing.
An audio interface is essential for converting analog audio to digital signals. Look for models with high-resolution converters and low-latency performance. Brands like Focusrite and Universal Audio are industry standards.
For hands-on control, a MIDI controller is invaluable. It allows you to manipulate software instruments and streamline your creative process. Make sure it’s compatible with your DAW and has enough keys or pads for your needs.
Quality headphones and studio monitors are essential for accurate sound monitoring. Invest in models with flat frequency responses to hear your mix as it truly is.
Regular gear maintenance and timely upgrades will keep your equipment performing at its best. Always have a plan for troubleshooting common issues to avoid workflow disruptions.
Acoustic Treatment
To optimize your home studio’s acoustics, start by distinguishing between absorption and diffusion.
Place bass traps in the corners to manage low-frequency buildup and install acoustic panels on walls to control reflections.
Additionally, use diffusers strategically to create a balanced sound field and enhance your mixing accuracy.
Absorption Vs. Diffusion
Understanding how absorption and diffusion work is essential for optimizing the acoustics of your home studio. Absorption involves absorbing sound waves to reduce reflections, which helps in sound wave manipulation and maintaining acoustic balance. Acoustic panels are your go-to for this purpose. Place these panels on walls and ceilings where reflections are most pronounced to manage unwanted echoes and reverberations. This guarantees a more controlled listening environment, vital for accurate mixing.
On the other hand, diffusion scatters sound waves, distributing reflections evenly throughout the room. This creates a balanced acoustic environment, enhancing your overall listening experience. Diffusers are typically installed on the rear walls or ceilings. By breaking up sound waves, diffusers prevent the formation of hotspots and nulls, offering a more consistent sound field.
Balancing absorption and diffusion is key. Too much absorption can make your room sound dead, while excessive diffusion can lead to a cluttered sound. Strategically combine both treatments to create a well-suited acoustic setting.
Bass Trap Placement
Balancing absorption and diffusion equips your studio to handle mid and high frequencies, but addressing low-frequency issues requires strategically placing bass traps in the corners of your room. To control room resonance and achieve acoustic balance, start by installing bass traps where walls meet floors and ceilings. These areas are hotspots for low-frequency buildup and standing waves.
Opt for membrane bass traps or porous absorbers based on your specific needs. Membrane bass traps are ideal for targeting lower frequencies, while porous absorbers can handle a broader range of low to mid frequencies. Make sure the traps cover as much of the corner surface area as possible for maximum effectiveness.
Positioning the traps in all four vertical corners of your room is a standard practice. However, if you have a particularly problematic area, such as near your mixing desk, consider placing additional traps there. This strategic placement minimizes bass buildup in specific areas, leading to a more accurate mix.
Reflection Control Techniques
In order to control sound reflections and enhance the clarity of your mixes, strategically place acoustic panels on the walls at the first reflection points. Identify these points by sitting in your mixing position and having someone move a mirror along the wall; where you see your monitors’ reflection is where you should place the panels. Your room dimensions and wall material greatly influence sound reflection, so take these factors into account.
Next, install bass traps in the corners to control low-frequency buildup. This helps achieve a more balanced sound. For wall material, denser materials like concrete reflect more sound, requiring additional treatment compared to drywall.
Diffusers can be added to scatter sound waves, reducing standing waves and creating a more natural acoustic environment. Place them on the rear wall and ceiling to break up sound reflections without absorbing too much energy.
Additionally, use rugs and curtains to further minimize reflections. A thick rug on the floor and heavy curtains over windows can absorb high-frequency reflections, enhancing overall acoustic quality.
Soundproofing Techniques
Proper soundproofing techniques are essential to guarantee that external noises don’t interfere with your mixing sessions. This often requires a combination of permanent and temporary solutions.
Start by selecting effective soundproofing materials such as mass-loaded vinyl, acoustic panels, and bass traps. These materials can greatly enhance noise reduction techniques by absorbing and diffusing sound waves, minimizing reflections and reverberations within your studio.
For permanent solutions, install acoustic panels on your walls and bass traps in the corners to target low-frequency buildup. These soundproofing materials will help create a more controlled acoustic environment. Don’t forget to address windows, a common weak point. Construct window plugs using dense materials like plywood and acoustic foam to minimize sound leakage.
Temporary methods can be just as effective. Heavy curtains or thick rugs can act as makeshift sound barriers, ideal for apartments or temporary setups. Additionally, consider sealing any gaps around doors with weather stripping to further reduce noise infiltration.
Lastly, don’t overlook vents and AC units. Cover vents with acoustic foam or create removable covers to block sound while maintaining airflow. By combining these strategies, you’ll achieve a quieter, more isolated mixing environment.
Optimizing Workflow and Layout
Organizing your home studio layout effectively guarantees smooth workflow and maximizes productivity during mixing sessions. Start with an essential setup, positioning your computer, audio interface, and monitors within easy reach. This arrangement fosters an efficient workflow and minimizes unnecessary movements.
Guarantee your studio monitors are at ear level and equidistant from your listening position to maintain accurate sound perception.
Spatial organization is vital. Arrange your gear and equipment so they’re easily accessible. This means keeping frequently used items like MIDI controllers and mixing consoles within arm’s reach. Also, create a clutter-free workspace by managing cables with cable ties or under-desk organizers. This not only improves aesthetics but also prevents tripping hazards and signal interference.
Consider acoustic treatment to enhance sound quality. Install bass traps in corners, acoustic panels on walls, and diffusers to scatter sound waves evenly. These treatments minimize reflections and standing waves, ensuring a clearer mix.
Proper lighting and ambiance contribute significantly to your studio environment. Use adjustable lighting to reduce eye strain and create a comfortable atmosphere for long sessions. With these strategies, you’ll optimize your workflow and layout, making your home studio a productive and inspiring space.
Frequently Asked Questions
Do I Need a Mixer for My Home Studio?
You don’t need a mixer for your home studio, but the benefits include enhanced signal routing and tactile control. Consider your workflow and hardware integration needs before deciding if a mixer adds value to your setup.
How Can I Make My Home Studio Sound Professional?
To make your home studio sound professional, prioritize acoustic treatment with bass traps and diffusers. Confirm proper monitor placement at ear level, forming an equilateral triangle with your listening position for accurate sound reproduction.
How to Make a Studio at Home?
To make a studio at home, start with equipment selection: choose a computer, DAW software, audio interface, studio monitors, and headphones. Next, focus on acoustic treatment by installing bass traps, acoustic panels, and diffusers to enhance sound quality.
How Much Does It Cost to Make a Home Studio?
To create a home studio, costs range from $500 to $3,000+. Budget planning is essential for equipment investment, including a computer, software, audio interface, and studio monitors. Additional expenses might include microphones, cables, and acoustic treatment.
Conclusion
By carefully budgeting and planning, selecting a best-suited space, and investing in essential equipment, you’re well on your way to a professional home studio.
Don’t overlook acoustic treatment and soundproofing techniques to guarantee clear, accurate sound.
Finally, optimizing your workflow and layout will streamline your mixing process.
With these steps, you’ll create an efficient, high-quality mixing environment right at home.
Happy mixing!


