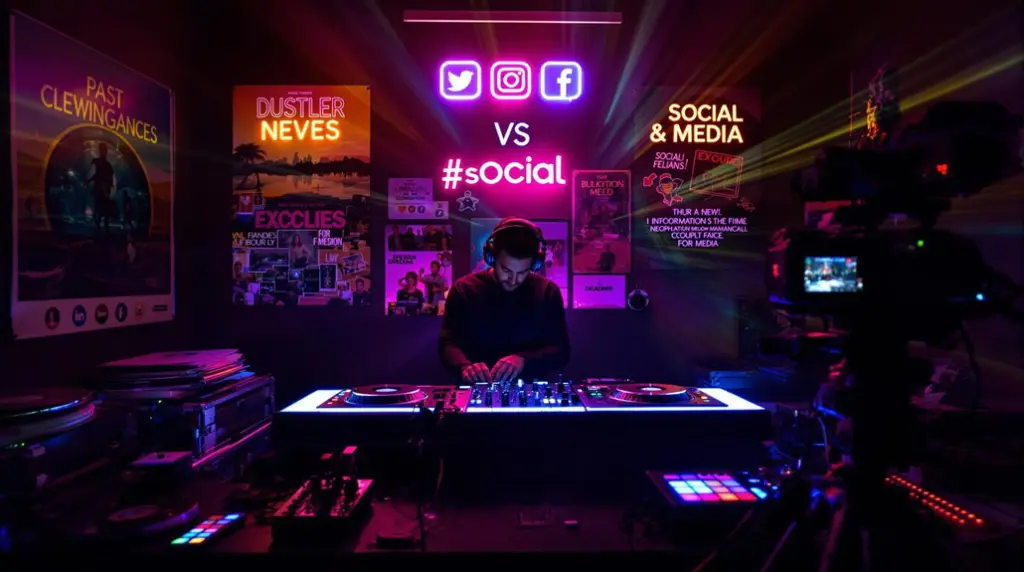
To set up your home DJ gear, start by selecting suitable equipment based on your budget and expertise—opt for DJ controllers, turntables, or CDJs as needed. Confirm that your space accommodates your setup with adequate outlets and dimensions, and consider soundproofing with acoustic panels. Connect your equipment using appropriate cables—RCA for turntables or CDJs to the mixer, and XLR or TRS from the mixer to speakers. Manage cables neatly and secure connections to avoid interference. Finally, optimize your speaker placement and adjust mixer settings for balanced sound output. Mastering these essentials will gear you up for enhanced mixing experiences.
Key Takeaways
- Assess the room’s dimensions and electrical outlet availability to optimize gear placement and connectivity.
- Install acoustic panels and bass traps for soundproofing and enhanced audio quality.
- Use RCA, XLR, or USB cables to connect DJ equipment, ensuring secure and labeled connections for efficient management.
- Optimize speaker placement for uniform sound coverage and adjust mixer settings to balance audio output.
- Incorporate ambient lighting and storage solutions to create an organized and inspiring DJ environment.
Choosing Your DJ Equipment
When exploring your DJ equipment options, take into account your budget and skill level to select the most suitable mix of DJ controllers, turntables, or CDJs. Your equipment choice directly impacts your ability to execute and enhance your mixing skills. Let’s dive into a detailed equipment comparison to align your selections with both budget considerations and skill level requirements.
DJ controllers are typically the most cost-effective and are packed with integrated features like hot cues, loop functions, and effects, making them ideal for beginners and intermediate users. If you’re starting out or have a limited budget, a controller offers a complete, all-in-one solution.
Turntables, on the other hand, appeal to the purist who values the art of scratching and the classic feel of vinyl. This option requires a higher skill level but offers unparalleled control and authenticity in mixing. The initial cost can be higher, especially when you consider the need for additional mixers and audio interfaces.
CDJs are preferred in professional settings, offering high durability and advanced features that allow for precise mixing. They’re compatible with various digital files, making them versatile for DJs who play across multiple formats. However, they represent a significant investment, so make sure they align with your long-term DJing aspirations and skill progression.
Setting Up Your Space
Before setting up your DJ equipment, assess the space in your home to determine the best location considering the availability of electrical outlets and the dimensions of the room. It’s vital to make sure that the chosen area can comfortably accommodate your setup and allows for easy access to power sources without overloading circuits.
Soundproofing and insulation are essential to refining the acoustics within your space and preventing sound leakage that could disturb others. Consider using specialized acoustic panels and bass traps to enhance sound quality and maintain a professional audio environment. Additionally, explore flooring options like thick carpeting or sound-absorbing materials that contribute to better sound control.
Lighting techniques also play a significant role in setting up your DJ space. Plan for a combination of direct and ambient lighting. Adjustable LED lights can provide bright illumination when needed, or soft glow to create the right ambiance for your sessions. Don’t overlook the importance of lighting placement to avoid glare on your equipment screens.
Lastly, invest in suitable storage solutions for your gear. Racks and shelves that keep everything organized and within reach will improve the functionality and efficiency of your home studio, ensuring a smooth workflow during your DJ performances.
Connecting Your Gear
To guarantee high-quality sound and performance, start by connecting your turntables or CDJs to the mixer using RCA cables. Make sure each cable is fully inserted into the corresponding output and input jacks to maintain a secure connection. This step is essential as loose connections can result in audio dropouts or interference.
Next, connect your mixer to your speakers using balanced XLR or TRS cables. These cables are preferred for their ability to reduce noise and interference over longer distances, which is vital for maintaining clear sound output. Ensure the connections are tight and the cables are routed away from power lines to avoid any potential hum or interference.
For digital setups involving a DJ controller or laptop, use USB cables to connect to your mixer. This allows the digital signal to be processed efficiently, optimizing your system’s performance. Check that the USB connection is secure and that your device recognizes the mixer to ensure seamless integration.
Implement proper cable management by labeling each cable and port. This organization not only streamlines your setup process but also simplifies troubleshooting techniques. Should any issues arise, you’ll quickly identify and address connectivity problems, ensuring your session runs smoothly without unwanted interruptions.
Sound Testing and Adjustments
After establishing your DJ equipment, it’s vital to test and adjust the sound to guarantee top performance across different areas of the venue. Begin by assessing your speaker placement. The positioning of speakers significantly impacts room acoustics, directly influencing sound clarity and reach. You’ll want to strategically place your speakers to optimize sound coverage without causing unwanted echoes or feedback.
Next, grab a sound level meter to check the volume levels. Make sure they’re within safe limits to prevent hearing damage and maintain audio quality. It’s not just about loudness; it’s about maintaining a balance that feels immersive yet comfortable.
Now, delve into your mixer’s equalizer settings. This step is important for fine-tuning the sound balance. Adjust the low, mid, and high frequencies to enhance clarity and ensure that no single element overpowers others. This balance will vary based on the genre of music and the specific track’s mix.
Additionally, walk around the room while playing a track to identify any acoustical issues. Listen for areas where bass is muffled or treble echoes unnaturally. If needed, incorporate acoustic treatments like foam panels or bass traps to refine the sound, mitigating reverberation and enhancing overall audio precision.
Practice and Performance Tips
Having set up and adjusted your equipment, you’ll need to focus on honing your DJ skills through consistent practice and exploring varied mixing techniques. To truly excel, immerse yourself into the intricacies of beatmatching techniques and make sure your digital crate organization is meticulous, which empowers you to pull the right track at the right moment.
Your practice sessions should include experimenting with different effects and blending styles to maintain high performance energy throughout your sets. Additionally, customizing your mixing software to fit your workflow can significantly enhance your efficiency and creativity.
Record every session and critically listen back to identify areas for improvement. This reflective practice will sharpen your ear and help you make necessary adjustments. Utilize performance tips from seasoned DJs and integrate these insights into your routine to enhance your skills further.
Here’s a quick guide to structuring your practice sessions effectively:
| Focus Area | Tips & Techniques |
|---|---|
| Beatmatching | Use sync for learning, then practice manually. |
| Blending | Master smooth fades and timed cuts. |
| Sound Effects | Experiment with delays, reverb, and filters. |
| Software Customization | Map your controls for quick access. |
| Digital Crate Management | Organize tracks by mood, genre, and energy level. |
Frequently Asked Questions
What Do You Need for a Home DJ Setup?
For your home DJ setup, you’ll need a powerful laptop, quality turntables, or controllers, headphones, speakers, subwoofers, and strategic room acoustics. Don’t forget the cable management and lighting effects to enhance the atmosphere.
How to Set up a DJ Studio at Home?
To establish your DJ studio at home, prioritize optimizing room acoustics and installing effective lighting effects. Confirm soundproofing, assess electrical needs, and strategically place equipment for the best sound and visual experience.
How Do I Plan a House DJ Set?
To plan your house DJ set, focus on music selection that’ll engage your audience. Curate tracks that flow well together and consider the energy level to keep your listeners hooked and dancing.
What Gear to Start Djing?
To start DJing, you’ll need a basic controller like Numark Party Mix II, considering your budget and genre. Invest in a laptop with DJ software, quality headphones, and reliable speakers for peak performance.
Conclusion
Now that you’ve set up your DJ gear, it’s important to fine-tune your system. Check that all connections are secure and your sound levels are perfectly balanced; this precision will greatly enhance your performance.
Regularly update your playlist and practice your mixes to stay sharp. Remember, every session is an opportunity to refine your skills. Keep experimenting with your setups and tracks, and most importantly, enjoy the journey of becoming a skilled DJ.
Keep the beats flowing and the crowd moving!


