So, you’ve set the stage for your music production, meticulously crafting every element to create a captivating sonic landscape. But something feels missing, like the space within your soundscape is too confined, lacking the depth and dimension that would truly bring it to life.
That’s where reverb comes in, serving as the sonic architect that constructs the spatial environment for your music. In FL Studio, adding reverb is a crucial step in elevating your mix, and understanding how to wield this tool effectively can truly transform your sound.
But how do you navigate the intricate world of reverb parameters and plugins to achieve the perfect ambience for your tracks? Let’s uncover the secrets together.
Key Takeaways
- Understand the different parameters that control the characteristics of reverb, such as room size, decay time, pre-delay, diffusion pattern, and EQ shaping.
- Familiarize yourself with the various reverb plugins available in FL Studio, including Fruity Convolver and Fruity Reeverb, which offer unique features and controls.
- Utilize reverb techniques like adjusting pre-delay, room size, and diffusion pattern to shape the reverb effect to your desired sound.
- Explore creative applications of reverb by experimenting with different plugins, customizing presets, considering virtual room acoustics, applying EQ, and using reverb sparingly to avoid a washed-out sound.
Understanding Reverb Parameters

To understand reverb parameters properly, you should focus on the specific settings that control the characteristics of the reverberation effect.
In FL Studio, when you add a reverb to your audio, you can manipulate various parameters to achieve the desired spatial and dimensional effects.
For instance, adjusting the room size parameter allows you to simulate the acoustic properties of different spaces, such as small rooms or large halls.
The decay time setting determines how quickly the reverb fades away, affecting the perceived length of the virtual space.
Additionally, the pre-delay parameter influences the time gap between the dry signal and the onset of the reverb, impacting the clarity and presence of the audio.
Experimenting with these reverb parameters, along with factors like diffusion pattern and EQ shaping, allows you to tailor the reverb effect to suit your mix.
Paying attention to these nuances is crucial for creating a sense of depth and immersion without overwhelming the mix, especially when working with elements such as bass and other critical audio components.
Plugins in FL Studio provide a range of options to fine-tune these parameters and achieve innovative reverb textures.
Applying Reverb Plugins
When applying reverb plugins in FL Studio, you can enhance the spatial characteristics of your audio by simulating reflections and creating a sense of depth and immersion. FL Studio offers a variety of reverb plugins, each with its own unique features and capabilities. Consider the following reverb plugins to add dimension and depth to your sound:
| Plugin Name | Features | Best Use Case |
|---|---|---|
| Fruity Convolver | Impulse Response Reverb, Stereo Separation, Custom Impulse Responses | Creating realistic room simulations and adding stereo separation to the reverb effect |
| Fruity Reeverb | Adjustable Decay Times, Room Size, Low/High Frequencies Controls | Tailoring reverb for specific sounds, adjusting decay times, and controlling the emphasis of low and high frequencies |
When utilizing these reverb plugins in FL Studio, experiment with different settings to achieve the desired spatial effects. Adjusting parameters such as decay times, room size, and frequency controls can significantly impact the overall ambiance and spatial characteristics of your audio. Select the plugin that best suits your needs and dive into the intricate world of reverb manipulation to elevate your sound to new heights.
Utilizing Reverb Techniques

Consider employing specific reverb techniques to craft a sense of spatial depth and dimensionality in your audio production within FL Studio.
When using reverb, it’s crucial to understand how to manipulate the parameters to achieve the desired effect. Utilize the pre-delay to create a gap between the original sound and the onset of reverb, allowing for a clearer initial sound.
Adjusting the room size alters the perceived size of the virtual space, affecting the overall sense of spaciousness. Manipulating the diffusion pattern can make the reflections build up and decay in different ways, adding complexity to the reverb tail.
Create Automation clips to dynamically change the reverb parameters over time, enhancing movement and interest in the sound. When adding reverb, consider both low and high-frequency emphasis to maintain clarity while achieving the desired spatial effect.
In FL Studio, explore various reverb plugins such as Fruity Reeverb 2, Fruity Convolver, and LuxeVerb to expand your sound design possibilities.
Exploring Creative Reverb Applications
As you explore creative reverb applications in FL Studio, delve into experimenting with different reverb plugins to find the desired sound for your mix. Fruity Reverb 2, for example, offers a wide range of settings and controls that allow you to sculpt the reverb to fit your specific needs.
Use presets as a starting point, then customize them to match the genre and style of your track. Consider the acoustics of the virtual room or space created by the reverb when adjusting its parameters. Apply EQ to shape the reverb by cutting unwanted frequencies or boosting desired frequencies, especially in the bass range to avoid muddiness.
When using reverb in a mix, do so sparingly to prevent a washed-out sound. Instead, consider using light delay on instruments in busy tracks. Experiment with applying reverb to individual tracks as well as using it on the master track for a cohesive sound.
Comparing Different Reverb Options
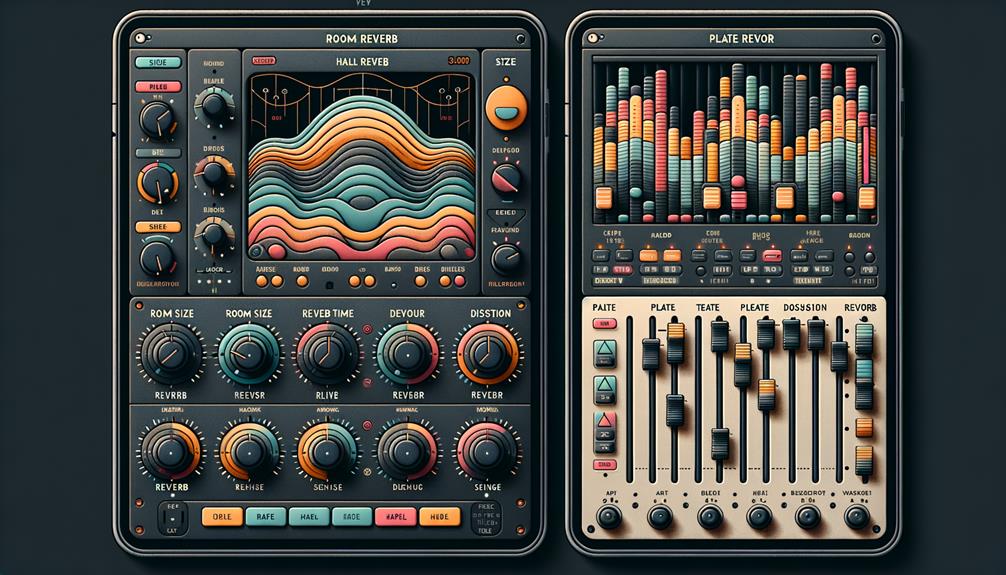
Comparing different reverb options available in FL Studio involves evaluating the features and capabilities of plugins such as Fruity Reeverb 2, Fruity Convolver, and LuxeVerb to determine their suitability for achieving specific sound characteristics in your mix.
Fruity Reeverb 2 is a stock plugin known for its user-friendly interface and professional results. It offers a variety of presets, making it ideal for beginners, but it also allows for in-depth control over parameters for more advanced users.
On the other hand, Fruity Convolver provides the ability to use impulse responses for realistic reverbs, offering a more technical approach and precise control.
LuxeVerb, available in FL Studio 21’s All Plugin Edition, delivers high-quality reverb effects, but it requires an upgrade or separate purchase.
When selecting a reverb plugin, consider the desired sound, genre, and style you want to achieve in your music production.
Each of these options caters to different needs, so it’s essential to choose the one that best suits your specific mixing and audio effects requirements.
Frequently Asked Questions
How Do I Add Reverb in FL Studio?
To add reverb in FL Studio, adjust reverb settings and parameters using various reverb plugins. Experiment with different reverb types and techniques for creating ambiance. Apply reverb sparingly in mixing and use EQ to shape the reverb sound.
How Do You Add Reverb Effect?
To add reverb effect, understand reverb basics and experiment with reverb settings, plugins, and techniques. Tweak parameters like wet/dry mix, time, pre-delay, and frequency to craft unique spatial effects and enhance your mix.
How Do I Add Reverb Automation in FL Studio?
To add reverb automation in FL Studio, customize reverb settings and use automation techniques to create space and atmosphere. Experiment with different plugin options, manipulate the wet/dry balance, and apply creative applications for dynamic mixing.
How Do I Open Fruity Reverb in FL Studio?
To open Fruity Reverb in FL Studio, go to the mixer, select the desired track, and add the Fruity Reverb 2 plugin from the inserts. Adjust the reverb settings including wet/dry mix, room size, pre-delay time, and reverb tail for creating space.
Conclusion
In conclusion, adding reverb in FL Studio is a straightforward process that involves understanding the parameters, applying the appropriate plugins, and utilizing various techniques to achieve the desired reverb effect.
By exploring creative applications and comparing different reverb options, you can enhance the overall sound of your audio clips and instruments.
Experimenting with the wetness and DEC knobs will allow you to fine-tune the reverb effect to fit your specific needs.


