To enhance audio quality in Audacity, follow a structured approach. Start by preparing a quiet environment and selecting a high-quality condenser microphone. Maintain ideal microphone distance and set appropriate sample rates. After recording, apply noise reduction techniques to minimize background interference. Utilize equalization and compression for clarity, and experiment with effects to enrich sound. Carefully finalize the mix and export in lossless formats to preserve quality. Regular assessment of your techniques will guarantee ongoing improvement. Each of these steps is essential; understanding their nuances will greatly boost your audio production capabilities. More detailed insights await to enhance your skills.
Key Takeaways
- Use Noise Reduction to remove unwanted background sounds by creating a Noise Profile from silent sections of your recording.
- Apply equalization techniques to enhance vocal presence, focusing on boosting treble frequencies between 300 Hz and 3 kHz.
- Implement compression with a threshold of -18 dB and a 3:1 ratio to maintain vocal clarity and presence in your audio.
- Normalize audio levels to -1 dB to prevent distortion and ensure consistent volume throughout the recording.
- Export in WAV format for high quality or MP3 for wider compatibility, adjusting bitrate settings for optimal audio clarity.
Preparation and Environment Setup
When preparing to record audio in Audacity, it is essential to establish an ideal environment that minimizes extraneous noise and enhances sound quality.
Select a quiet recording space that is isolated from outside sounds to considerably reduce background noise. Incorporating sound-absorbing materials, such as carpets and heavy curtains, can help diminish echoes and improve audio clarity.
Proper microphone positioning is vital; maintain a distance of approximately a thumb to pinky finger length from your mouth for best sound capture. Additionally, make certain that all ambient noise sources, including computers and air conditioning units, are turned off before recording.
Conducting test recordings allows for an assessment of sound quality, helping identify any unwanted noises or necessary adjustments in the recording environment. Using techniques such as noise reduction can further enhance the clarity of your audio by minimizing consistent background sounds.
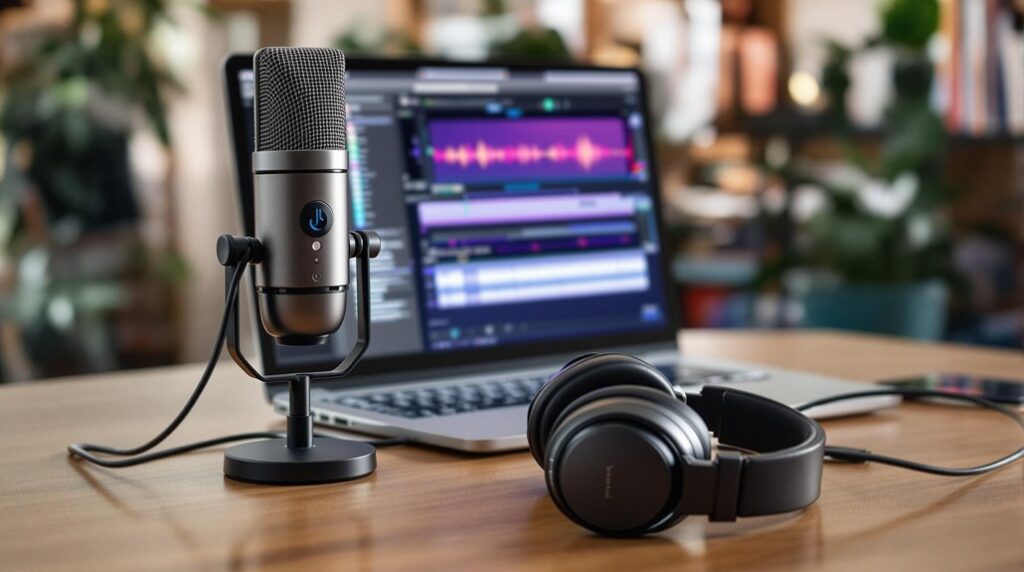
Microphone Selection and Setup
Selecting a high-quality microphone, such as a condenser model, is essential for achieving ideal sound fidelity in recordings.
Proper microphone placement, ideally positioned at a thumb to pinky finger length from the mouth, is critical to capture clear audio while minimizing distortion.
Additionally, utilizing accessories like pop filters and shock mounts can further enhance the quality of vocal recordings by reducing unwanted noise and vibrations. Incorporating techniques like vocal reduction tools can also significantly improve the overall clarity of the audio during post-production.
Quality Microphone Importance
A quality microphone serves as the cornerstone of effective audio recording, greatly influencing the final sound fidelity of a project. Selecting a high-caliber condenser microphone, such as the Blue Yeti, guarantees superior sound fidelity, capturing the nuances of voice recordings that inferior models may overlook.
To achieve the best sound capture, positioning the microphone at a thumb to pinky finger distance from the mouth is essential. Employing a pop filter can greatly reduce plosive sounds, resulting in cleaner audio by mitigating bursts of air during consonant pronunciations.
Additionally, a shock mount effectively minimizes vibrations and handling noise, focusing recordings on vocal clarity rather than background disturbances. Testing various microphones and setups is vital for tailoring recordings to individual voice characteristics, enhancing overall audio quality.
Optimal Microphone Placement
Proper microphone placement is critical for achieving ideal audio quality during recordings. Position the microphone approximately 6 to 12 inches from your mouth to balance sound levels while minimizing plosive sounds, which can distort clarity.
Utilizing a pop filter 2-4 inches in front of the microphone further mitigates unwanted plosives from ‘p’ and ‘b’ consonants. Additionally, angling the microphone at about 45 degrees allows for a more natural sound and reduces harshness.
Implementing a shock mount is advisable to prevent handling noise and vibrations from interfering with audio quality. Experimentation with various distances and angles is essential to optimize placement, ensuring it complements your unique voice characteristics and recording environment for the best results.
Recording Settings and Techniques
Achieving ideal audio quality in Audacity begins with meticulous attention to recording settings and techniques. Set the sample rate to 44.1 kHz, the standard for CD-quality audio, to guarantee clarity in recordings.
Utilize a bit depth of 24-bit to capture a broader dynamic range, thereby minimizing distortion and enhancing detail. Real-time monitoring is essential; it allows immediate adjustments to your performance, guaranteeing peak audio levels.
Adjust the input gain on your microphone to prevent clipping and maintain audio fidelity. Finally, recording in a lossless format, such as WAV, preserves the highest quality for editing and offers flexibility for post-production adjustments. Additionally, understanding the pitch-frequency relationship can inform your adjustments during the editing process.
Implementing these strategies will greatly enhance your audio quality in Audacity.
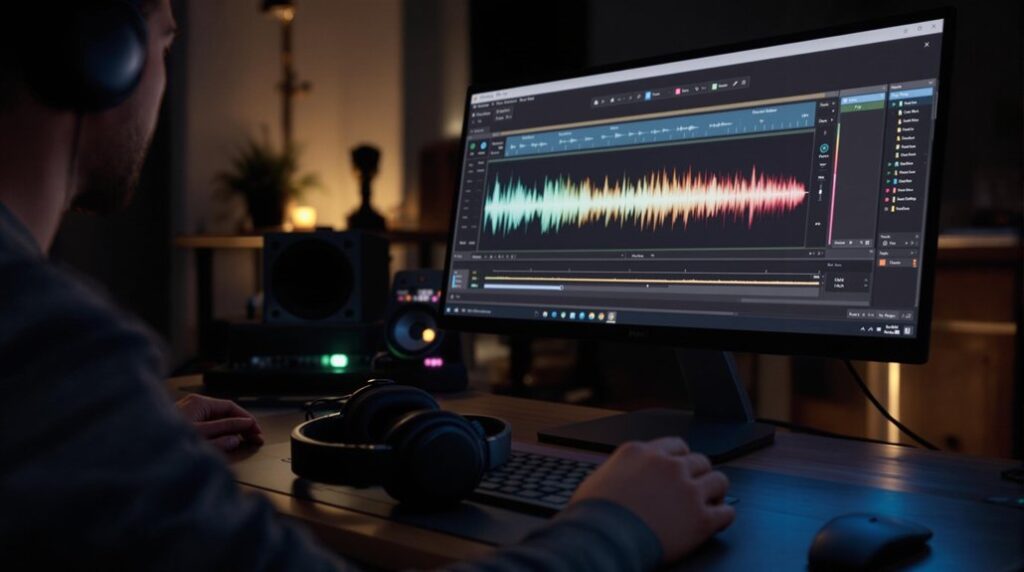
Noise Reduction and Audio Cleanup
Effective noise reduction in Audacity begins with accurate background noise identification, allowing for targeted removal techniques.
Utilizing the Noise Reduction effect, combined with compression and normalization, enhances overall audio clarity by managing unwanted frequencies and maintaining consistent levels.
In addition, employing equalization can greatly improve vocal presence, ensuring that the final output is both clear and professional. Furthermore, using the Selection Tool effectively during the trimming process can help in isolating problematic audio sections for better cleanup.
Background Noise Identification
Background noise can greatly detract from the overall quality of an audio recording, making its identification and reduction essential for ideal sound clarity.
To effectively identify and manage background noise, consider the following steps:
- Select a silent section to create a Noise Profile.
- Navigate to the Effect menu and choose Noise Reduction.
- Click “Get Noise Profile” to analyze unwanted frequencies.
- Apply the Noise Reduction effect to the entire track, adjusting settings to guarantee clarity.
- Always preview changes before finalizing to maintain audio quality.
Effective Noise Removal Techniques
Identifying background noise is only the first step in achieving clear audio quality; the subsequent removal techniques play a pivotal role in refining the overall sound.
In Audacity, effective noise reduction begins by highlighting a silent section to create a Noise Profile via Effect > Noise Reduction. This profile allows for targeted adjustments across the entire track, where balancing the noise reduction parameters guarantees ideal voice quality retention.
Utilizing the “Preview” feature aids in evaluating the impact of changes, preventing considerable audio quality loss. For persistent background noise, re-capture the Noise Profile and adjust the slider for enhanced removal.
Combining these techniques with equalization and compression can greatly contribute to improving voice quality, resulting in a polished, professional final product.
Audio Clarity Enhancement Methods
Enhancing audio clarity is paramount for achieving professional sound quality in recordings. Effective audio cleanup methods include:
- Noise Removal: Create a Noise Profile from silent sections to filter background music effectively.
- Compression: Even out audio levels by setting the threshold around -18dB, making softer sounds audible while preventing clipping.
- Equalization: Boost mid frequencies (1-4 kHz) to improve voice quality and reduce muddiness in lower frequencies (below 200 Hz).
- Regular Previews: Consistently preview changes to guarantee desired clarity without compromising the original audio integrity.
- Noiseless Recordings: Aim for recordings that minimize background interference to enhance overall sound quality.
These methods collectively contribute to achieving crisp, clear, and engaging audio suitable for professional use.
Editing Techniques for Clarity
Achieving clarity in audio recordings is essential for effective communication and listener engagement. To improve voice quality, utilize equalization techniques, focusing on a treble boost in the mid-range frequencies (300 Hz to 3 kHz) where the human voice is most prominent. Normalize audio levels, setting peak amplitudes to -1 dB to prevent distortion and maintain consistent loudness. Implement compression with a threshold of -18 dB and a 3:1 ratio to enhance vocal presence while minimizing background noise. Additionally, trim silence from the beginnings and ends of recordings to eliminate distractions. Subtle reverb can be applied to add depth without overpowering the voice, thereby ensuring the clarity of the audio remains intact throughout the recording. Consider employing surgical EQ cuts to remove any resonant problem frequencies that may hinder clarity.
Effects and Enhancements
Building upon the techniques for clarity discussed previously, the application of effects and enhancements in Audacity can greatly enhance the overall audio quality.
Utilizing the right effects can refine voice quality while minimizing noise interference. Consider the following enhancements:
- Implement a de-esser to reduce sibilance and improve vocal clarity.
- Experiment with chorus or delay to creatively enrich recordings without overpowering the voice.
- Use the Auto-Duck effect to dynamically adjust background music levels during narration, maintaining focus on the speaker.
- Adjust Bass and Treble to balance low and high frequencies, tailoring the sound to your project’s needs.
Always maintain a careful balance in effects application to avoid compromising the natural quality of the voice, especially when using a good quality microphone and focusing on removing background noise. Additionally, incorporating EQ techniques can further enhance vocal presence and clarity in your recordings.
Finalizing the Mix and Exporting
Finalizing the mix and exporting the audio are critical steps in the production process, guaranteeing that the project meets professional standards. A well-executed final mix requires careful attention to audio tracks, peak amplitude, and applied effects, such as the Compressor. It is essential to document your settings and editing processes to maintain consistency across future projects. To ensure optimal sound quality, consider mastering techniques that enhance overall audio performance.
| Format | Purpose |
|---|---|
| WAV | High-quality export |
| MP3 | Compatibility |
| Bitrate | Ideal quality settings |
| Limiter | Prevent clipping |
Before export, review the final mix on various playback devices to guarantee consistent audio quality. Proper labeling and organization of audio tracks facilitate easier editing and management for future endeavors.
Frequently Asked Questions
How to Enhance Audio Quality in Audacity?
To enhance audio quality in Audacity, employ audio restoration techniques such as noise reduction methods and dynamic range compression. Utilize equalization tips and vocal enhancement strategies, while mastering audio basics for ideal sound clarity and balance.
What Are the Best Quality Settings for Audacity?
The best quality settings for Audacity include a sample rate of 44.1 kHz, a bit depth of 24-bit, WAV track format, appropriate export settings, effective noise reduction, and careful application of audio effects to optimize playback quality.
How Do You Improve Audio Quality?
To improve audio quality, employ audio enhancement techniques such as noise reduction methods, ideal equalization settings, and compression effects. Additionally, utilize appropriate sample rate and bit depth, alongside effective audio restoration tips, for superior results.
How to Clean up Audio With Audacity?
To clean up audio with Audacity, implement audio restoration techniques such as noise reduction methods, equalization tips, and compression settings. Additionally, apply vocal enhancement strategies and mastering basics to refine clarity and overall sound quality effectively.
Conclusion
In summary, enhancing audio quality in Audacity necessitates a systematic approach encompassing preparation, microphone selection, and appropriate recording techniques. Implementing noise reduction and audio cleanup strategies, alongside effective editing techniques, greatly contributes to clarity. The application of various effects further enriches the sound quality. Finally, careful attention to the final mix and exporting settings guarantees ideal audio fidelity. Adhering to these outlined steps will facilitate superior audio production and presentation.