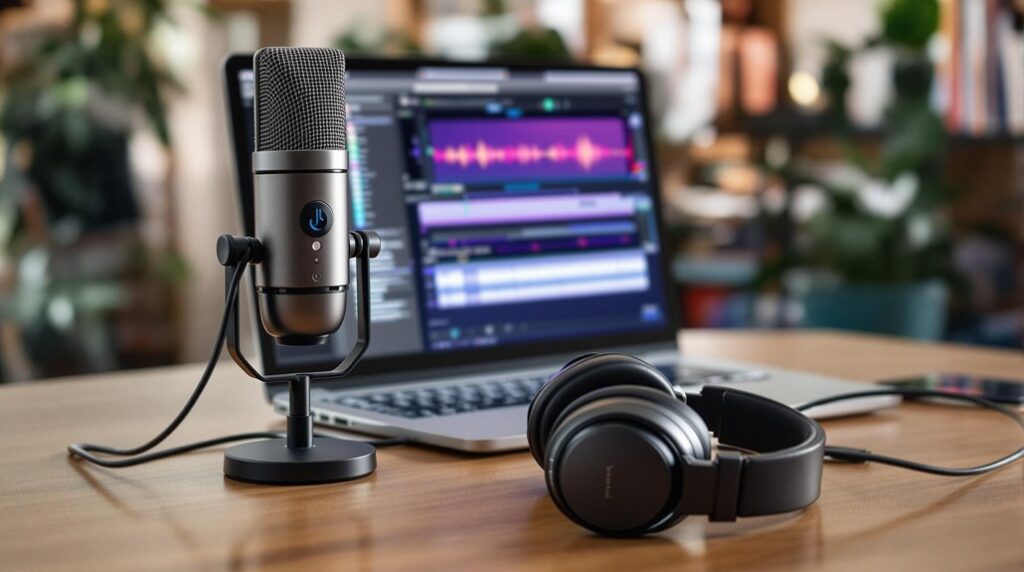
To achieve a polished, professional sound in Audacity, effective compression is critical. Begin by selecting your audio track; use the Effects menu to open the Compressor tool. Set your Threshold around -20 dB, and adjust the Ratio to 3:1 to control dynamics. Fine-tune Attack and Release times to enhance audio flow, generally 0.10 seconds and 1.0 seconds, respectively. Set the Noise Floor at -60 dB to maintain clarity. Preview adjustments to guarantee the balance between compression and audio quality. Finally, normalize to -1 dB to prevent clipping. Advanced techniques offer further refinement for achieving superior sound quality.
Key Takeaways
- Set the threshold around -12 dB to effectively manage louder sounds and balance audio dynamics.
- Use a 3:1 compression ratio to maintain sound quality while controlling audio dynamics.
- Adjust attack time to 0.10 seconds for quick response to loud sounds, ensuring smooth transitions.
- Normalize audio to a peak amplitude of -1 dB to prevent clipping and maintain consistent loudness.
- Utilize the preview function in Audacity to assess and fine-tune compression settings before finalizing.
Understanding Audio Compression
When delving into the field of audio engineering, understanding audio compression is pivotal for achieving ideal sound quality. Compression settings are central to managing the dynamic range, balancing loud and quiet audio segments.
The threshold is a critical parameter; setting it around -20 dB guarantees effective compression initiation. Attack time, often at 0.10 seconds, determines how swiftly compression engages above the threshold, impacting the audio’s tightness and potential artifacts.
Release time governs the duration compression persists after the audio dips below the threshold, aligning with the audio’s rhythm for smoothness. Properly configured, these elements minimize the noise floor, enhancing clarity. Additionally, applying subtle compression can ensure sound quality is maintained while achieving a polished final master.
Mastery of these parameters guarantees a polished auditory experience, essential for professional audio production.
Opening Your Audio File
With a solid grasp of audio compression, the next step involves efficiently managing your audio files in Audacity.
Begin by accessing the File menu to open your desired audio file. Use the shortcut CTRL+O for quick navigation or opt for the drag-and-drop method directly into the Audacity interface.
Confirm the audio file format is compatible—such as WAV, MP3, or Ogg Vorbis—to facilitate seamless integration.
Upon successful opening, the audio will manifest as a waveform on the timeline, enabling precise visualization of audio levels critical for achieving a professional sound.
To safeguard your original audio, duplicate the track immediately, preserving an unedited version.
This approach ensures that your efforts in attaining a polished sound remain efficient and reversible. Additionally, make sure to adjust your audio input settings to avoid common recording issues as you compress the audio.
Selecting the Audio Track
To effectively apply compression to your audio in Audacity, selecting the appropriate track or segment is essential.
Begin by deciding if you want to compress the entire track or select a portion of it. To select the entire audio track, utilize the shortcut Ctrl + A (Cmd + A on Mac), which highlights all the original audio.
If you wish to compress only a specific segment, use the selection tool to click and drag over the desired section. Verify the track is visible in the workspace, as only the highlighted waveform will be affected when you apply compression.
For multiple tracks, hold the Shift key while clicking. Confirm your selection to verify accurate application of compressor settings to the intended audio. Additionally, it is crucial to understand that effective tools and techniques enhance the results of your audio editing efforts.
Accessing the Compressor Tool
To access the Compressor tool in Audacity, begin by selecting your audio track with CTRL+A. Then navigate to the Effects menu.
Within the Compressor settings, parameters such as Threshold, Noise Floor, and Ratio offer precision control over the dynamics of your audio. Understanding the impact of attack and release times can further enhance your compression technique.
Utilize the Preview function to assess these adjustments, ensuring the balance between compression levels and audio quality meets your project’s requirements.
Locating Compressor in Audacity
Maneuvering Audacity’s interface efficiently is essential for accessing its powerful tools, including the Compressor. Begin by opening Audacity and traversing to the “Effects” menu in the top toolbar. Select the desired audio track by clicking on it, or use CTRL+A for the entire track. Access the Compressor by selecting it from the dropdown list within the Effects menu. This action opens the Compressor settings window, where various parameters such as Threshold and Noise Floor are available for fine-tuning. Adjust the settings to your preferences, ensuring ideal audio quality.
| Action | Details |
|---|---|
| Open Audacity | Traverse to “Effects” menu |
| Select Audio | Click track or use CTRL+A for all |
| Access Compressor | Choose “Compressor” from Effects menu |
| Adjust Settings | Customize Threshold, Noise Floor, etc. |
| Preview Changes | Use Preview button to listen before applying |
Adjusting the Compressor settings in Audacity requires a methodical approach for ideal audio enhancement.
Begin by accessing the Compressor tool through the Effects menu, selecting “Compressor” after highlighting your desired audio track. The Threshold setting is essential; set it around -20 dB to define the volume level where compression begins, optimizing audio control.
Next, configure the Noise Floor setting to -60 dB to effectively separate the desired audio from background noise. The Ratio setting, typically set at 3:1, dictates the degree of compression applied to sounds surpassing the threshold, thereby refining dynamic range balance.
Utilize the Preview function to audit a segment of your audio with these settings, ensuring the adjustments meet your professional sound quality standards before finalizing.
Utilizing Visual Feedback
Accessing the Compressor tool in Audacity involves maneuvering to the Effects menu after selecting the desired audio track—use Ctrl+A if working with the entire track.
Within the Compressor settings, users gain valuable visual feedback through a blue line graph indicating the audio’s dynamic range. This visual representation assists in understanding how adjustments to the threshold and ratio impact the waveform.
By carefully analyzing this feedback, users can guarantee a balanced audio output, avoiding the pitfalls of over-compression, which might compromise clarity. The Preview button further facilitates this analytical process, allowing users to hear changes in real-time before finalizing them.
Such precise control guarantees that audio adjustments maintain professional quality while enhancing the overall sound aesthetic.
Key Compressor Settings
Understanding key compressor settings in Audacity is essential for achieving ideal audio quality. The Threshold setting is pivotal, initiating compression at around -12 dB to handle louder sounds effectively. Equally important is the Noise Floor, typically set at -60 dB, distinguishing primary audio from background noise to maintain clarity. The Ratio setting, often at 3:1, determines the extent of compression, balancing sound dynamics while accommodating more dynamic content when necessary. Attack Time and Release Time are vital temporal parameters; with Attack at 0.10 seconds, transients are captured promptly, while a 1.0-second Release guarantees a seamless audio shift. Additionally, understanding dynamic range compression can enhance your overall audio mixing and mastering techniques.
| Setting | Recommended Value | Purpose |
|---|---|---|
| Threshold | -12 dB | Begins compression for louder sounds |
| Noise Floor | -60 dB | Differentiates audio from background noise |
| Ratio | 3:1 | Controls compression degree |
Fine-Tuning Compression
Fine-tuning compression in Audacity requires a meticulous approach to achieve ideal audio quality.
Adjusting the Threshold setting lowers the point at which compression begins, capturing more audio and enhancing the dynamic range. For dynamic content, increasing the Ratio setting to 4:1 or 5:1 guarantees louder elements are controlled while maintaining clarity.
Careful adjustment of Attack Time is vital; a shorter attack can tighten audio but risks introducing artifacts. Balancing it according to the material is essential.
Release Time should be adjusted to complement the audio’s pacing, providing a smoother shift and improving sound quality. Understanding compression parameters is key to making informed adjustments and achieving optimal results.
Experimentation with these settings is fundamental to achieve the desired tonal balance, guaranteeing professional-quality output tailored to the project’s specific needs.
Monitoring Audio Levels
While working in Audacity, monitoring audio levels is essential for guaranteeing the integrity and consistency of your track.
Utilize the Playback Level meter to visually assess the dynamics, identifying peaks and troughs that may disrupt consistent audio levels. Documenting compressor settings and audio levels throughout the editing process creates a valuable reference, enabling repeatability in future projects.
Regularly compare your compressed audio against the original track using the playback feature to evaluate the effectiveness of your adjustments. Aim for a post-compression loudness target of -1 dB to optimize compatibility across various platforms, mitigating the risk of clipping. Additionally, applying Noise Reduction techniques during the editing process can enhance overall clarity and consistency in your audio levels.
Testing audio on diverse playback devices, such as headphones and speakers, further guarantees that levels translate effectively across different listening environments.
Normalizing Volume Levels
Normalizing volume levels in Audacity is an important step in audio editing, guaranteeing that the peak amplitude of a track is adjusted to a standard level, typically -1 dB, to prevent clipping during playback across various platforms.
This process is vital for maintaining consistent audio quality, especially when managing multiple tracks, such as in podcasts or music albums.
To execute normalization, select the desired track, navigate to the Effects menu, and choose Normalize. This feature allows setting parameters for peak level and optionally removing DC offset.
By analyzing the audio to adjust the maximum peak amplitude, Audacity guarantees the loudest sections are balanced without distorting the track, fostering a professional sound. Regular normalization facilitates subsequent processing, enhancing overall audio integrity.
Additionally, proper normalization aligns with the industry standards of loudness levels to ensure tracks are competitive and polished.
Avoiding Over-Compression
Having established a solid foundation through normalizing volume levels, the next step involves understanding the nuances of avoiding over-compression in Audacity. The compressor is a powerful tool, but misuse can degrade sound quality. To maintain ideal audio levels, begin with a moderate threshold of -20 dB and a ratio not exceeding 3:1, allowing natural dynamics to flourish. Regular comparisons between the compressed and original tracks are essential to prevent excessive flattening.
Consider these strategies:
- Use Audacity’s preview function to assess compression effects before finalizing settings.
- Save multiple versions of your audio project to evaluate various compression settings.
- Listen for signs of over-compression like harshness or detail loss.
- Adjust attack and release times to facilitate a more natural audio flow.
Additionally, understanding the importance of mastering quality assurance ensures that your final audio maintains professional standards.
These approaches enhance sound quality without sacrificing vibrancy.
Exploring Advanced Techniques
Explore the field of advanced compression techniques in Audacity to refine your audio projects with greater precision.
A critical aspect is adjusting the threshold to -30 dB, capturing more dynamic audio elements such as nuanced music or varied dialogue. Employing a higher compression ratio, such as 4:1 or 5:1, effectively manages peaks in dynamic content, ensuring consistent audio levels without degrading quality.
A shorter attack time, set below 0.10 seconds, enables rapid response to sudden loud sounds, essential in fast-paced audio scenarios. Post-compression, the make-up gain feature is employed to restore audio levels to a competitive loudness, suitable for platforms like YouTube. Understanding the interplay of threshold and ratio is crucial for achieving desired dynamic range shaping.
Experimenting with release time optimizes the natural sound flow, enhancing listener engagement in both voiceovers and music tracks.
Enhancing Audacity Skills
Mastering Audacity’s robust features requires a strategic approach to enhance your audio editing skills effectively. To achieve quality audio, familiarize yourself with Audacity’s user-friendly interface, focusing on the Effects menu to apply the Compressor and Noise Reduction tools.
Experimenting with compressor settings like Threshold at -20 dB and Ratio at 3:1 can greatly improve sound balance. Audacity offers built-in presets that serve as excellent starting points, allowing for further adjustments tailored to your project’s needs.
- Regular monitoring with the playback meter helps maintain consistent audio quality, preventing over-compression.
- Explore YouTube tutorials and Audacity courses for advanced techniques in sound enhancement.
- Adjust Noise Floor settings around -60 dB for ideal noise reduction.
- Leverage community forums for shared insights and troubleshooting.
Frequently Asked Questions
How to Make Audio Sound Compressed in Audacity?
To effectively compress audio in Audacity, adjust compressor settings to refine audio dynamics. Set threshold and ratio for ideal peak levels, ensuring sound clarity. Employ precise mixing techniques to achieve a balanced, professional sound output.
How Do I Polish Audio in Audacity?
To polish audio in Audacity, utilize audio editing techniques such as noise reduction, precise equalizer settings, and volume leveling. These steps enhance sound quality, ensuring a professional finish with balanced frequencies and ideal sound enhancement for diverse platforms.
How to Compress Audio to Sound Better?
To enhance sound quality, employ compression settings that effectively manage audio dynamics. Implement mastering techniques through precise audio mixing, adjusting thresholds, ratios, and attack/release times to achieve a balanced, professional sound without sacrificing audio integrity.
How Do I Smooth Out Audio in Audacity?
To smooth out audio in Audacity, employ audio editing tips such as noise reduction techniques and equalization settings. Understanding mastering basics and sound design strategies further refines the track, ensuring a consistent and professional audio quality.
Conclusion
The process of audio compression in Audacity involves a careful balance of technical adjustments to achieve a polished, professional sound. By understanding and applying key compressor settings, normalizing volume levels, and avoiding over-compression, audio tracks can be greatly enhanced. Exploring advanced techniques further refines audio quality, ensuring clarity and consistency. Mastery of these elements in Audacity enhances overall audio editing skills, facilitating the production of high-quality audio output suitable for diverse professional applications.