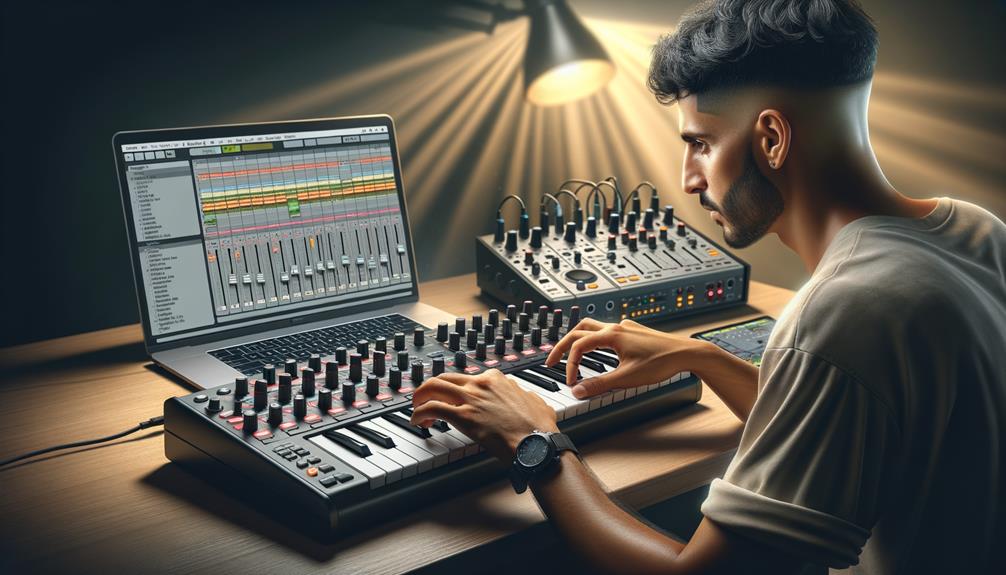
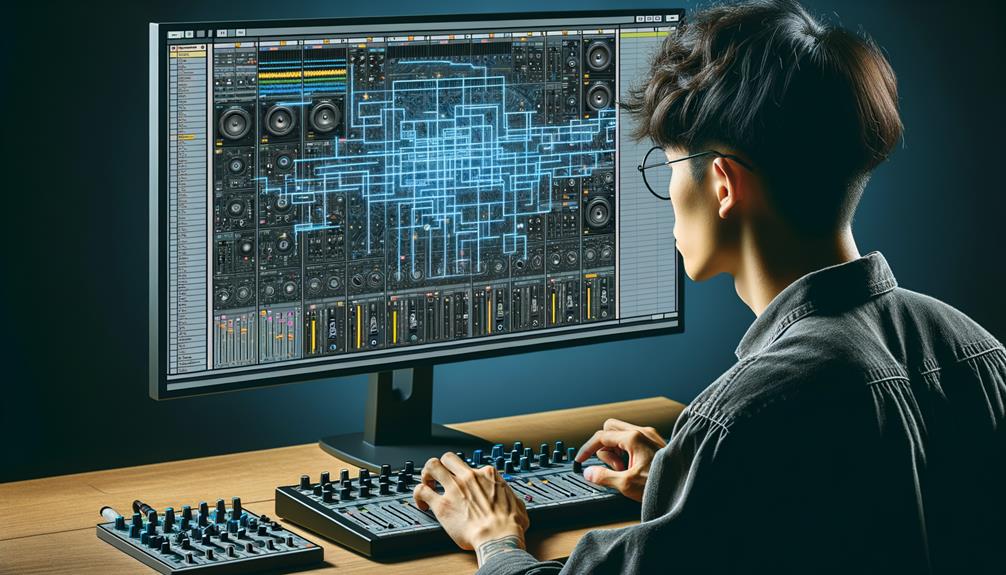
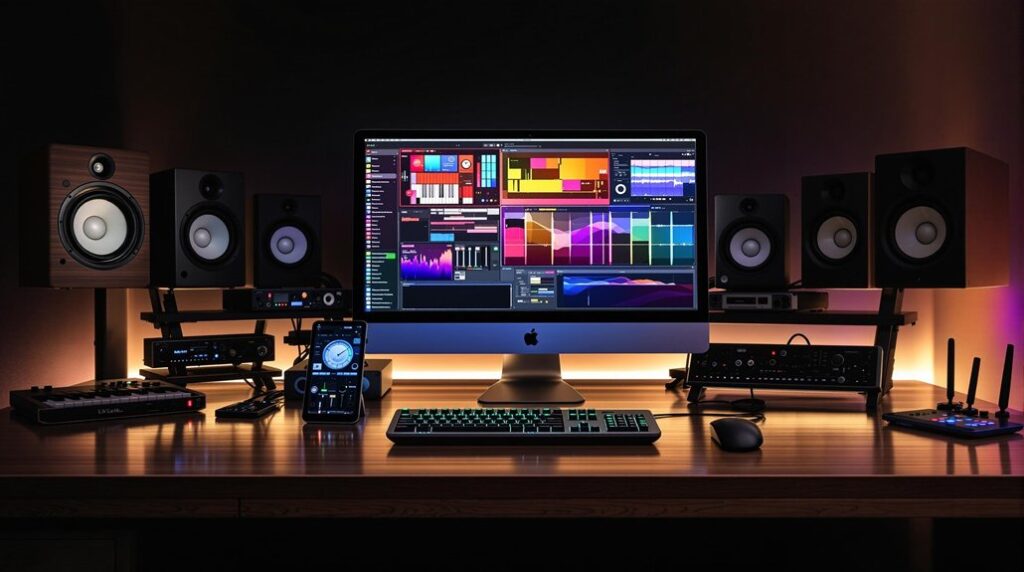
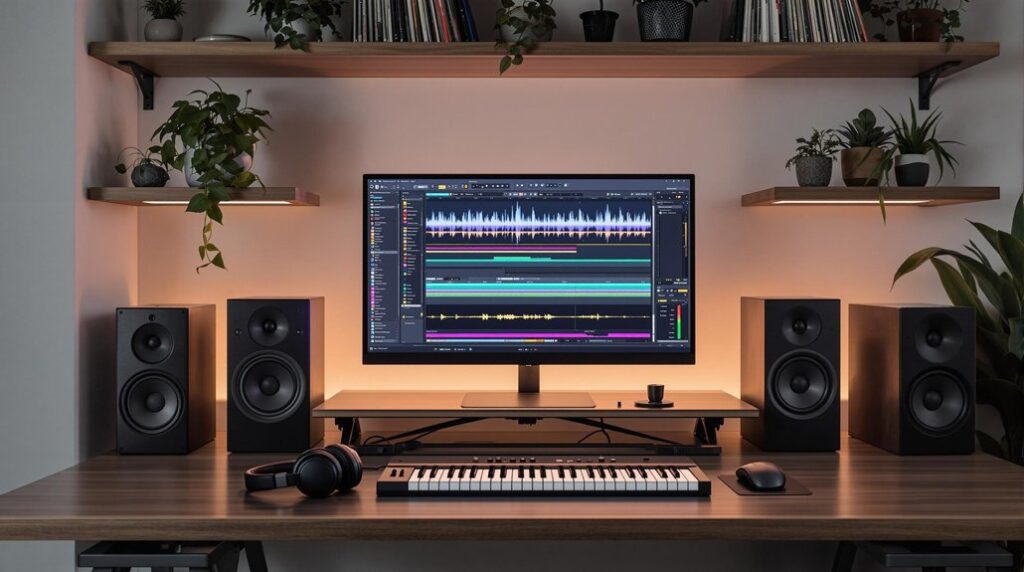
Mastering Ableton? Start by setting up your preferences. Adjust the audio buffer size and sample rate based on your system’s capabilities. You’ll want to familiarize yourself with the interface, understanding the functionalities of Session View and Arrangement View. Explore track types; know your audio from MIDI tracks, and use Return Tracks for effects. Organize your sessions by labeling and color-coding. If you’re using external controllers, configure them for best control. Record with precision by arming your tracks, and don’t forget editing basics to keep your work sounding sharp. Investigating these steps further will maximize your full potential as a producer.
Key Takeaways
- Familiarize yourself with Ableton’s Session and Arrangement Views for efficient workflow management.
- Customize audio and MIDI settings to match your hardware and project needs.
- Learn and utilize key commands and shortcuts to speed up your music production process.
- Practice audio and MIDI editing techniques, including quantization, velocity adjustments, and clip manipulation.
- Master the use of EQ and compression to balance and enhance the sound quality of your tracks.
Setting Up Your Preferences
Why not start your Ableton journey by configuring your preferences to optimize system performance and enhance your creative workflow? Delve into the Preferences menu where you can adjust the audio buffer size and sample rate to match your specific system capabilities. This important step reduces latency, guaranteeing smoother playback and recording. Smaller buffer sizes decrease latency but demand more from your CPU, so find the balance that works best for your setup.
Next, customize your audio and MIDI settings. If you’re using external hardware, you need to make sure these settings are correctly synced with your devices. This includes selecting the right driver type and configuring input and output channels to prevent any mismatch that could disrupt your flow.
Don’t forget to set up your project folder and file management preferences. This organization is key to avoiding lost files and chaotic sessions. Customizing templates to your usual style of project can save heaps of time. Start with a template that includes your commonly used tracks and effects, optimizing plugins from the get-go.
Lastly, tailor the MIDI preferences for your input devices and control surfaces. This setup ensures every knob twist or key press translates exactly as you intend, boosting both your efficiency and creative expression.
To master Ableton Live, start by familiarizing yourself with its core areas: the Session View for live setups, the Arrangement View for precise editing, and the Browser for quick access to your sounds and tools. Each view serves distinct functions, essential for tailoring your workflow and boosting your production efficiency.
Diving deeper, explore the potential of interface customization. You can resize and rearrange different panels according to your preferences, enabling a more personal and efficient setup. This flexibility allows you to focus on the elements that matter most during different stages of your creative process.
Don’t overlook the hidden features scattered throughout the interface. Learning these advanced techniques, such as key commands for rapid navigation or utilizing the right-click context menu for additional options, can greatly expedite your workflow. For instance, in the Session View, discover the power of clip automation for dynamic live performances, or in the Arrangement View, master the art of splitting and consolidating clips for precise compositional edits.
Understanding Track Types
Ableton Live features three primary track types—audio, MIDI, and return tracks—each designed to streamline specific aspects of your music production process. Understanding these will boost your workflow efficiency and expand your creative possibilities.
Here’s a breakdown:
- Audio Tracks: These are important for handling sound recordings or importing audio files. You can manipulate these sounds with effects or chop them into samples. Efficient track routing allows you to manage signal flow, ensuring that every audio clip is precisely where it needs to be for excellent sound quality.
- MIDI Tracks: These tracks are your go-to for anything related to MIDI data. Whether you’re inputting notes via a MIDI keyboard, programming drum patterns, or tweaking parameters on a synth, MIDI tracks interact seamlessly with virtual instruments and external hardware, enhancing your control over the production.
- Return Tracks: Often underutilized, return tracks are powerful for applying effects like reverb or delay to multiple tracks simultaneously. This not only saves CPU resources but also keeps your mix clean and organized, allowing creative effects routing that can define the vibe of your track.
Harnessing these track types effectively will transform your approach to music production in Ableton Live.
Organizing Your Sessions

To kick-start your session organization in Ableton Live, start by labeling your tracks effectively. Use descriptive, precise names so you can quickly identify each track’s role at a glance.
Additionally, applying a color-coding scheme not only boosts your session’s visual appeal but also helps in moving through various elements effortlessly.
Labeling Tracks Effectively
When organizing your sessions in Ableton Live, labeling each track clearly and descriptively guarantees you can swiftly identify its role and content. Employing effective naming conventions and track grouping not only optimizes your workflow but also enhances your creative process.
Here’s how you can master this:
- Naming Conventions: Use detailed, intuitive names that reflect the sound or function of the track—like ‘DeepBass’ or ‘VocalChorus’.
- Track Grouping: Combine related tracks, such as drums or backing vocals, into groups for simplified handling and editing.
- Avoid Generic Labels: Stejson’ter clear of vague labels like ‘Track1’ or ‘New’; they add confusion as your project grows.
Utilizing Color Coding
After mastering track labeling, consider enhancing your session management by utilizing color coding to organize and distinguish your tracks visually.
In Ableton Live, you can assign specific colors to tracks, clips, and sections, streamlining your workflow and boosting efficiency.
Create custom color schemes based on your personal preferences or develop a systematic approach by assigning colors to different instruments, vocals, or effects. This method not only aids in quick identification but also in moving through complex sessions with ease.
Using External Controllers
As you venture into using external controllers with Ableton Live, selecting the right controller is essential; it should align with your specific needs, whether for live performance or studio work.
Once you’ve chosen your controller, mapping its functions to Ableton’s parameters will greatly enhance your efficiency and control over the software. This setup enables you to manipulate mixer levels, effects, and instrument settings in real-time, enhancing your creative flow and interaction with your music.
Selecting Your Controller
Choosing the right external controller, such as Ableton Push or Novation Launchpad, greatly enhances your interaction with Ableton Live’s diverse features. When selecting your controller, consider these key factors:
- Controller compatibility and budget considerations: Make sure the controller is fully compatible with Ableton Live to avoid integration issues. Also, stick to your budget while searching for a quality device that meets your needs.
- Ergonomics: Choose a controller that feels comfortable and intuitive to use. This can have a substantial impact on your workflow and productivity.
- Workflow optimization: Opt for controllers that offer customizable options that streamline your production process, allowing for a smoother creative flow.
These considerations ensure you get the most out of your Ableton setup.
Mapping Controller Functions
Once you’ve selected your external controller, the next step involves mapping its functions to optimize control within Ableton Live. Start by entering MIDI Map Mode; simply press CMD+M (Mac) or CTRL+M (Windows).
You’ll see your interface light up, ready for customizing controls. Click a parameter in Ableton, like a track’s volume or an effect’s dry/wet knob, then twist a knob or press a button on your controller. It instantly maps, maximizing efficiency in your setup.
This process not only streamlines your workflow but also enhances your creative output by providing tactile, immediate interaction with your project. Carefully customize each mapping to reflect your unique style and preferences, ensuring every session is both intuitive and productive.
Recording and Editing Basics
To start mastering Ableton Live, you’ll first need to grasp the essentials of recording and editing audio and MIDI tracks. Understanding how to handle audio manipulation and MIDI editing will greatly enhance your workflow and creativity. Here’s how you can immerse yourself in these basics:
- Recording Techniques: Begin by setting up your audio interface and microphone. In Ableton, arm the track for recording and hit the record button. You can capture both live performances and ambient sounds, which you can later edit and integrate into your projects.
- MIDI Editing: After recording your MIDI performance, delve into MIDI editing. You can quantize notes to tighten up timing, alter velocities for dynamic expression, and rearrange notes to perfect your melody or rhythm. This control is crucial for sculpting precise musical elements.
- Audio Manipulation: Explore the robust editing toolkit in Ableton for your audio clips. Utilize tools like cut, copy, paste, and especially time-stretching to match the tempo of your project without altering the pitch. These tools are essential for crafting a seamless and professional-sounding track.
Mixing and Effects Overview

As you explore mixing and applying effects in Ableton Live, you’ll find that balancing EQ, compression, and various effects is essential for achieving a harmonious blend of your tracks. Delving into the technicalities, you’ll utilize EQ for frequency shaping, meticulously adjusting highs, mids, and lows to clarify each sound without muddying your mix. Compression will help you manage the dynamics, ensuring that no part of your audio overpowers another, maintaining a balanced output.
Incorporating effect chains can profoundly transform your soundscapes. Layering effects like reverb and delay adds depth, while modulation effects such as phasers or flangers introduce movement and intrigue. These elements aren’t just about adding flavor; they’re integral to carving out a unique sonic space for each element within your track.
Understanding signal flow in Ableton is important. Routing allows you to direct audio signals through various effects and processors efficiently. Using sends and returns can help you apply spatial effects without cluttering your mix, enhancing the stereo imaging and creating a more immersive listening experience.
Frequently Asked Questions
What Are the Basic Steps of Mastering?
Mastering involves using tools to refine your track. You’ll start with audio restoration, employ equalization techniques to balance frequencies, enhance stereo width, apply compression for consistency, and adjust loudness for final polish.
Can You Use Just Ableton for Mastering?
Yes, you can master entirely using Ableton. It has robust native mastering plugins, though there are some limitations compared to specialized software. You’ll find detailed EQ, compression, and limiting tools within Ableton.
What Are the Stages of Mastering a Track?
In mastering a track, you’ll refine sound quality, balance frequencies, enhance stereo images, control dynamics, and adjust volume. It’s essential to use a tuned listening environment and reference tracks for best results.
How Do Beginners Learn Mixing and Mastering?
To learn mixing and mastering, you’ll start with EQ techniques and compression basics, blending tracks for clarity and balance. Gradually, explore more complex effects and seek feedback to refine your skills.
Conclusion
Now that you’ve navigated Ableton’s essentials—from setting your preferences to mixing effects—you’re poised to create.
Remember, mastering these steps is just the beginning. Dive deeper into each function, tweak your tracks meticulously, and experiment with external controllers to enhance your workflow.
The more you play and edit, the closer you get to refining your unique sound. Keep pushing the boundaries of your musical creativity, and let Ableton be the launchpad for your sonic explorations.


