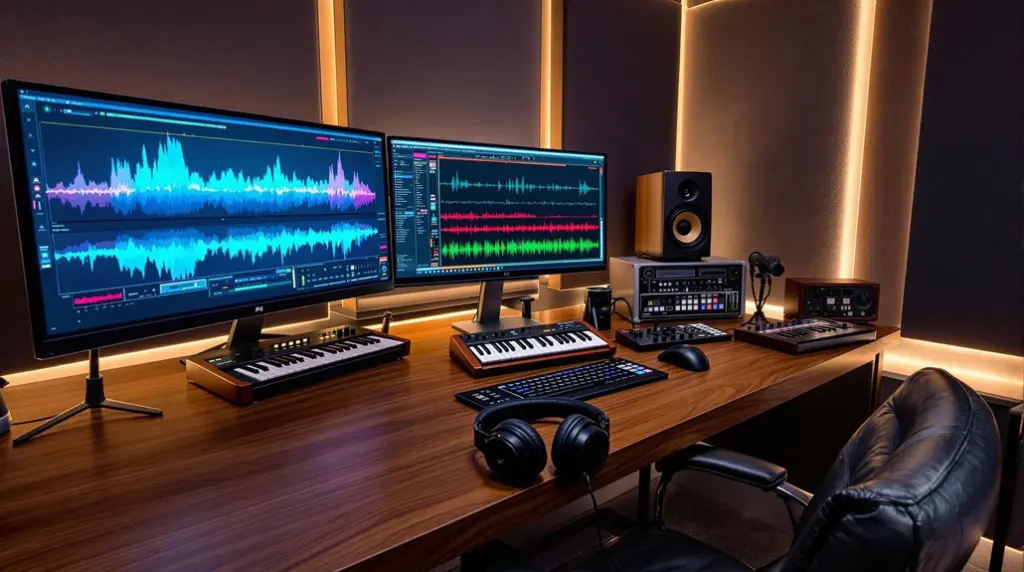
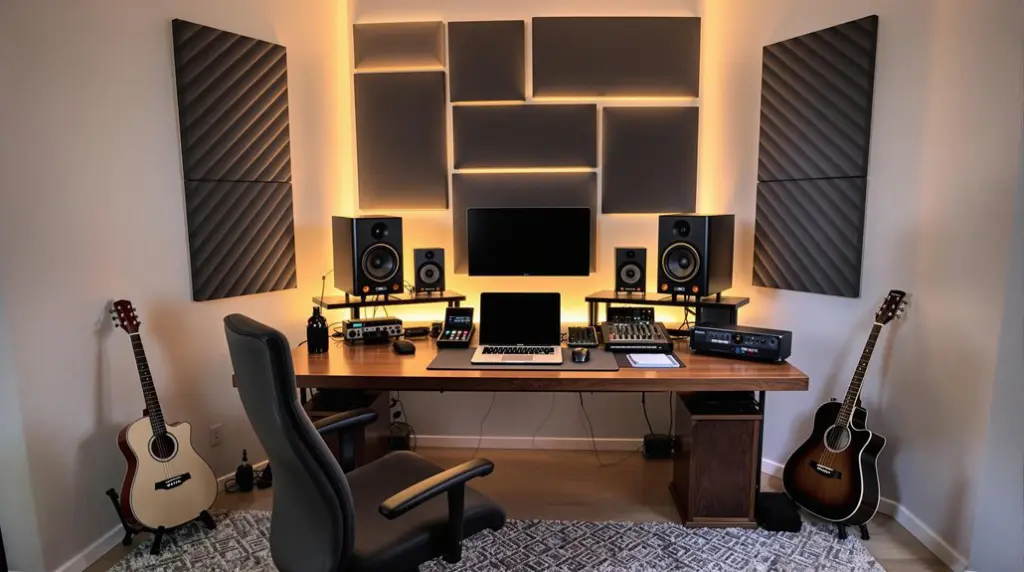
To effectively remove reverb from your audio recordings, follow these steps: Understand the nature of reverb and how it differs from echo. Choose an appropriate reverb removal tool such as Descript or RX 11. Upload your audio file in a supported format. Initiate the reverb removal process and adjust the noise reduction settings with consideration for audio fidelity. Make any additional edits to enhance clarity. Export the cleaned audio to your desired format. Finally, test the output for quality assurance. Each step builds toward a polished final product, leading to an enriched listening experience and further insights.
Key Takeaways
- Choose an appropriate reverb removal tool, such as Descript or RX 11, for effective audio processing.
- Upload your audio file in a supported format like MP3, WAV, or AAC.
- Initiate the reverb removal process and preview the audio to assess quality improvements.
- Adjust noise reduction settings moderately, focusing on specific frequency ranges to target reverb.
- Export the cleaned audio in a suitable format and test it for clarity using high-quality playback equipment.
Understand Reverb and Echo
Reverb and echo are significant concepts in audio processing that profoundly impact sound clarity.
Reverb refers to the persistence of sound in an enclosed space, resulting from multiple reflections of sound waves, while echo occurs when a sound is distinctly repeated after a delay.
Excessive reverb can obscure audio clarity, making it difficult for listeners to comprehend content, particularly in recordings such as podcasts and music.
Different environments contribute to varying reverb effects, influenced by room dimensions and surface materials, with parallel walls often enhancing reverb duration.
Understanding the distinction between reverb and echo is essential for achieving high audio quality. Noise Reduction techniques can significantly help in minimizing these unwanted sound effects.
Effective removal of unwanted reverb is key in applications like audiobooks and voiceovers, where clarity and precision are significant for engaging listeners.
Choose the Right Tool
Selecting an appropriate tool for reverb removal is vital for achieving superior audio clarity. Options such as Descript, Media.io, and VEED excel in providing effective reverb removal tools.
Descript leverages AI technology to automatically detect and eliminate reverb, ensuring high-quality sound without extensive manual intervention. For those seeking a cost-effective solution, Media.io offers a free service that allows users to clean their audio without software installation.
VEED stands out with advanced Dolby technology, functioning as a powerful noise reduction tool that can produce studio sound quality. RX 11 further enhances options with its RX De-reverb module, delivering customizable controls for precise background noise removal. Additionally, using effective pitch correction software can further enhance your audio quality.
Selecting the right tool is vital for prime audio results.
Upload Your Audio File
With the appropriate tool identified for reverb removal, the next step is to upload your audio file. This process typically involves a straightforward drag-and-drop interface or clicking the designated upload button within the online tool.
Follow these steps to guarantee a smooth upload:
- Select your audio recordings in a supported format (MP3, WAV, AAC).
- Verify the file size is manageable to facilitate efficient processing.
- Utilize any preview feature to assess audio quality pre- and post-reverb removal.
- Confirm that the file is free of unwanted elements before proceeding.
Additionally, ensure that you identify sections with excessive reverb to enhance the accuracy of the reverb removal process. Once you have successfully uploaded your audio file, you can move forward to initiate the reverb removal process, enhancing your audio recordings effectively.
Initiate Reverb Removal Process
To initiate the reverb removal process, click the “Convert Audio” button after ensuring your audio file is uploaded.
This action activates the reverb remover tool, which processes your audio files to remove reverb and enhance sound quality. The duration of this processing will vary based on the size of the uploaded audio.
Once the processing is complete, you will have the opportunity to preview the audio, allowing you to confirm that reverb has been effectively eliminated and that the overall sound quality meets your expectations. Utilizing effective noise reduction techniques can further enhance your audio quality.
Following this verification, you can download the reverb-free audio file for further use in your projects, ensuring it adheres to your desired audio standards.
Adjust Noise Reduction Settings
After confirming that the reverb has been effectively removed, the next step involves fine-tuning the noise reduction settings. Proper adjustments are essential to minimize unwanted echoes while maintaining audio quality.
Follow these steps to optimize your settings:
- Start with moderate settings: Begin with balanced noise reduction parameters to prevent distortion.
- Utilize frequency targeting: Focus on specific frequency ranges where reverb is most prominent, based on audio characteristics.
- Employ a “Learn” feature: Use advanced tools to analyze the audio’s reverb profile for precise adjustments.
- Conduct multiple passes: Apply lower settings over several passes for a transparent reduction, ensuring clarity in the audio without artifacts.
Additionally, being aware of the frequency characteristics of the audio will aid in making informed adjustments that enhance the reverb removal process while preserving the integrity of the original recording.
Preview Your Audio
Previewing your audio is essential for evaluating the clarity and quality post-reverb removal.
Utilizing audio editing tools equipped with a preview feature enables real-time assessment, facilitating the identification of any remaining artifacts.
This critical step allows for a comparison between the original and processed audio, ensuring ideal enhancements are achieved. Additionally, employing high-pass filters can further refine the sound by eliminating low-frequency noise.
Importance of Audio Preview
The audio preview serves as a critical checkpoint in the reverb removal process, enabling audio engineers and editors to evaluate the clarity and quality of the sound.
By carefully evaluating the audio preview, professionals can guarantee that unwanted noise and reverb remnants are adequately addressed.
Key benefits include:
- Effectiveness Evaluation: Assess the success of reverb removal.
- Identifying Distortions: Listen for any unintended distortions or artifacts.
- Refinement Opportunities: Pinpoint areas needing further adjustments for ideal sound quality.
- Time Efficiency: Save time by receiving immediate feedback, reducing the need for repeated exports.
Guaranteeing a satisfactory audio preview considerably contributes to a polished final product, enhancing the overall listener experience in podcasts, music, and other audio recordings.
Tools for Audio Preview
Effective audio preview tools are essential for audio professionals seeking to refine their recordings during the reverb removal process. Platforms like Descript and VEED provide built-in audio preview functions, allowing users to assess the impact of their adjustments in real-time.
This feature is vital for evaluating the effectiveness of reverb removal and ensuring clean audio quality. Users can modify settings and re-preview their audio multiple times, facilitating precise fine-tuning without the need for constant file exports.
Additionally, these editing tools support various audio formats, enhancing compatibility with different recording types. By previewing audio files, professionals can identify any residual unwanted sounds or artifacts, ultimately leading to a polished final output.
Make Additional Edits
After reverb removal, enhancing audio quality through additional edits is essential for achieving a polished final product.
Consider the following steps:
- Remove background noise: Use a noise removal tool to eliminate any distracting sounds that may affect clarity.
- Equalization (EQ): Adjust EQ settings to enhance your audio quality by emphasizing specific frequencies, ensuring a balanced sound. Utilizing subtractive EQ can significantly reduce muddiness and enhance clarity.
- Compression: Implement an editing tool to even out the dynamic range, making quieter sounds more audible and preventing peaks in louder sections.
- Add subtle effects: Deliberately incorporate light reverb or delay to enrich your audio while maintaining clarity.
These edits will greatly enhance your audio quality, leading to a more professional and engaging final product.
Export the Cleaned Audio
After finalizing edits to remove reverb, the next step is to select the appropriate export format for your cleaned audio.
Consider the intended use of the file, as formats like MP3, WAV, or AAC can greatly impact sound quality and file size. It’s essential to ensure that the chosen format maintains the ideal level balancing for a cohesive mix.
Once the format is chosen, proceed to save the audio file to your device for future access.
Choose Export Format
How can the choice of export format impact the quality of your cleaned audio? The export format greatly influences audio quality after reverb removal, affecting both fidelity and compatibility.
Consider the following options when exporting:
- WAV: Ideal for maximum fidelity, especially for further editing.
- AIFF: Similar to WAV, maintaining high audio quality for professional use.
- MP3: Best for podcasts or online content, balancing quality and file size for streaming.
- Platform Specifications: Always check the preferred format and bitrate of your target platform to guarantee excellent playback.
Verify that the sample rate and bit depth settings align with the original recording, preserving the enhancements made during the reverb removal process.
Save to Device
Exporting the cleaned audio file to your device is an essential step in finalizing your reverb removal process. After processing, make sure to preview the audio to confirm that the reverb has been effectively removed. Most online tools provide a straightforward download option, allowing you to export your recordings in formats such as MP3 or WAV. Additionally, some tools allow you to adjust audio settings like bitrate and sample rate prior to export for best playback quality. Be mindful of file size and format compatibility to guarantee seamless integration with your intended platform.
| Action | Format Options | Considerations |
|---|---|---|
| Preview Audio | MP3, WAV | Sound Quality |
| Adjust Settings | Bitrate, Sample Rate | File Size |
| Export File | Download Button | Format Compatibility |
| Save to Device | Local Storage | Intended Use |
Test the Final Output
Once the reverb has been effectively removed, it is essential to test the final output to confirm that the desired audio quality has been achieved. This step guarantees clarity and balance in the audio track while confirming the absence of unwanted noises.
Consider the following steps:
- Preview the output carefully to confirm it meets your expectations for clarity and presence.
- Use high-quality headphones or speakers to detect any lingering artifacts or issues.
- Compare the processed audio with the original track to assess improvements in audio quality.
- Make additional adjustments if any residual reverb persists, utilizing specialized tools for further refinement. Additionally, ensure that the reverb settings, such as decay time, are optimized to maintain clarity in the audio.
Utilize Reverb-Free Audio
Utilizing reverb-free audio is essential for achieving professional podcast production, as it enhances clarity and listener engagement.
In music production, eliminating reverb contributes to a polished sound quality, allowing the nuances of each track to stand out.
Additionally, clear audio in video soundtracks guarantees that dialogue and important sounds are easily discernible, improving the overall viewer experience. Proper use of reverb parameters can further enhance clarity and presence in audio recordings.
Professional Podcast Production
Achieving a reverb-free audio environment is essential for professional podcast production, as it directly impacts listener comprehension and engagement.
Utilizing clear and professional sound enhances the overall appeal of your episodes. To effectively remove reverb from audio, consider the following steps:
- Identify and isolate noise sources.
- Use an audio editing tool, such as Descript, for reverb removal.
- Employ online reverb removal tools to streamline your workflow.
- Test the audio quality to guarantee clarity and impact.
Enhanced Music Quality
Eliminating reverb from audio recordings is essential for enhancing music quality and ensuring that each element within a track is distinctly audible. By removing reverb, artists achieve clean audio that not only raises the professional sound but also enriches the listening experience. This clarity fosters emotional engagement, allowing listeners to connect deeply with lyrics and melodies.
| Benefits of Reverb Removal | Impact on Music | Applications |
|---|---|---|
| Enhanced Music Quality | Clear sound | Film soundtracks |
| Improved Mixing | Optimized balance | Commercials |
| Professional Sound | Distinct elements | Live performances |
Utilizing reverb-free audio ultimately leads to superior recordings that are crucial for success in the current competitive music industry.
Clear Video Soundtracks
Clear audio is paramount in video production, where the integration of soundtracks greatly impacts viewer comprehension and engagement.
Utilizing reverb-free audio is crucial for achieving a clean, polished, and professional sound in your projects. To enhance video soundtracks, consider the following steps:
- Identify reverb sources: Analyze your recordings to pinpoint areas with excessive reverb.
- Apply reverb removal tools: Use software to effectively reduce or remove reverb from your audio.
- Test audio clarity: Listen to the modified sound to ascertain dialogues and effects are clear.
- Finalize your audio project: Verify the reverb-free audio fits seamlessly within the visual elements.
Frequently Asked Questions
How to Remove Reverb From Audio Recording?
To effectively remove reverb from audio recordings, employ reverb reduction techniques using advanced audio editing software. Prioritize vocal clarity improvement and implement sound engineering tips, while optimizing the recording environment for enhanced audio quality.
What Is the App That Removes Reverb?
Descript is an advanced reverb removal software, integrating audio editing tools and noise reduction techniques. This sound enhancement app functions within digital audio workstations, ensuring high-quality audio clarity for various creative projects.
How to Remove Echo From Audio Recordings?
To effectively remove echo from audio recordings, employ echo reduction techniques using digital audio workstations. Utilize audio editing tools, implement soundproofing methods, and optimize recording environments for enhanced clarity and minimized background noise.
How to Dampen Reverb?
To dampen reverb effects, implement acoustic treatment through sound absorption materials, such as carpets and panels. Employ strategic recording techniques and mixing strategies, including microphone placement and bass traps, to enhance audio clarity and reduce unwanted reflections.
Conclusion
The removal of reverb from audio recordings is a systematic process that can greatly enhance sound clarity. Utilizing appropriate tools and adjusting noise reduction settings are vital steps in achieving ideal results. After exporting the cleaned audio, testing the final output guarantees that the desired quality has been attained. Ultimately, the application of reverb-free audio contributes to superior listening experiences, making it necessary for audio professionals and enthusiasts to master these techniques for effective sound editing.


